IFTTT: Notification Inputs
- Step 1: Create a new shortcut
- Step 2: Set it to appear in the Share Sheet
- Step 3: Make the shortcut receive text
- Step 4: Insert the Add New Reminder action
- Step 5: Head to Pushcut and create a new notification
- Step 6: Name the notification
- Step 7: Open the shortcut selection view
- Step 8: Select the Mail Drop shortcut
- Step 9: Finish the default action selection
- Step 10: Add and save your notification
- Step 11: Create a new IFTTT applet
- Step 12: Add an email trigger
- Step 13: Pick a trigger
- Step 14: Connect your email to IFTTT
- Step 15: Open the action selection screen
- Step 16: Pick the Pushcut action
- Step 17: Select Pushcut's action
- Step 18: Connect Pushcut to IFTTT
- Step 19: Complete action fields (part 1/2)
- Step 20: Complete action fields (part 2/2)
- Step 21: Review the Applet
- Step 22: Test this automation
- Step 23: Tap the notification
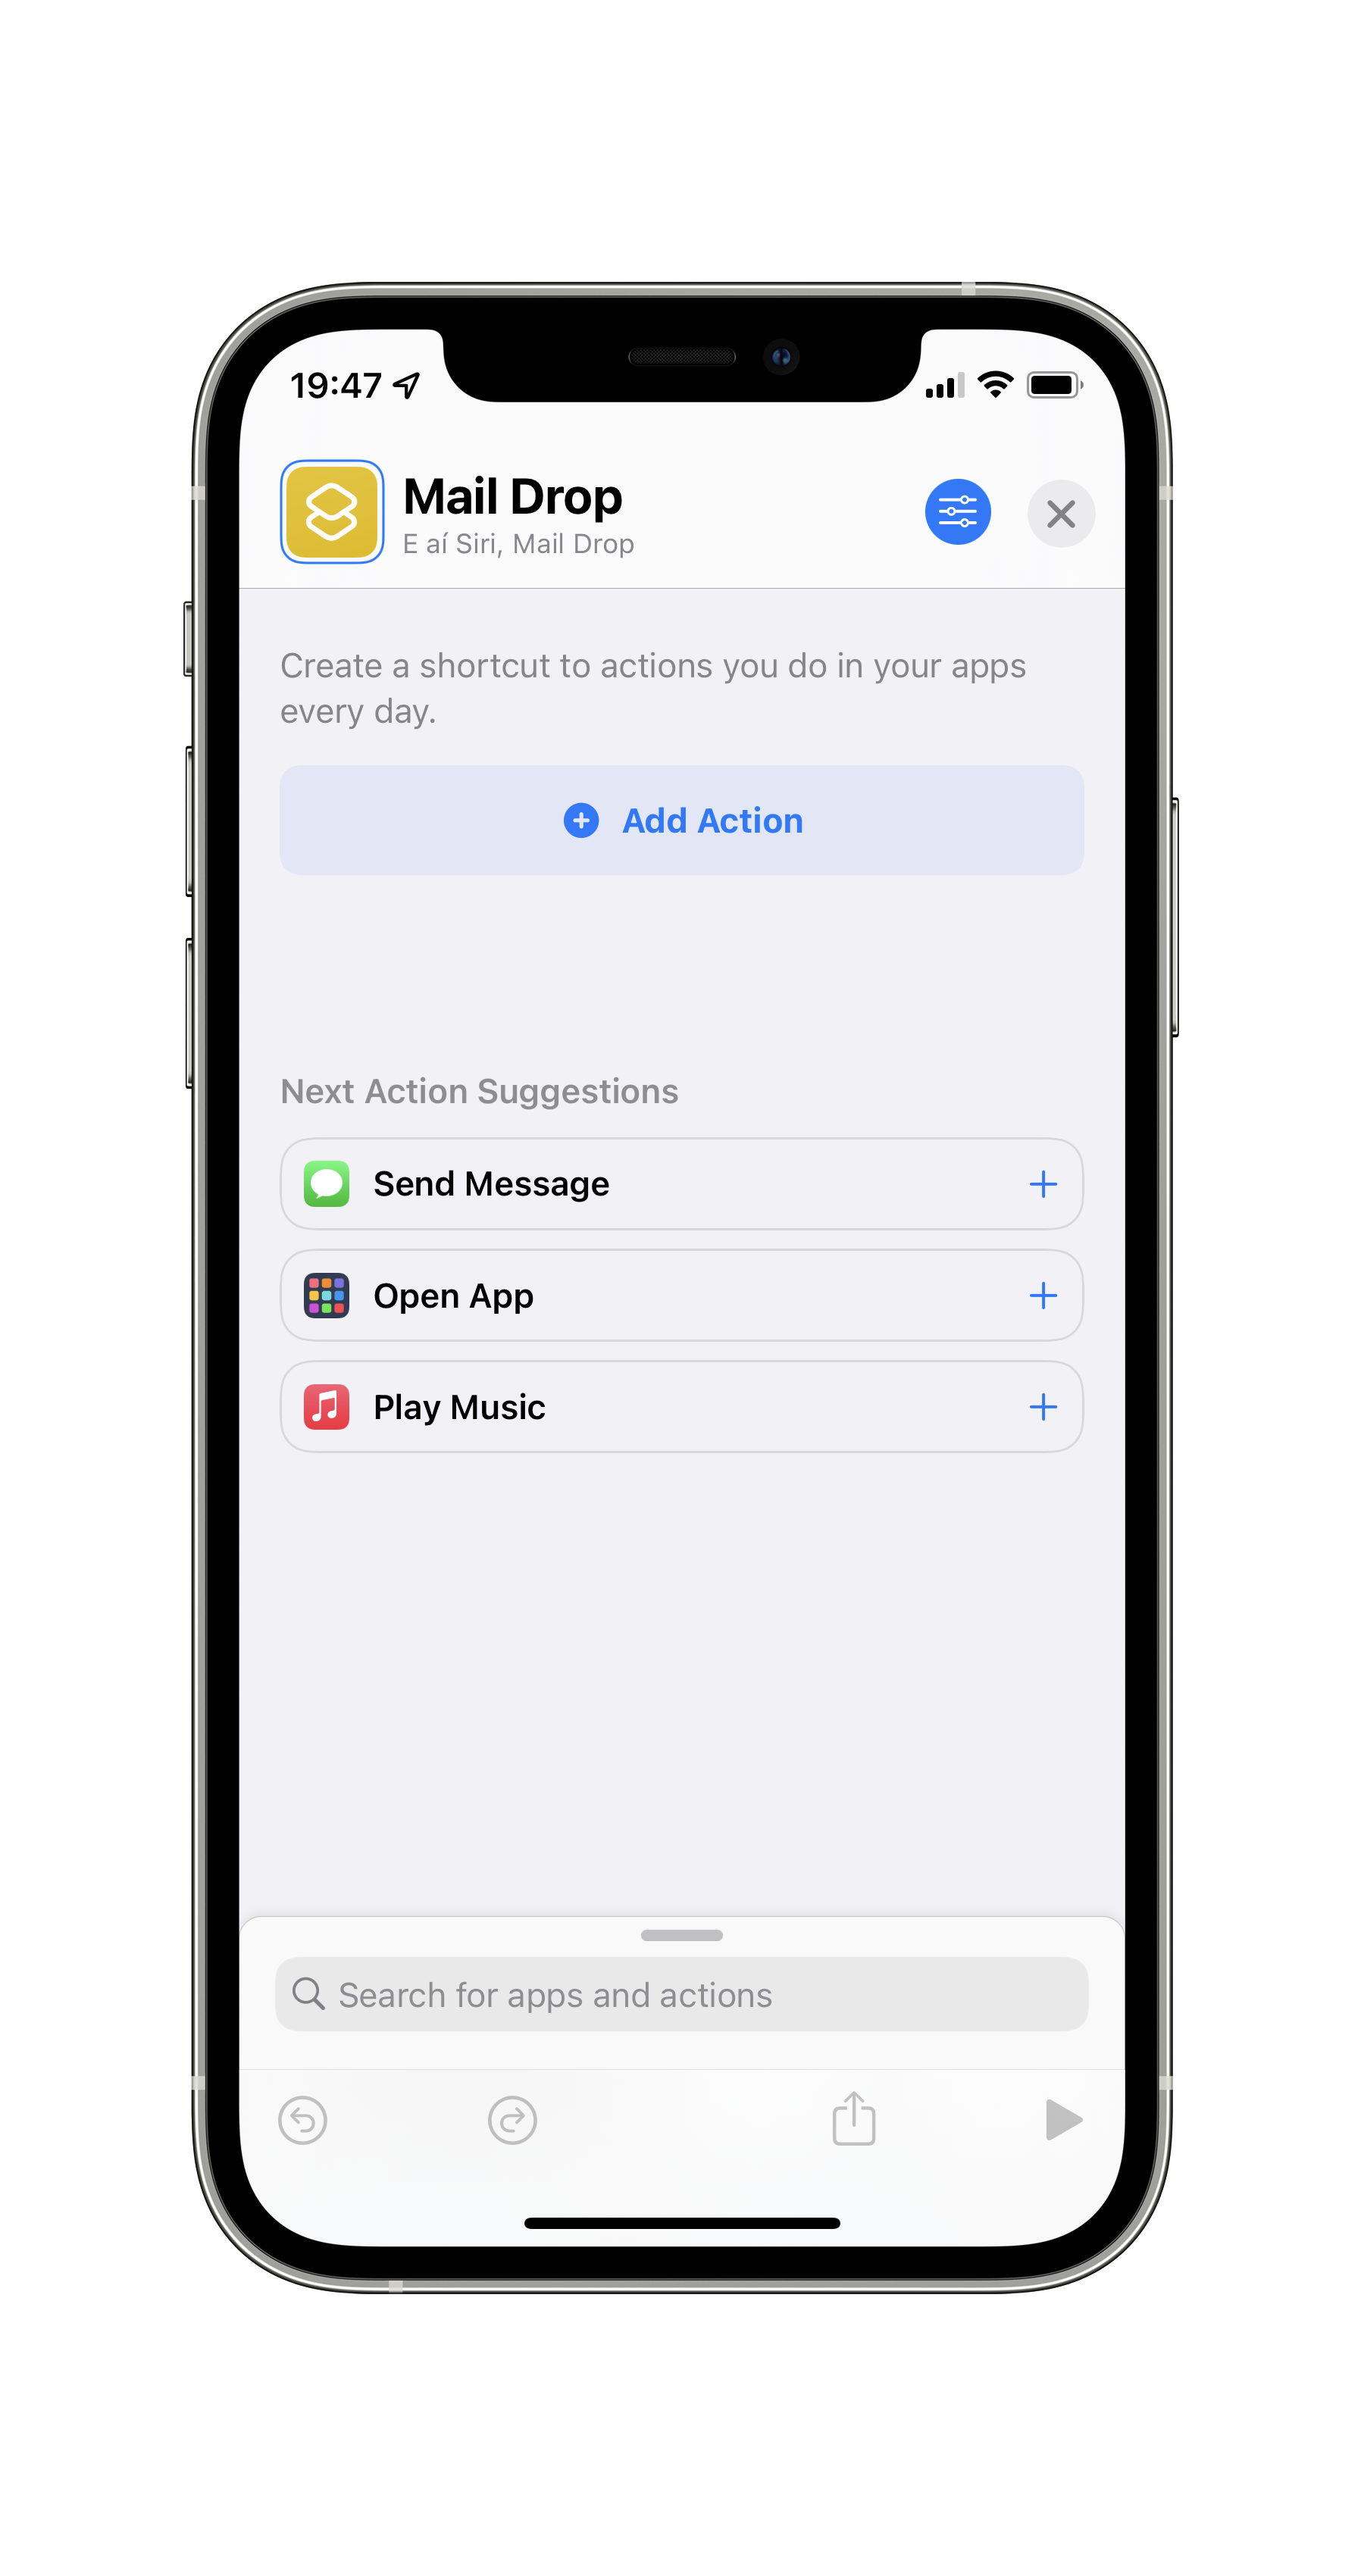
Step 1: Create a new shortcut
Using Apple's Shortcuts app, create a new shortcut and set its name to Mail Drop.
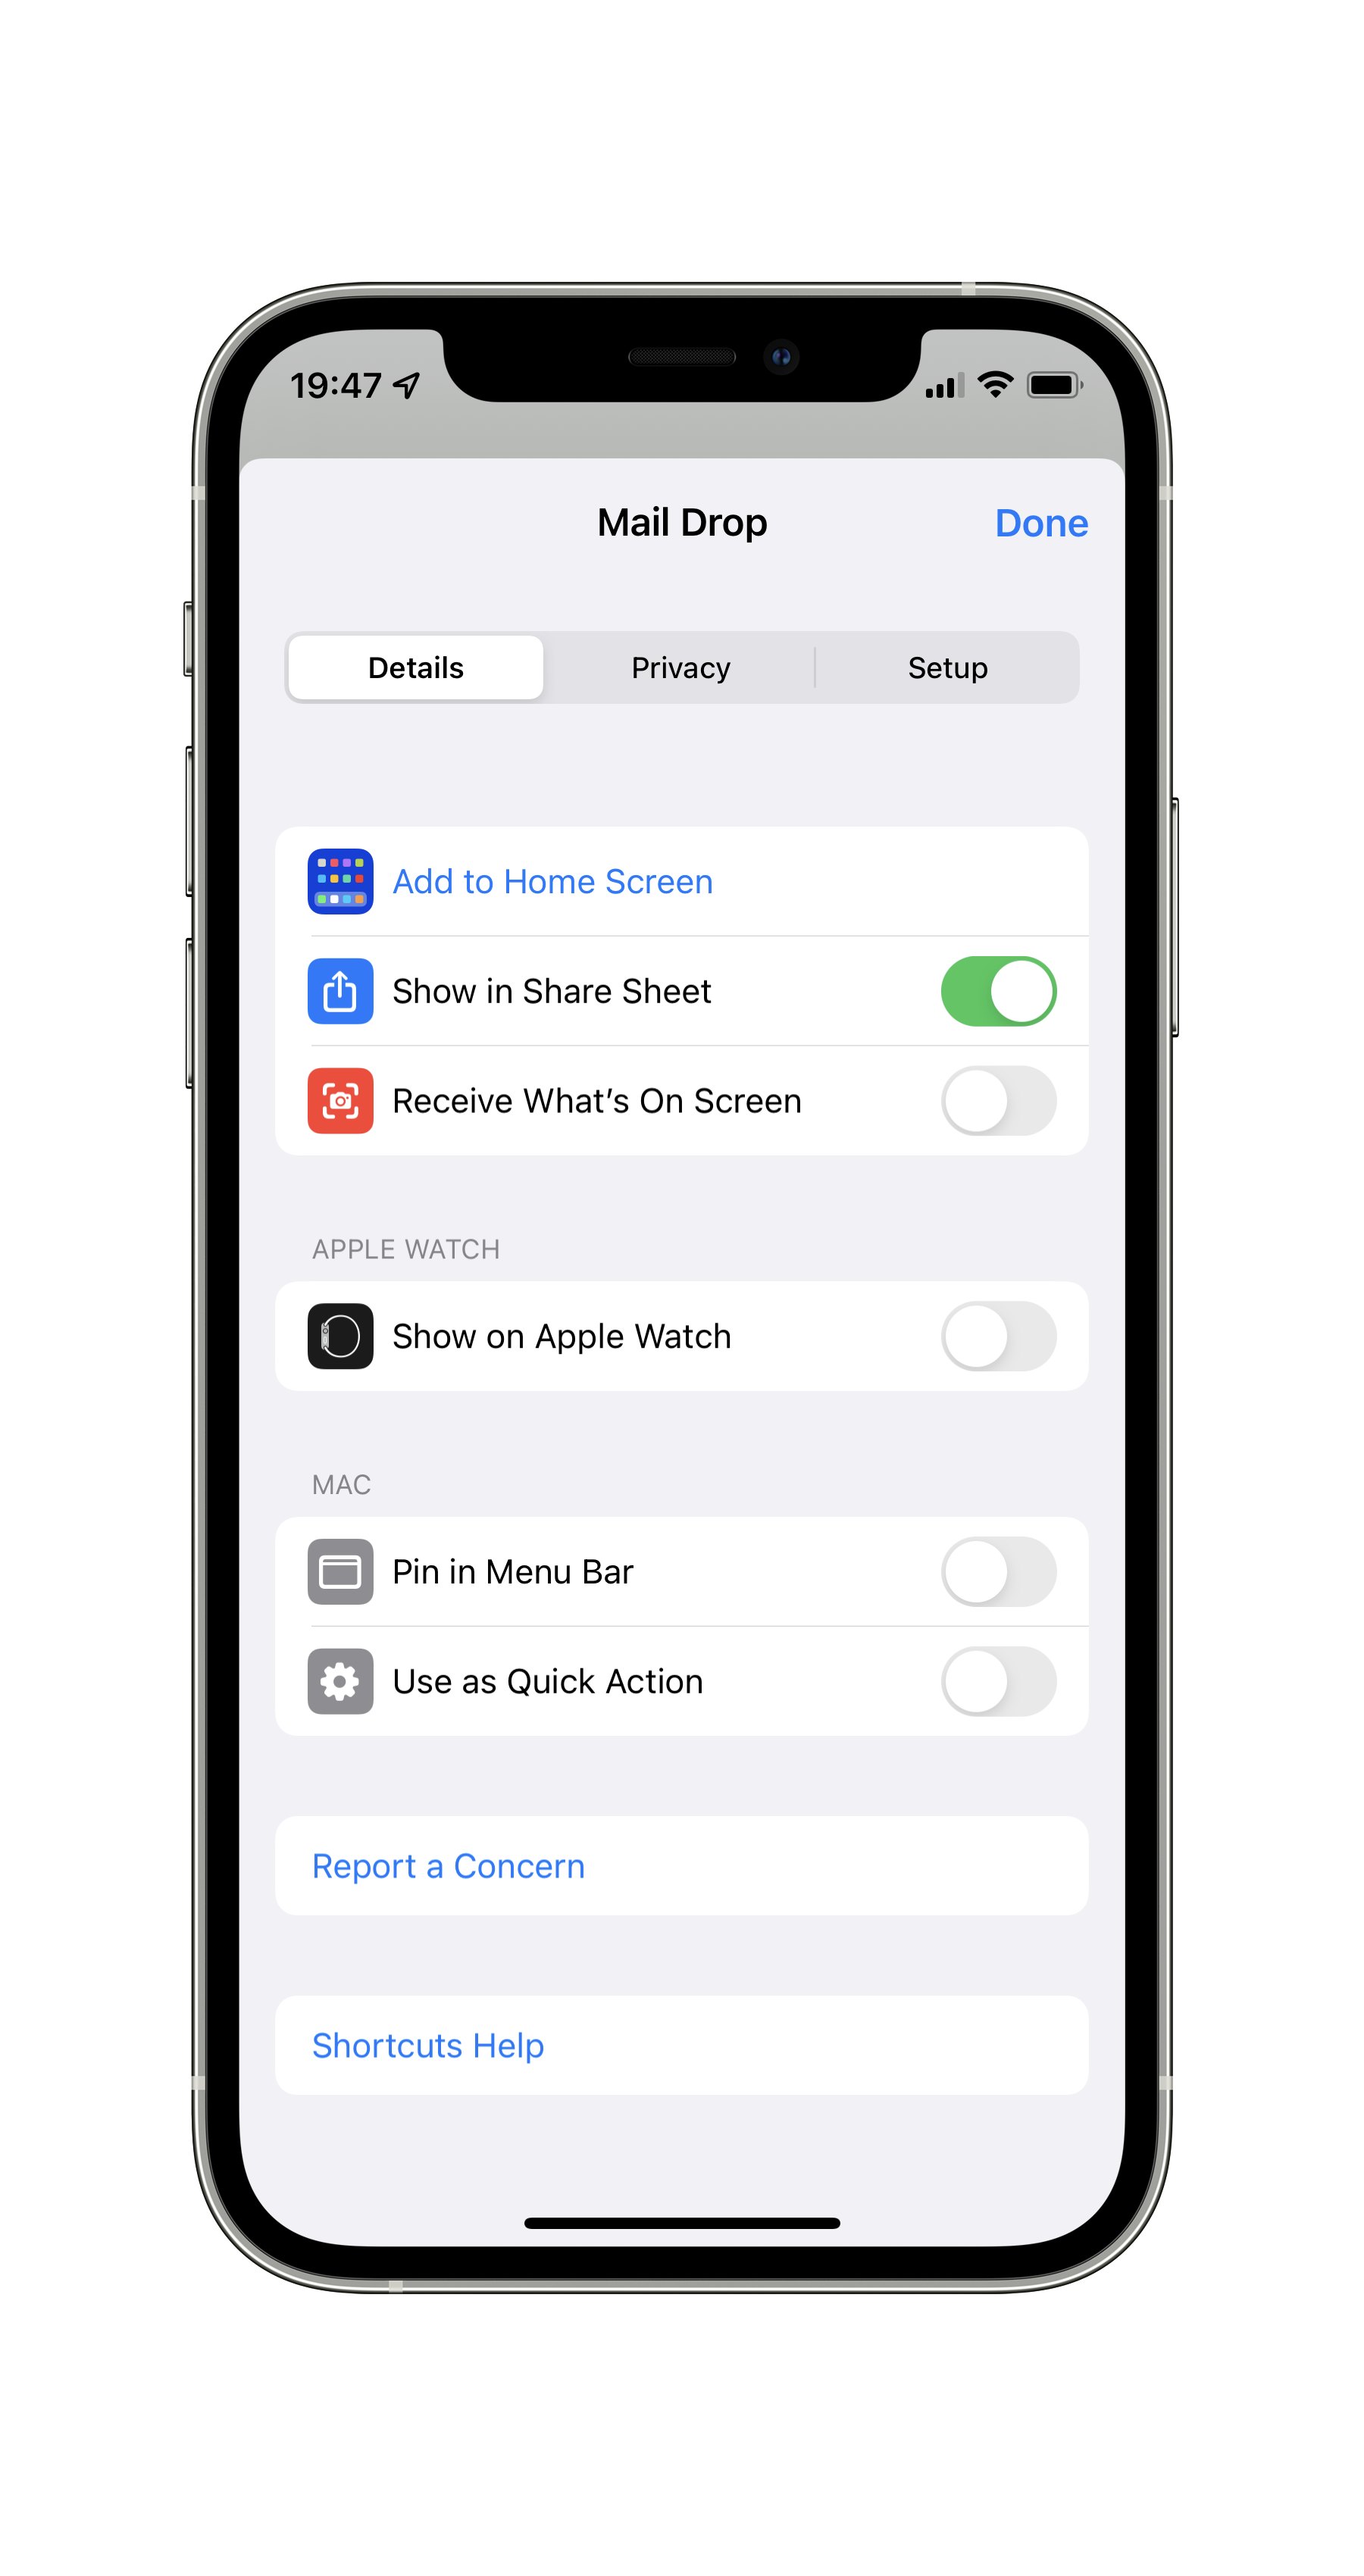
Step 2: Set it to appear in the Share Sheet
Tap in the settings button in the upper right and toggle the "Show in Share Sheet" option.
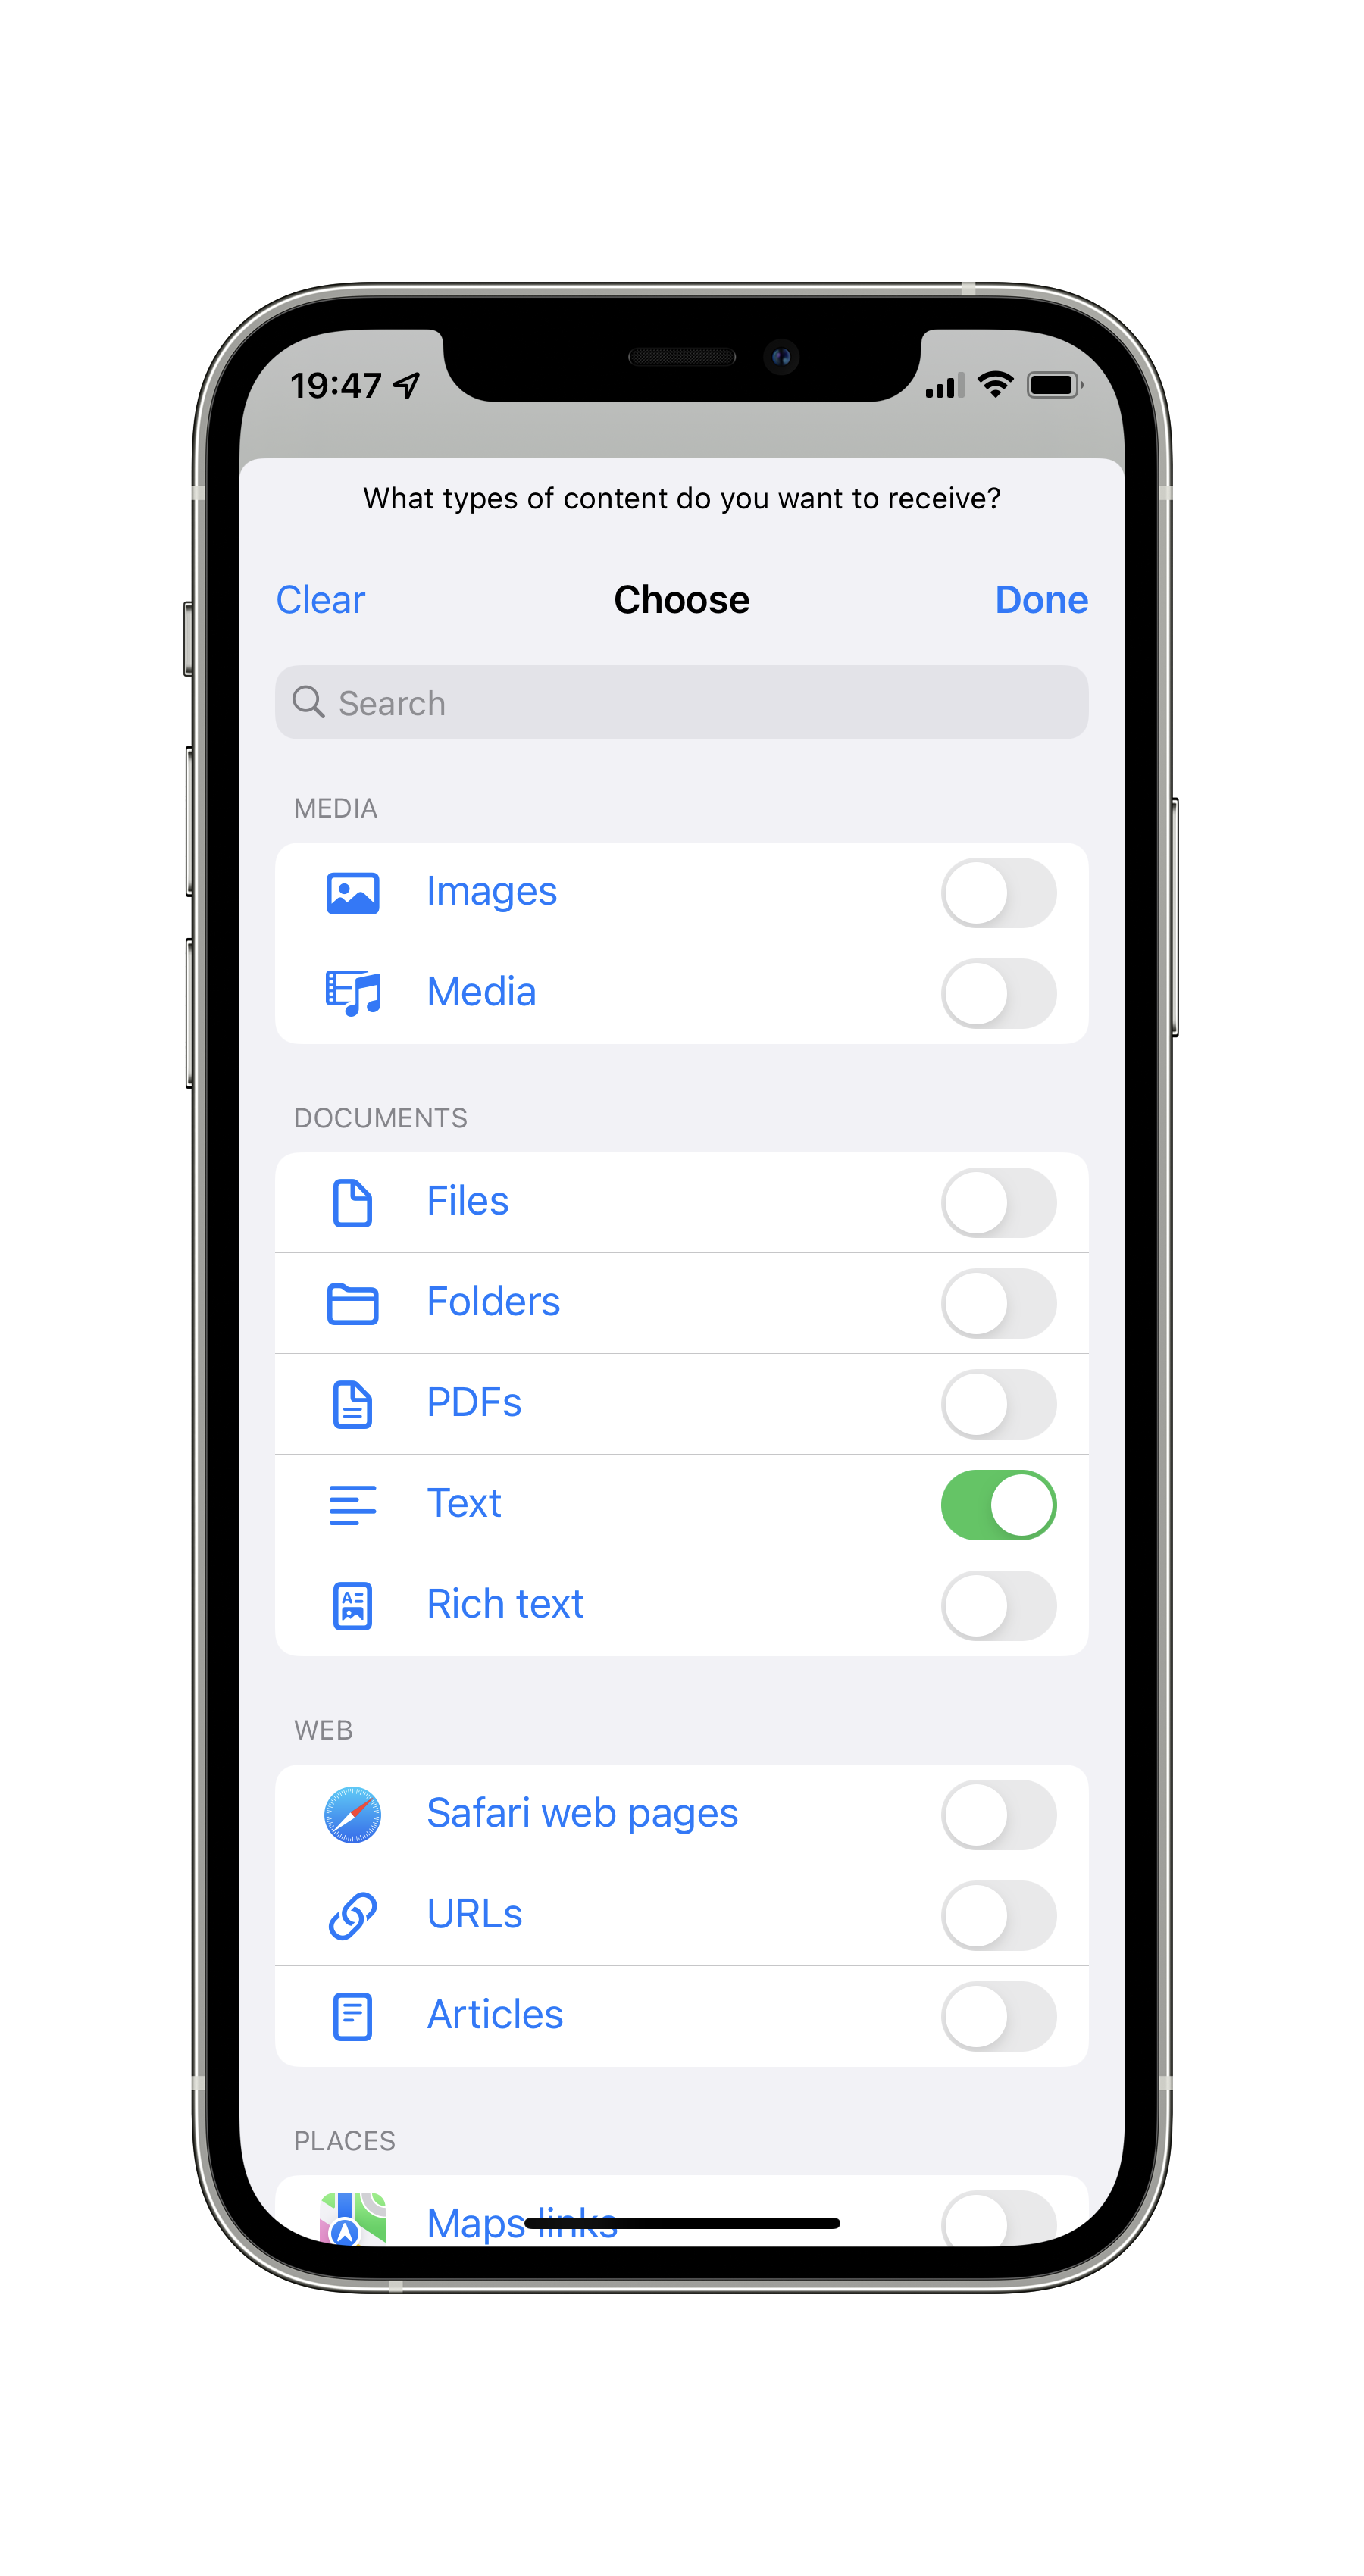
Step 3: Make the shortcut receive text
Tap in the Any button in the action, deselect everything and select only Text.
Step 4: Insert the Add New Reminder action
Using the search bar in the bottom, look for the "Add New Reminder" action and tap on it.
Then, tap in the Reminder button and select the "Shortcut input" variable.

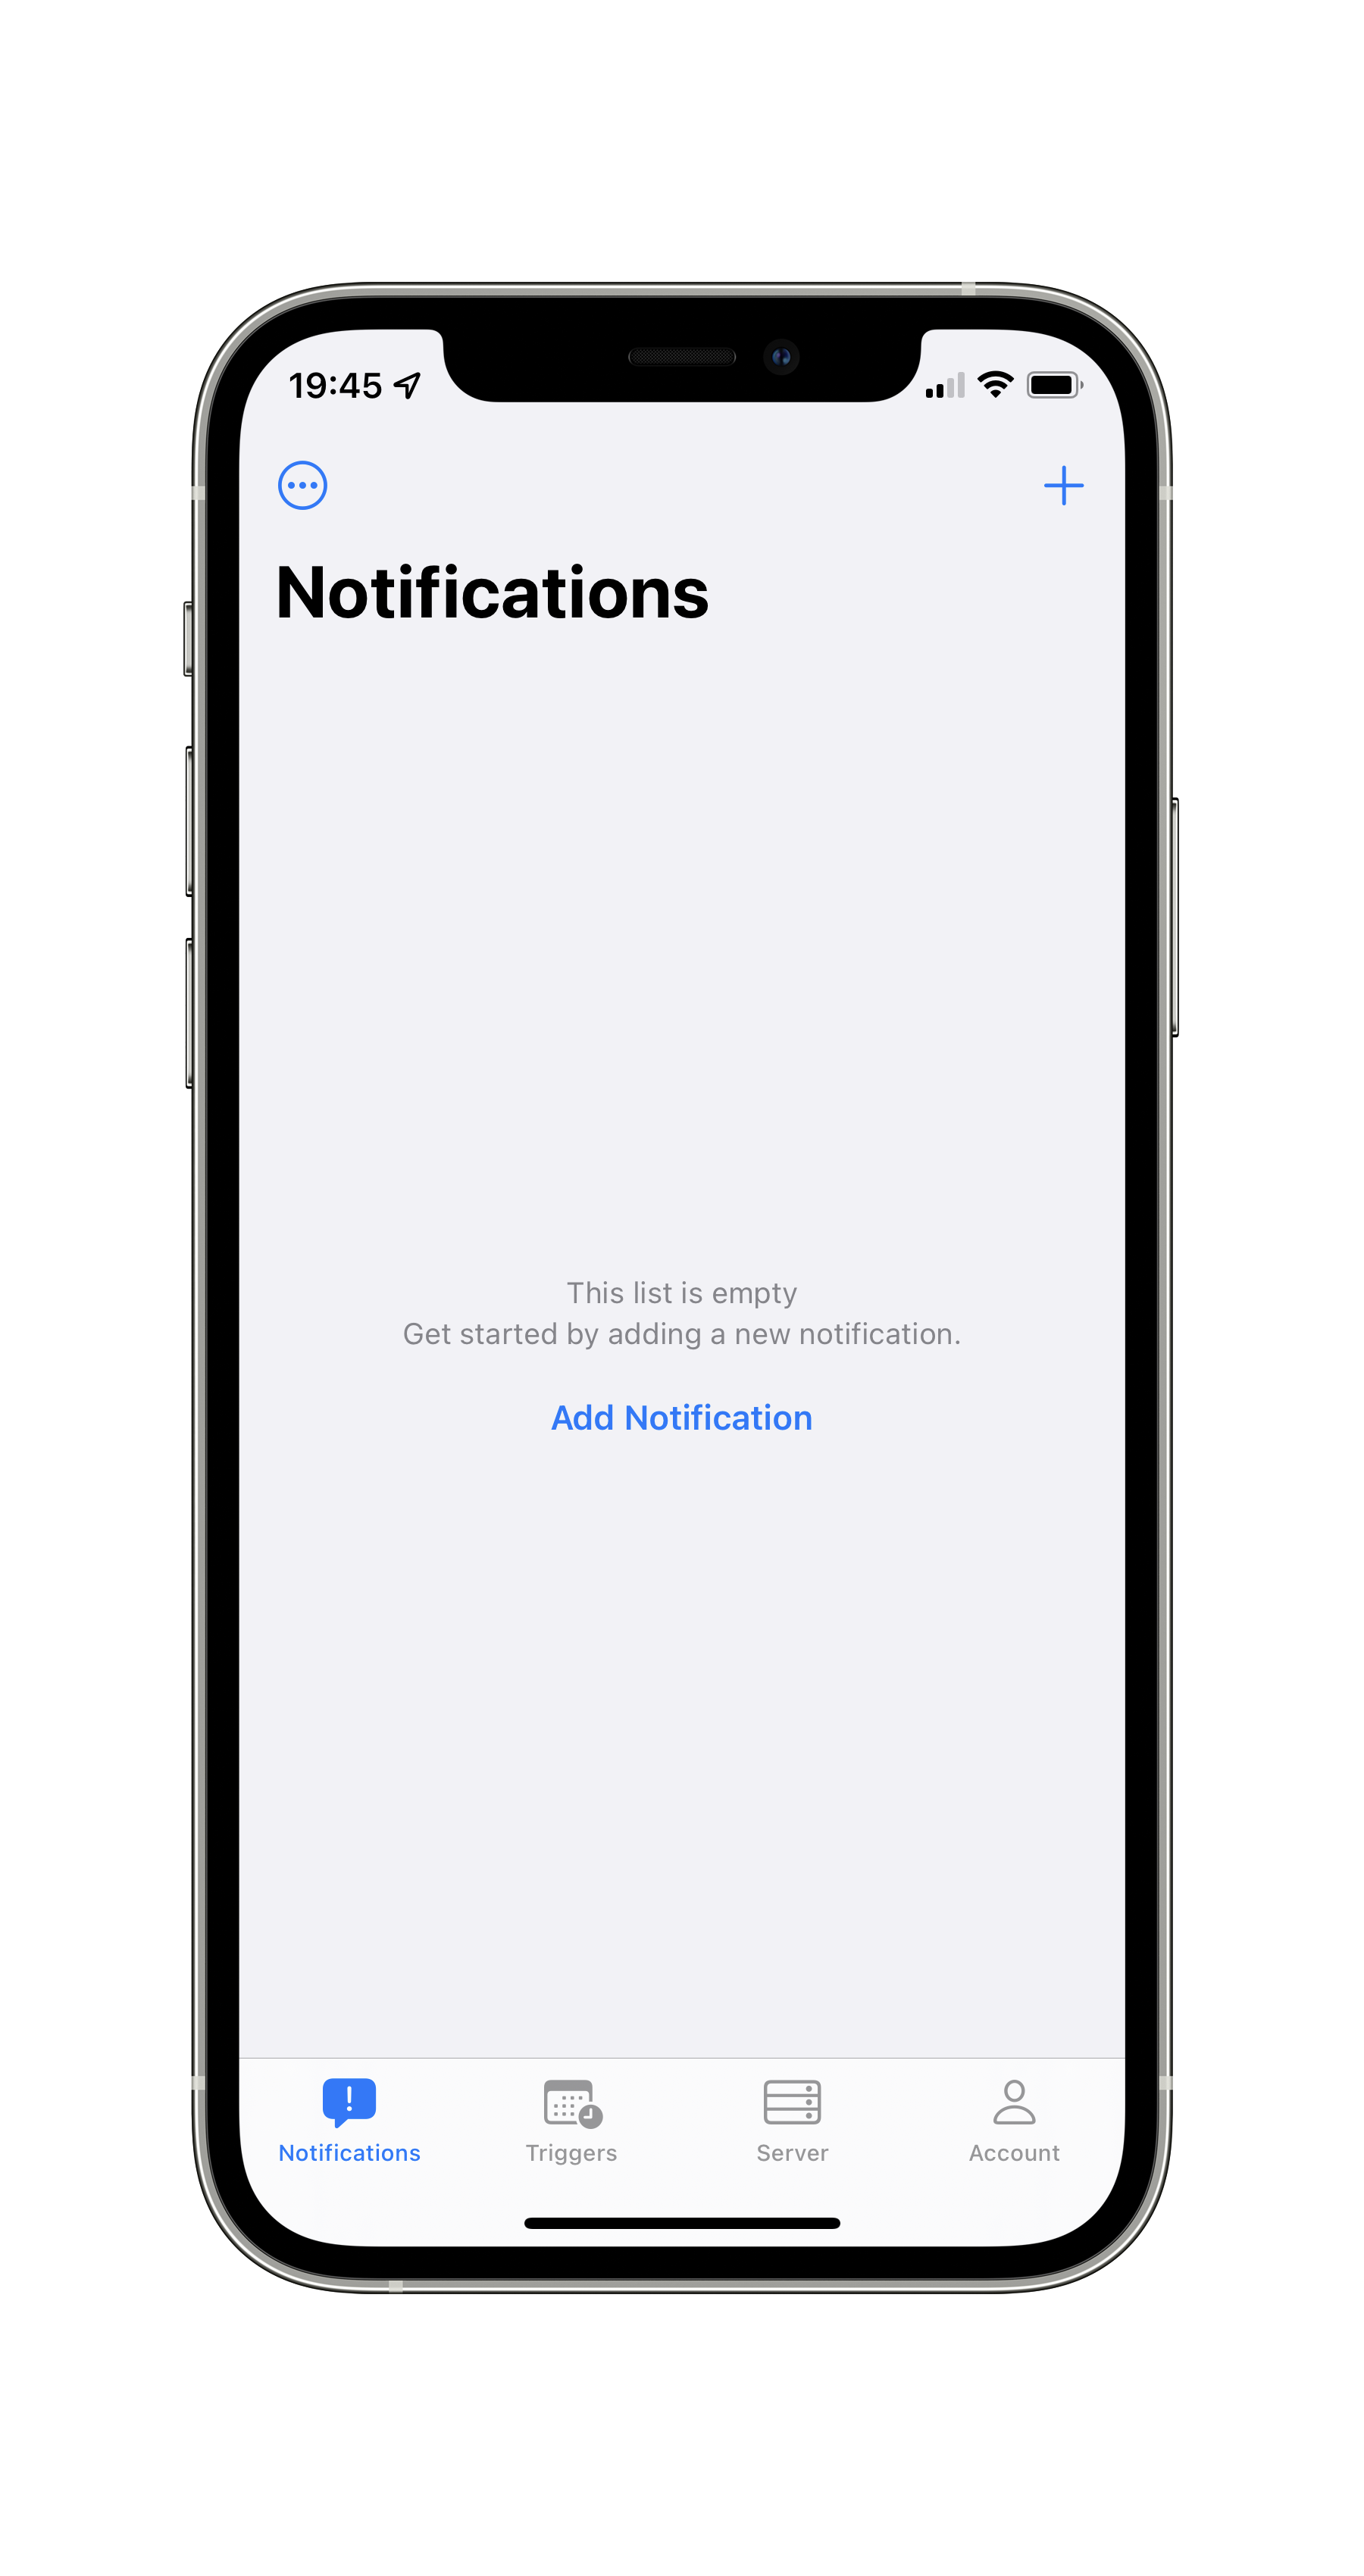
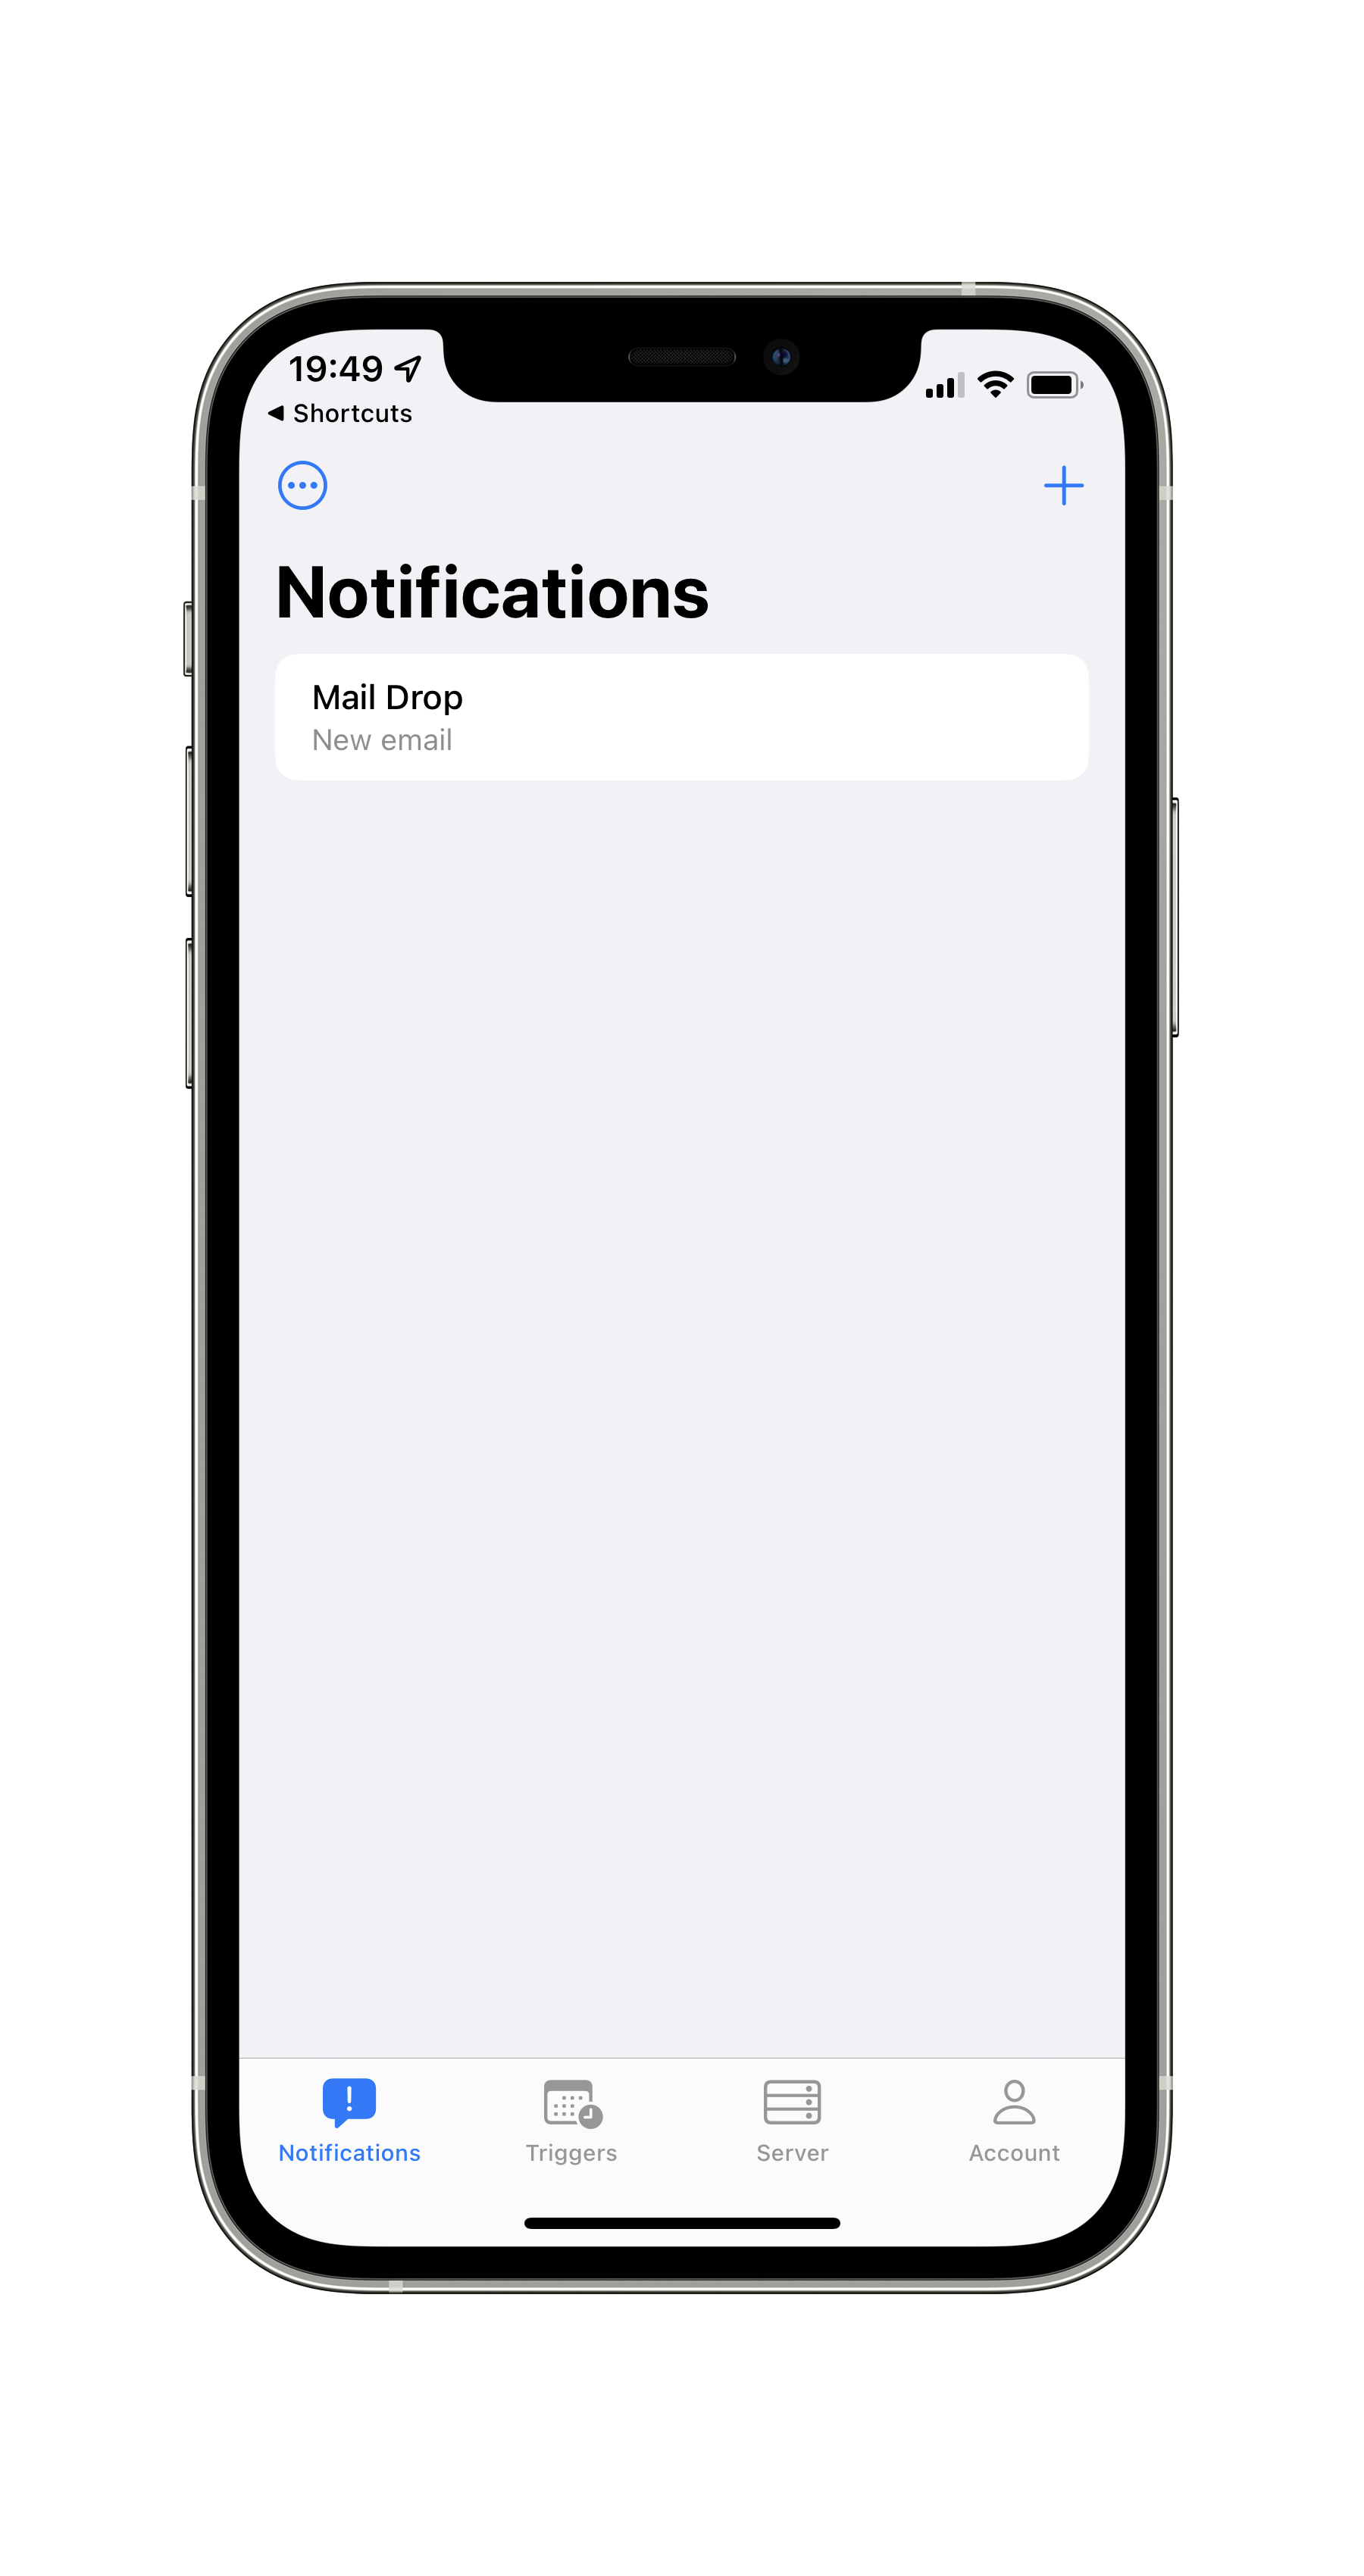
Step 5: Head to Pushcut and create a new notification
Tap on the plus sign in the top right corner of the Notifications tab in Pushcut.
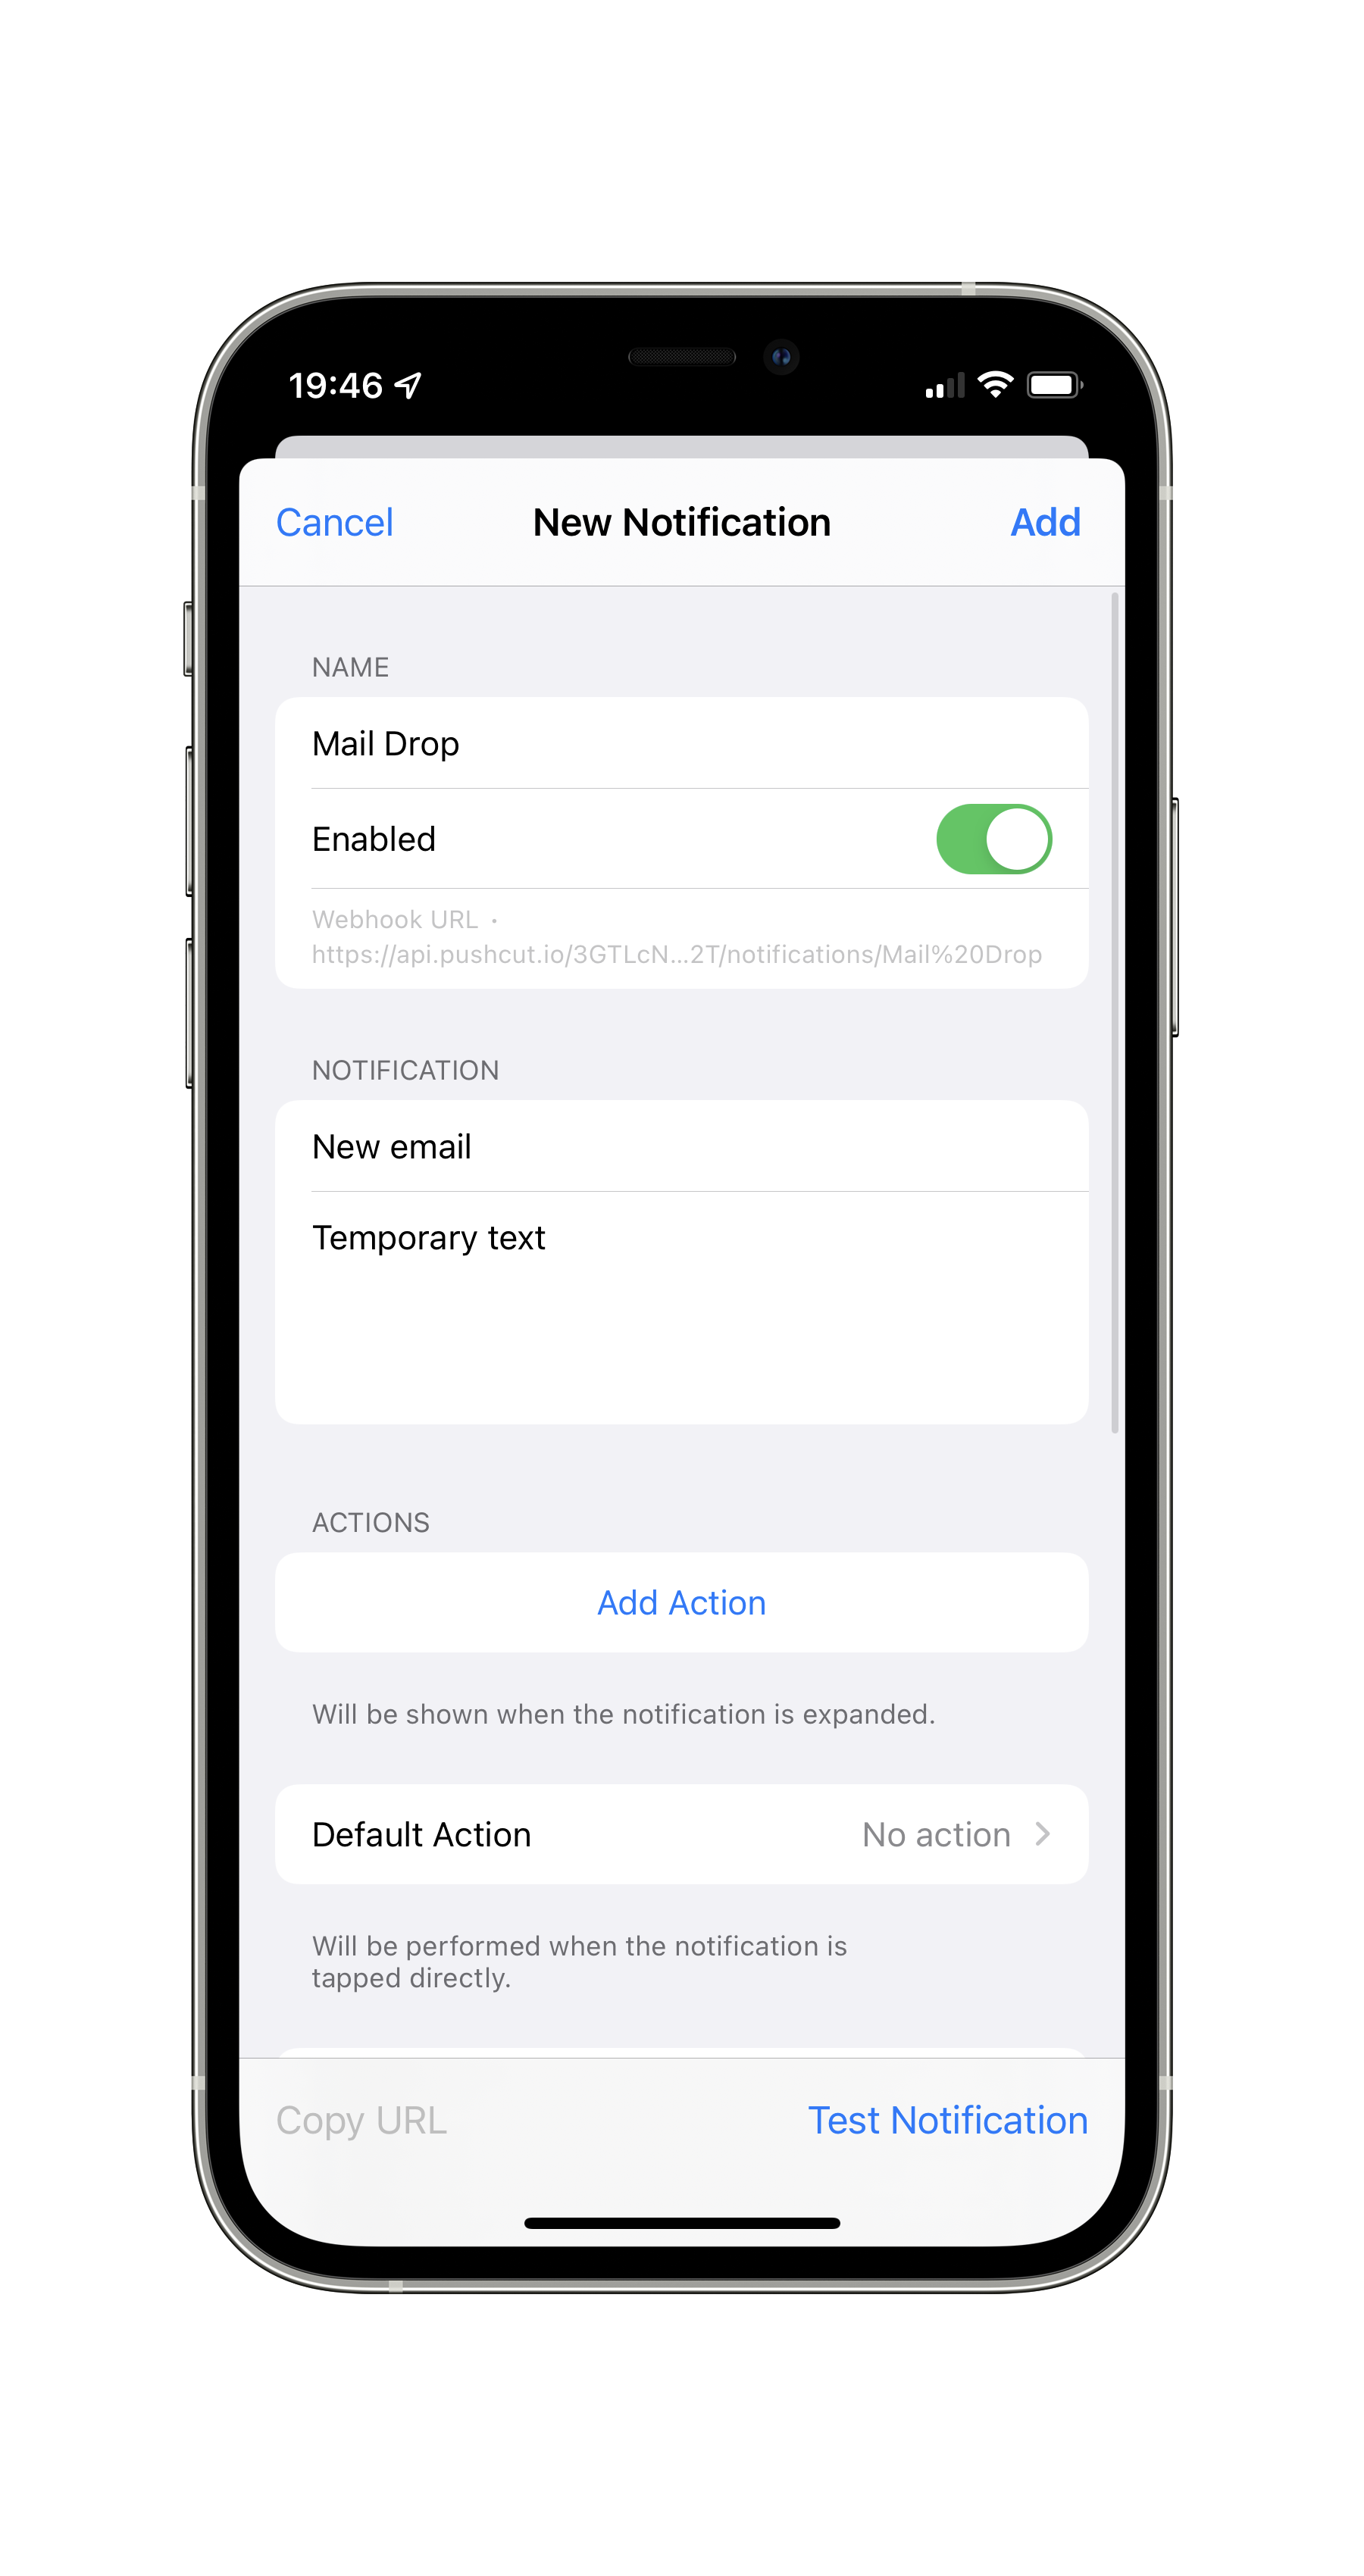
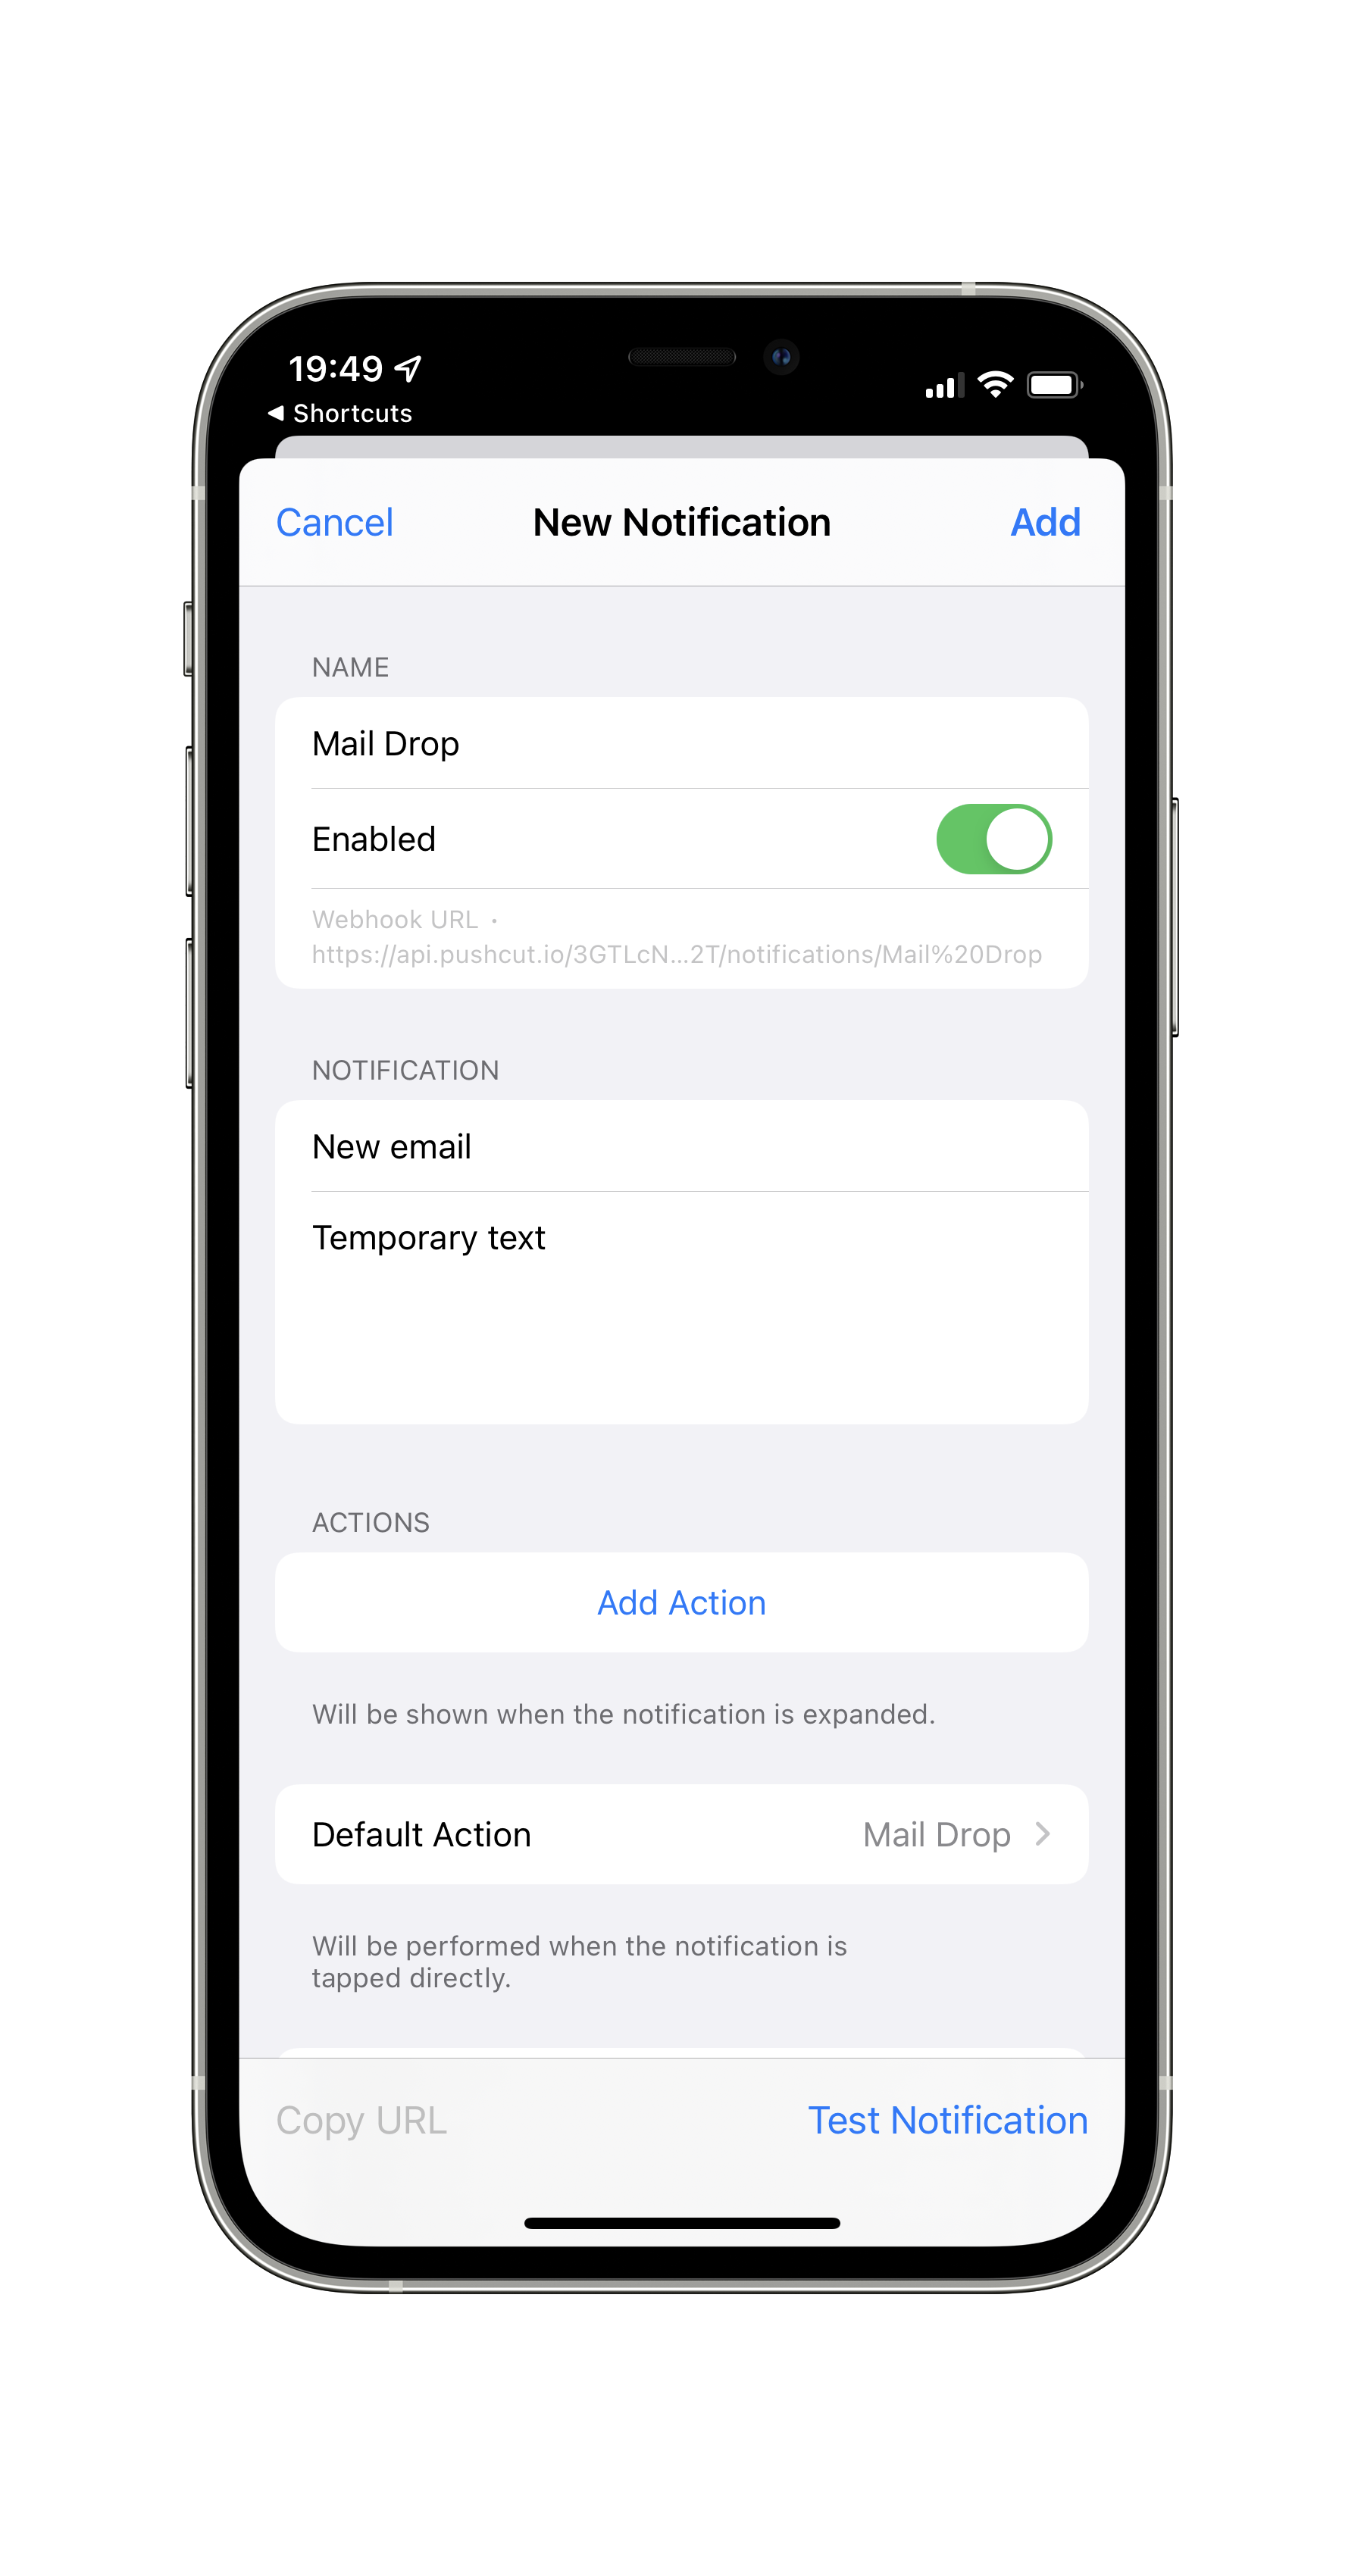
Step 6: Name the notification
Name the new notification, then tap on Default Action.
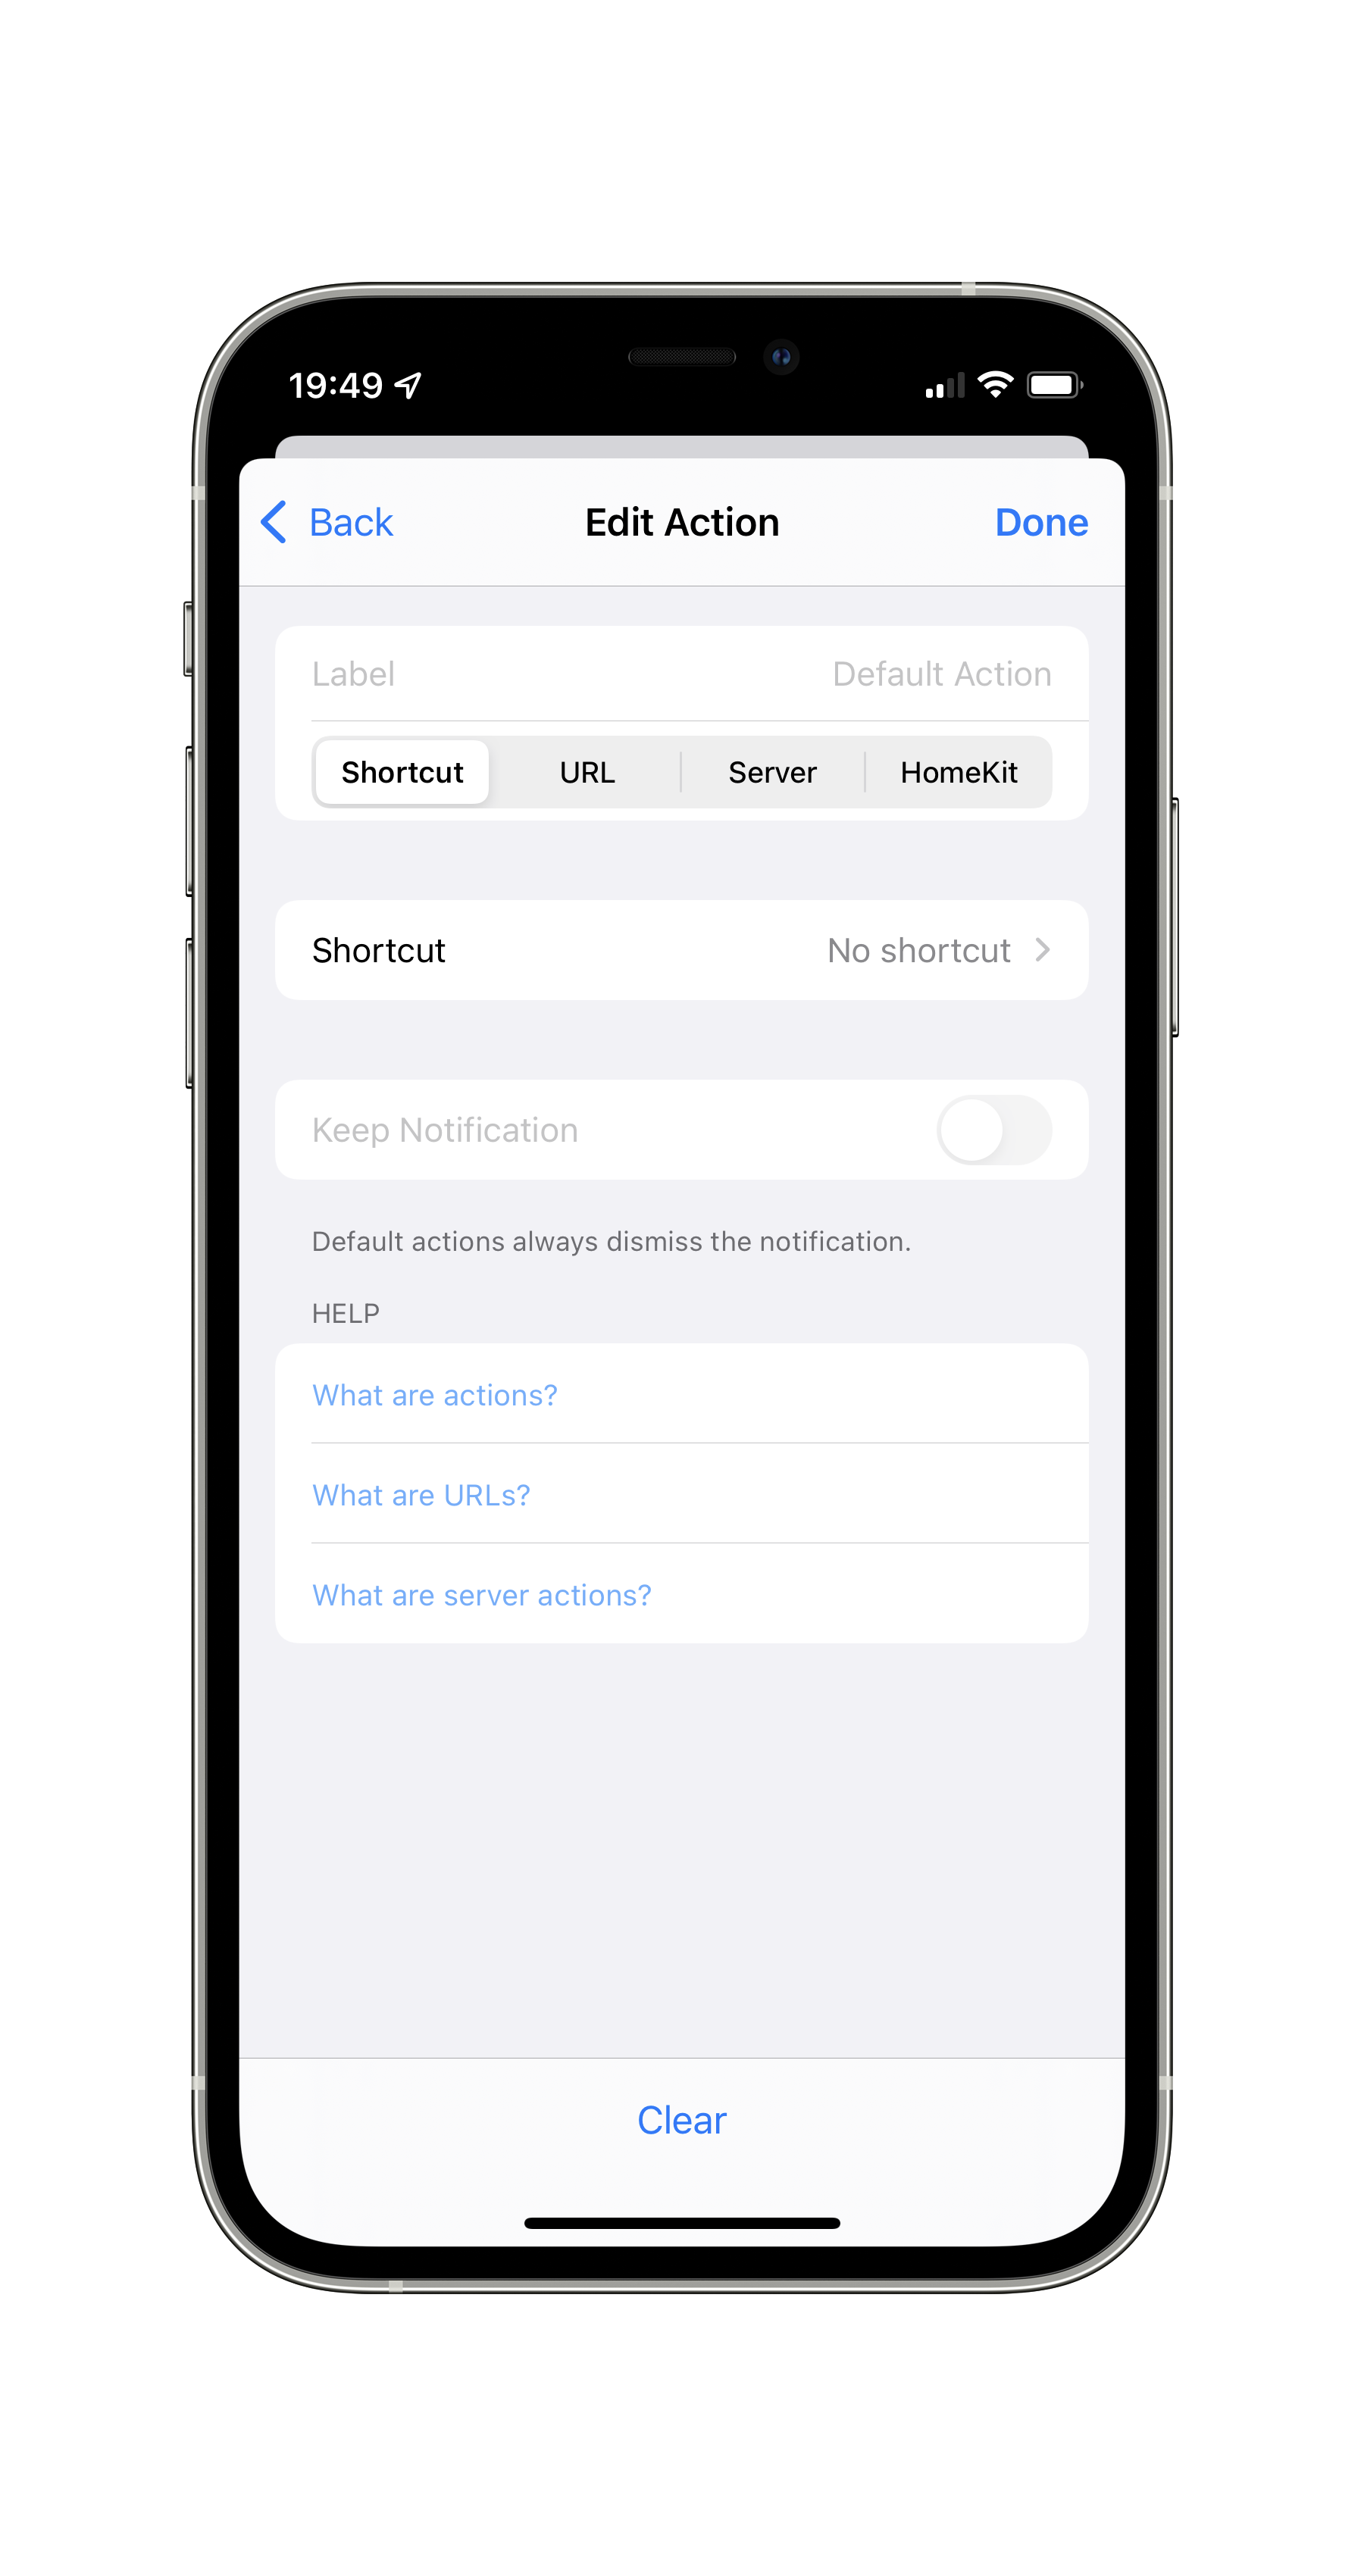
Step 7: Open the shortcut selection view
Tap on the "No shortcut" row to select our shortcut.
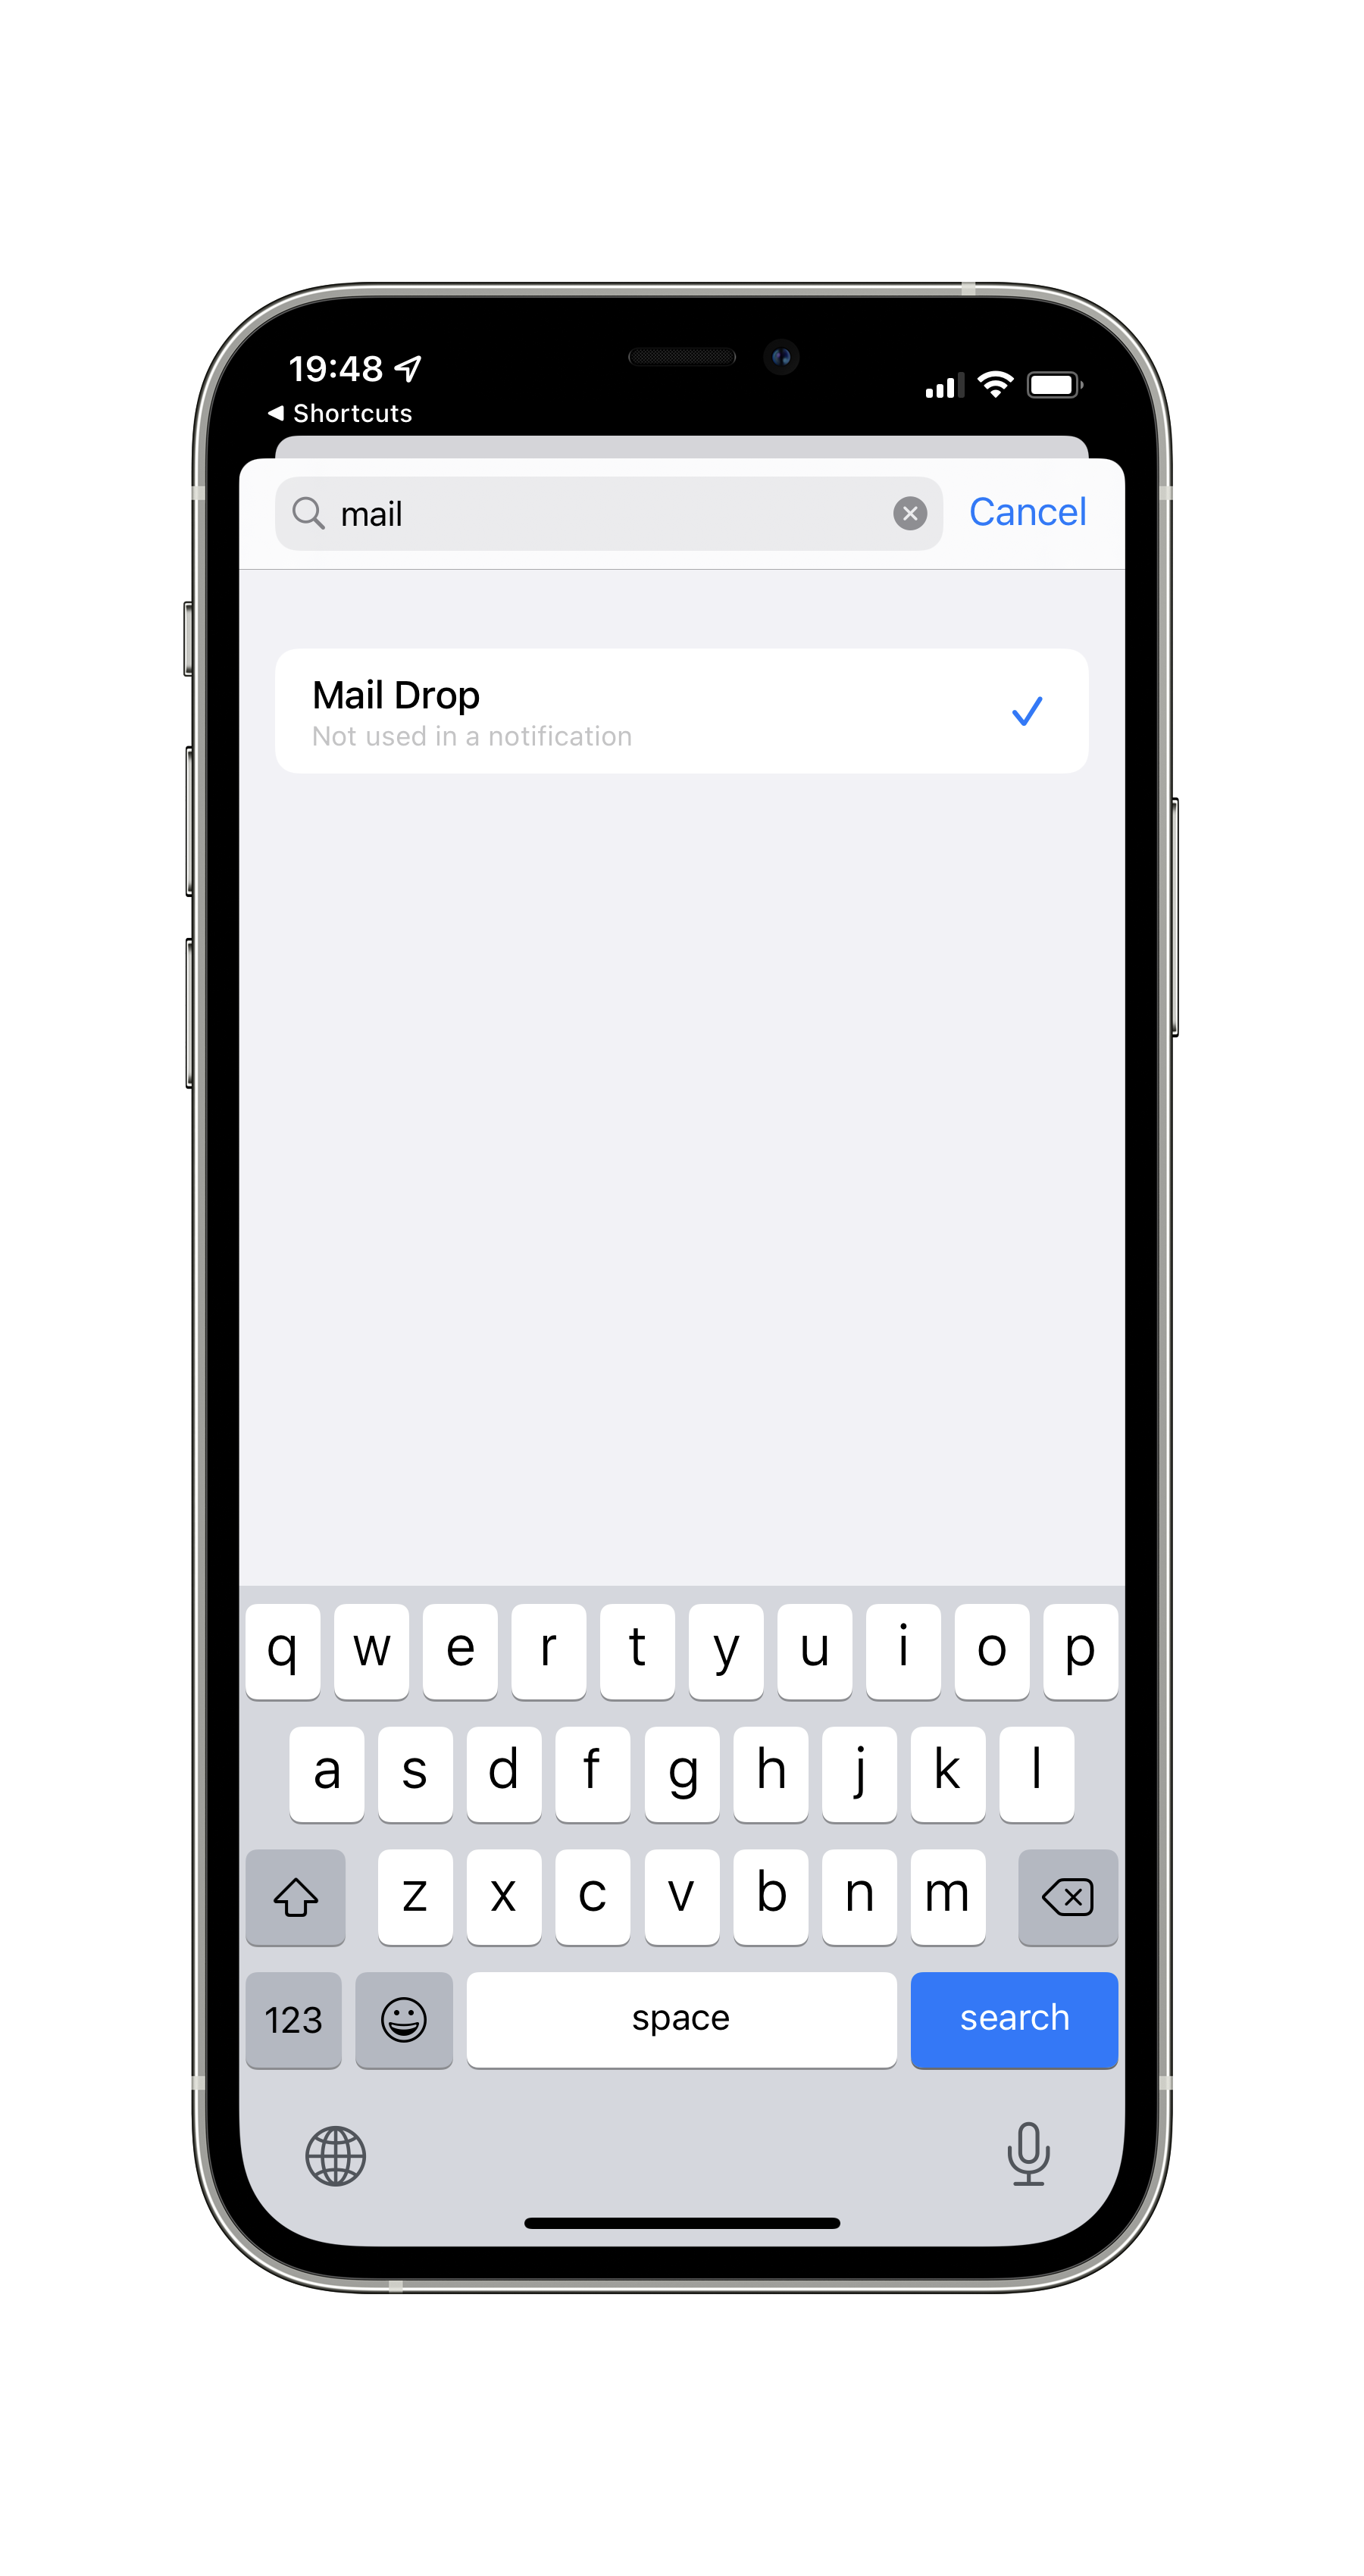
Step 8: Select the Mail Drop shortcut
Use the search bar to look for the Mail Drop shortcut, then select it.
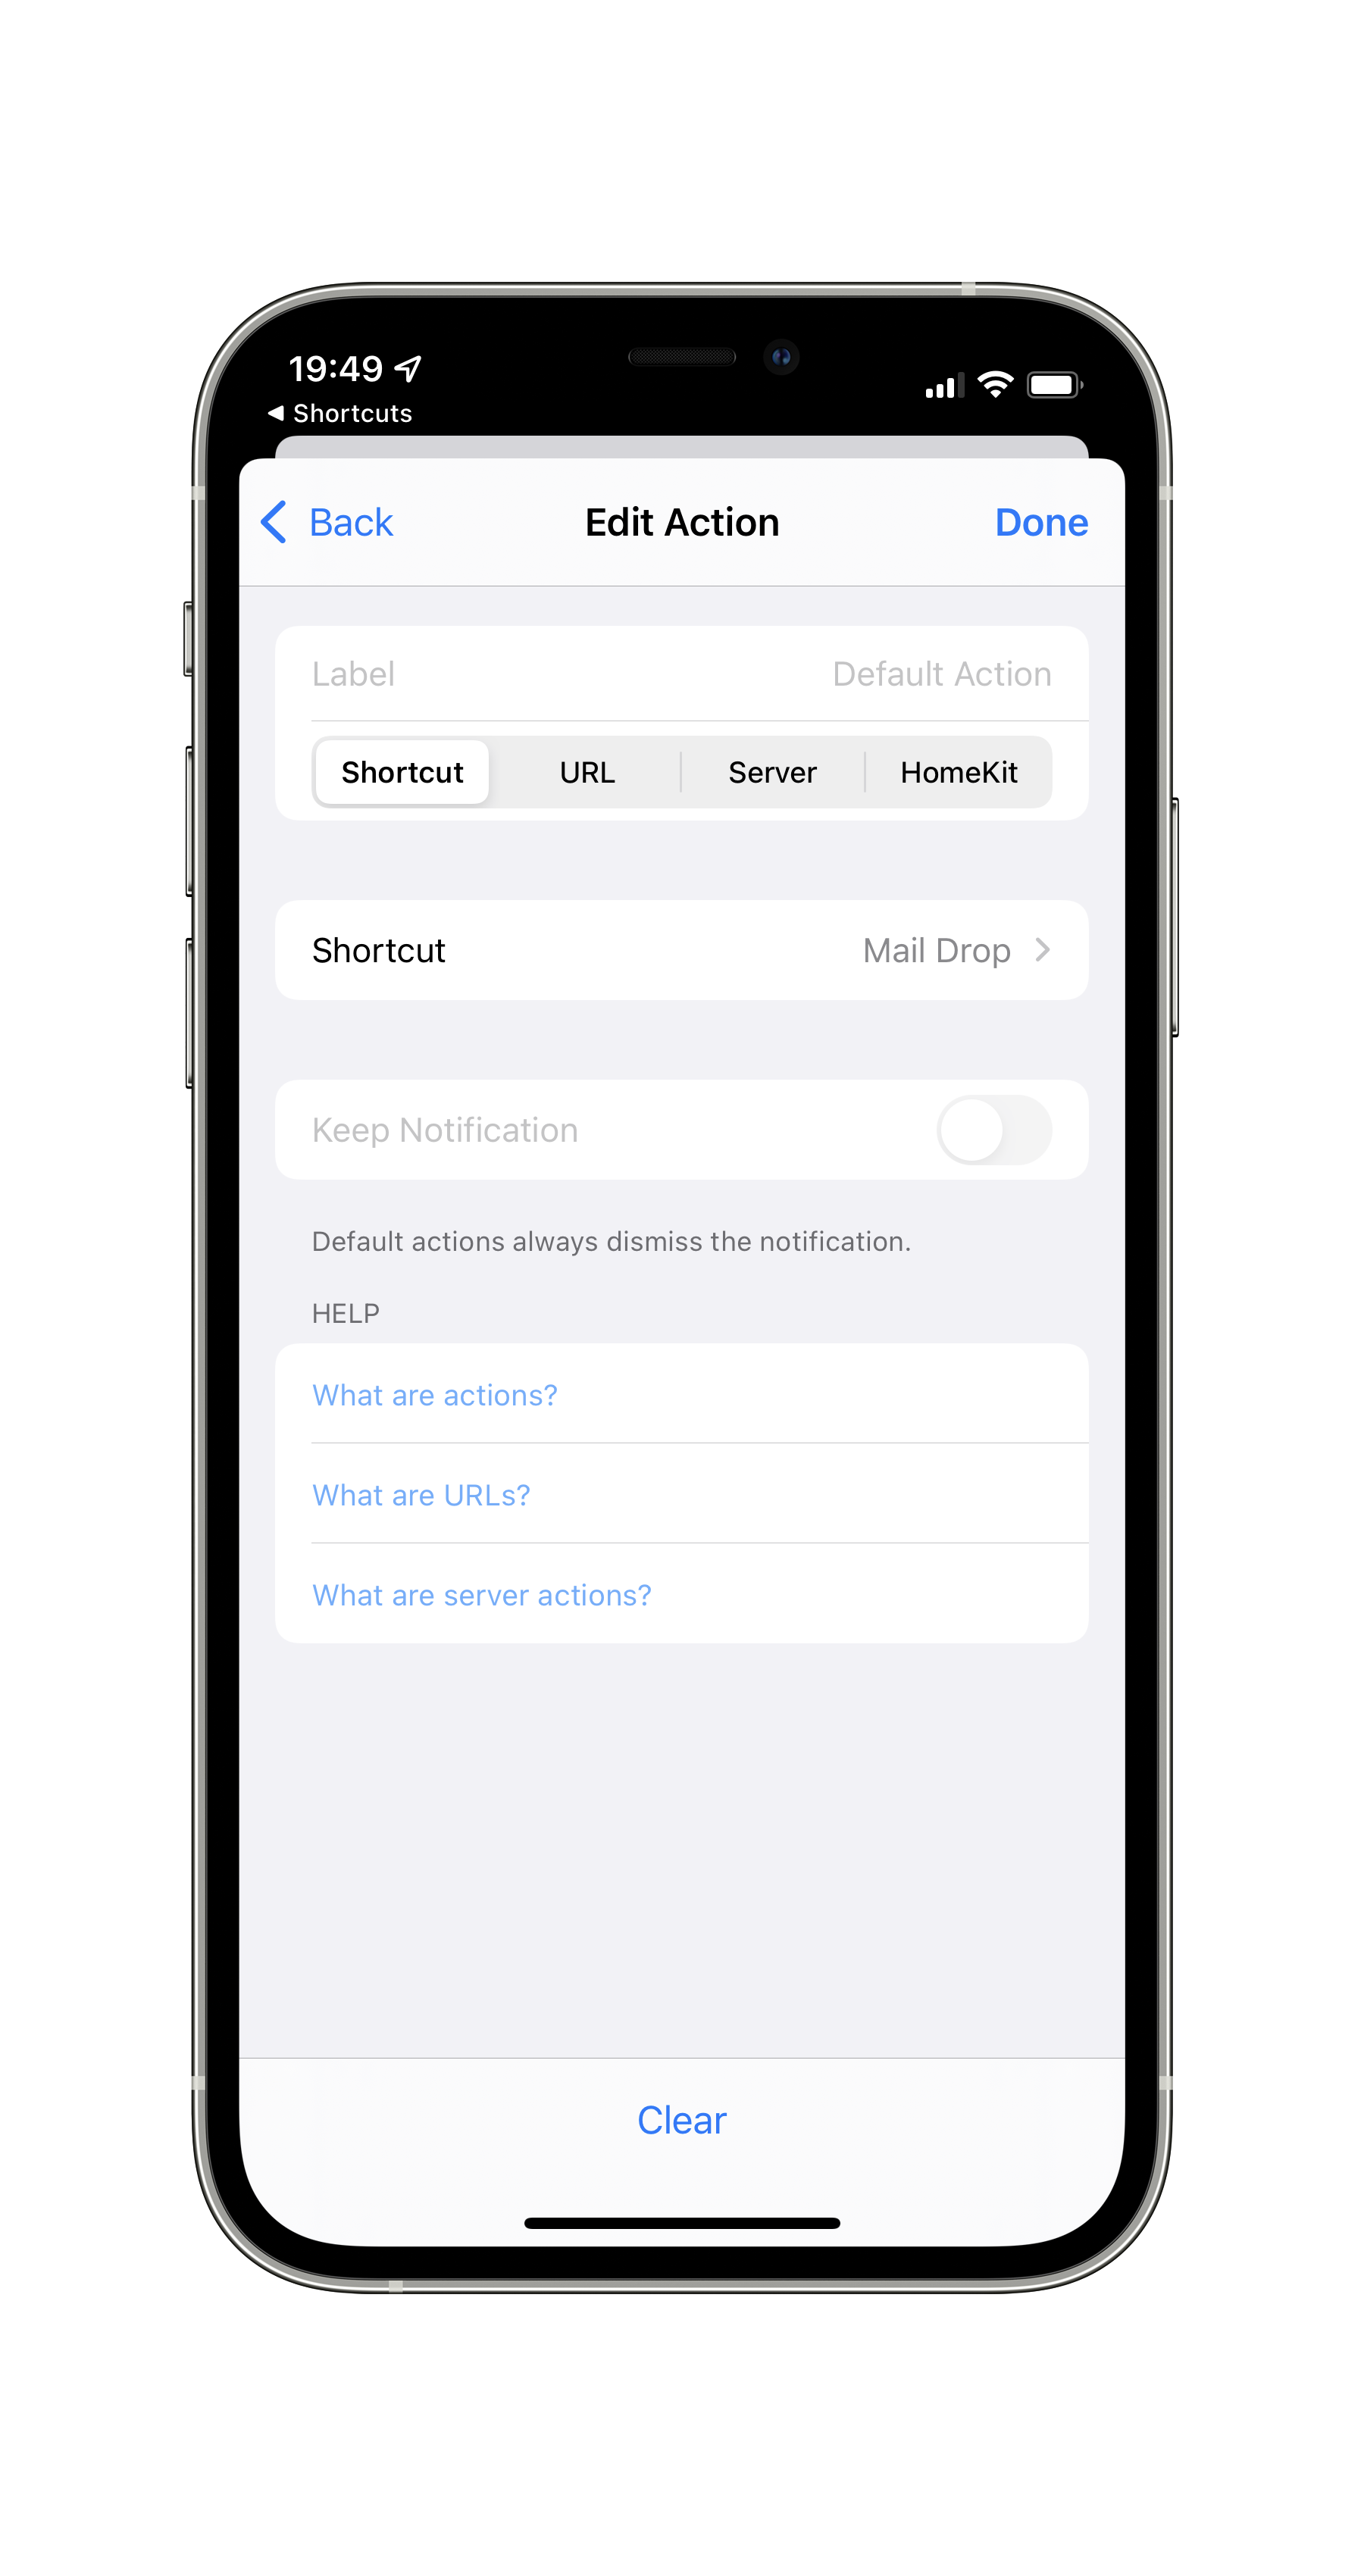
Step 9: Finish the default action selection
Tap on Done in the Default Action selection view.
Step 10: Add and save your notification
Tap on Add then on Done in the top right corner.
Step 11: Create a new IFTTT applet
Using the IFTTT app or website, create a new Applet.
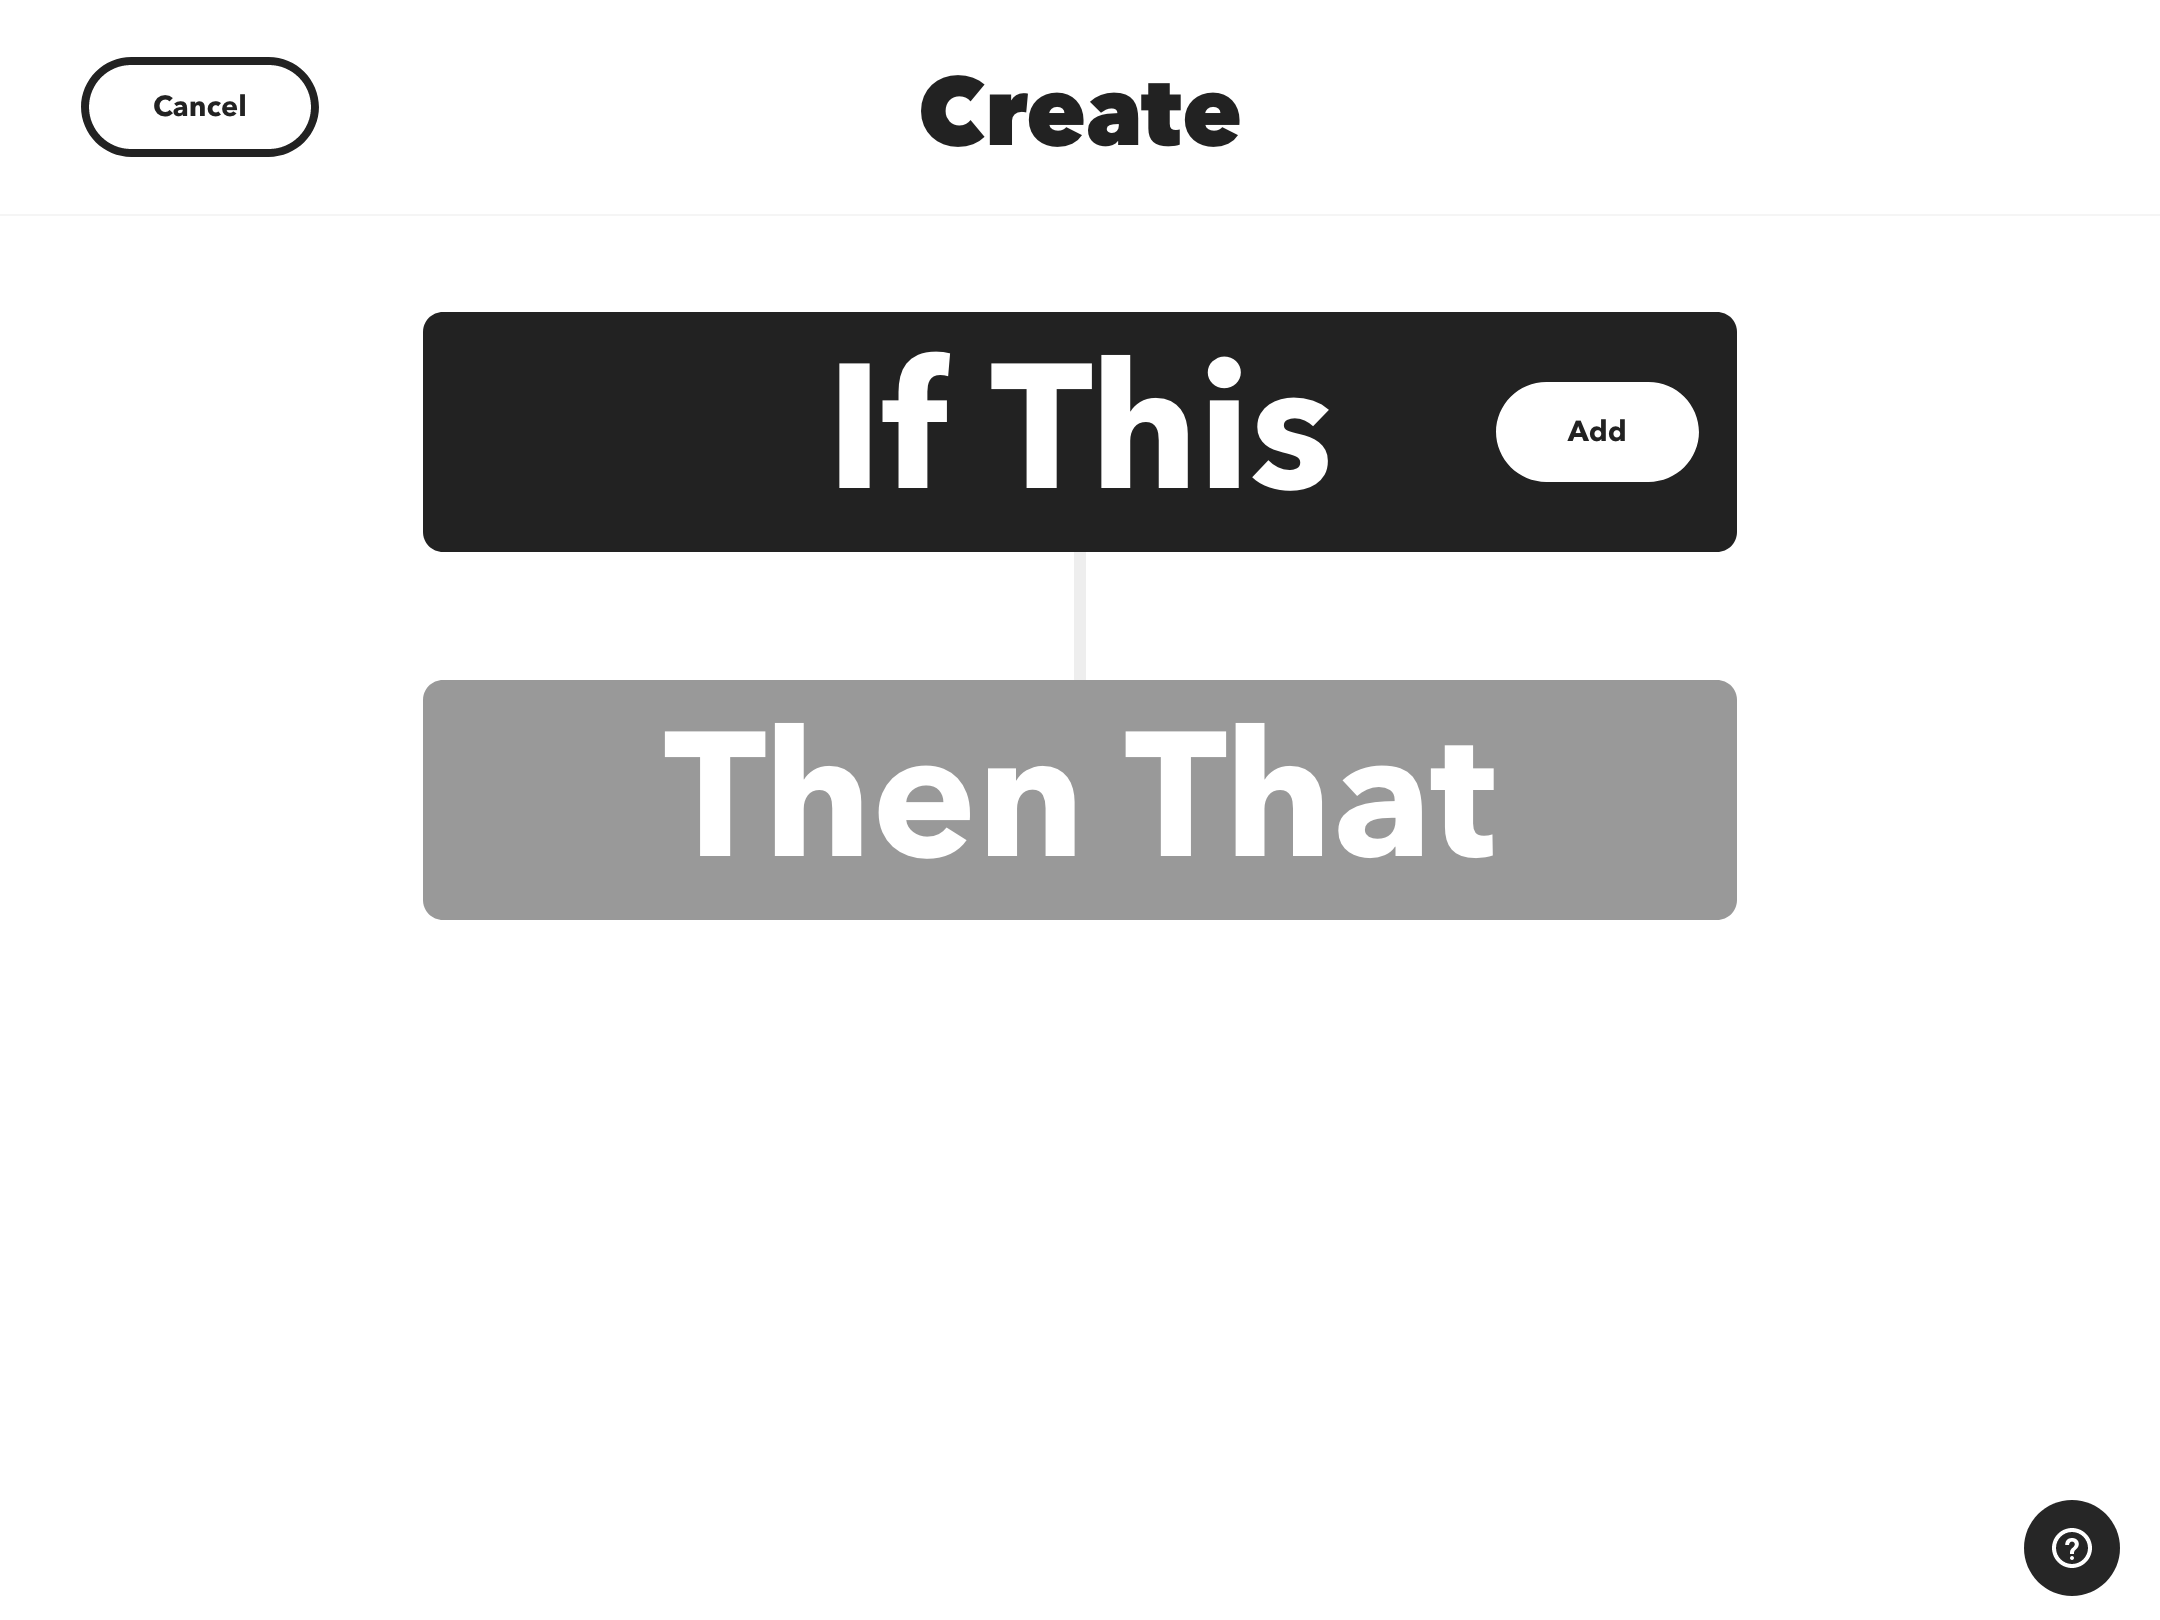
Step 12: Add an email trigger
Tap in the Add button inside the "If Then" section, then search for email.
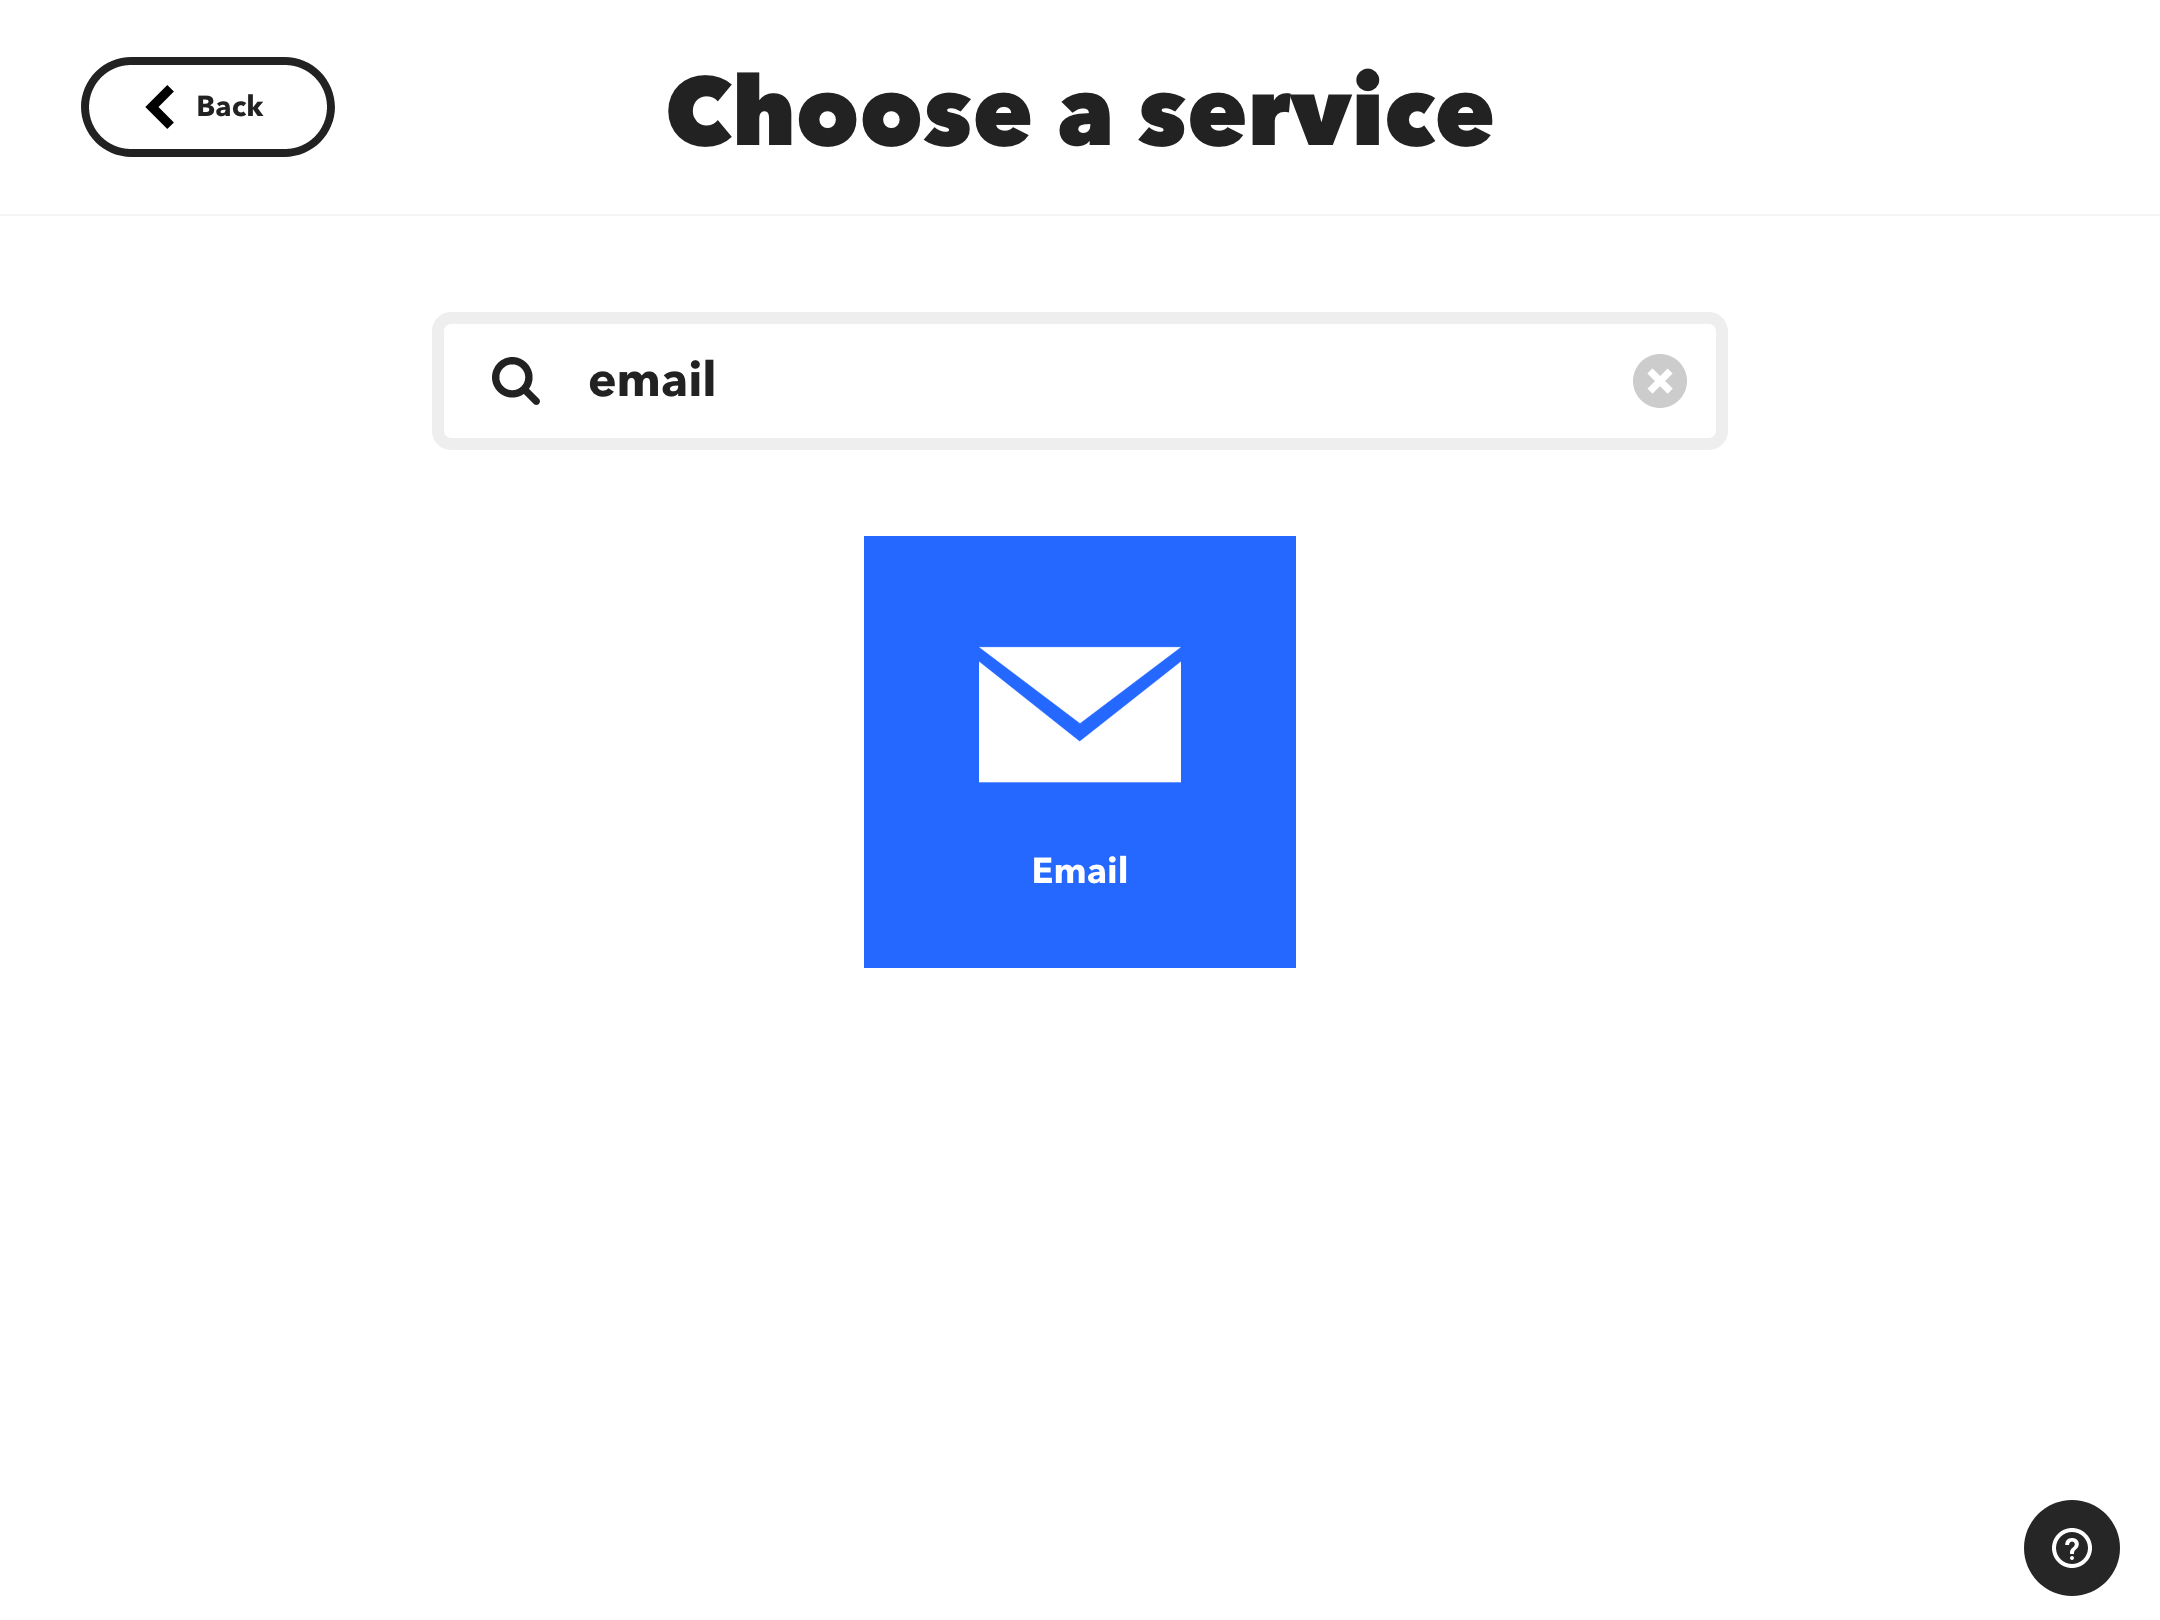
Step 13: Pick a trigger
IFTTT provides two different email triggers. Let's use the first one: "Send IFTTT any email".

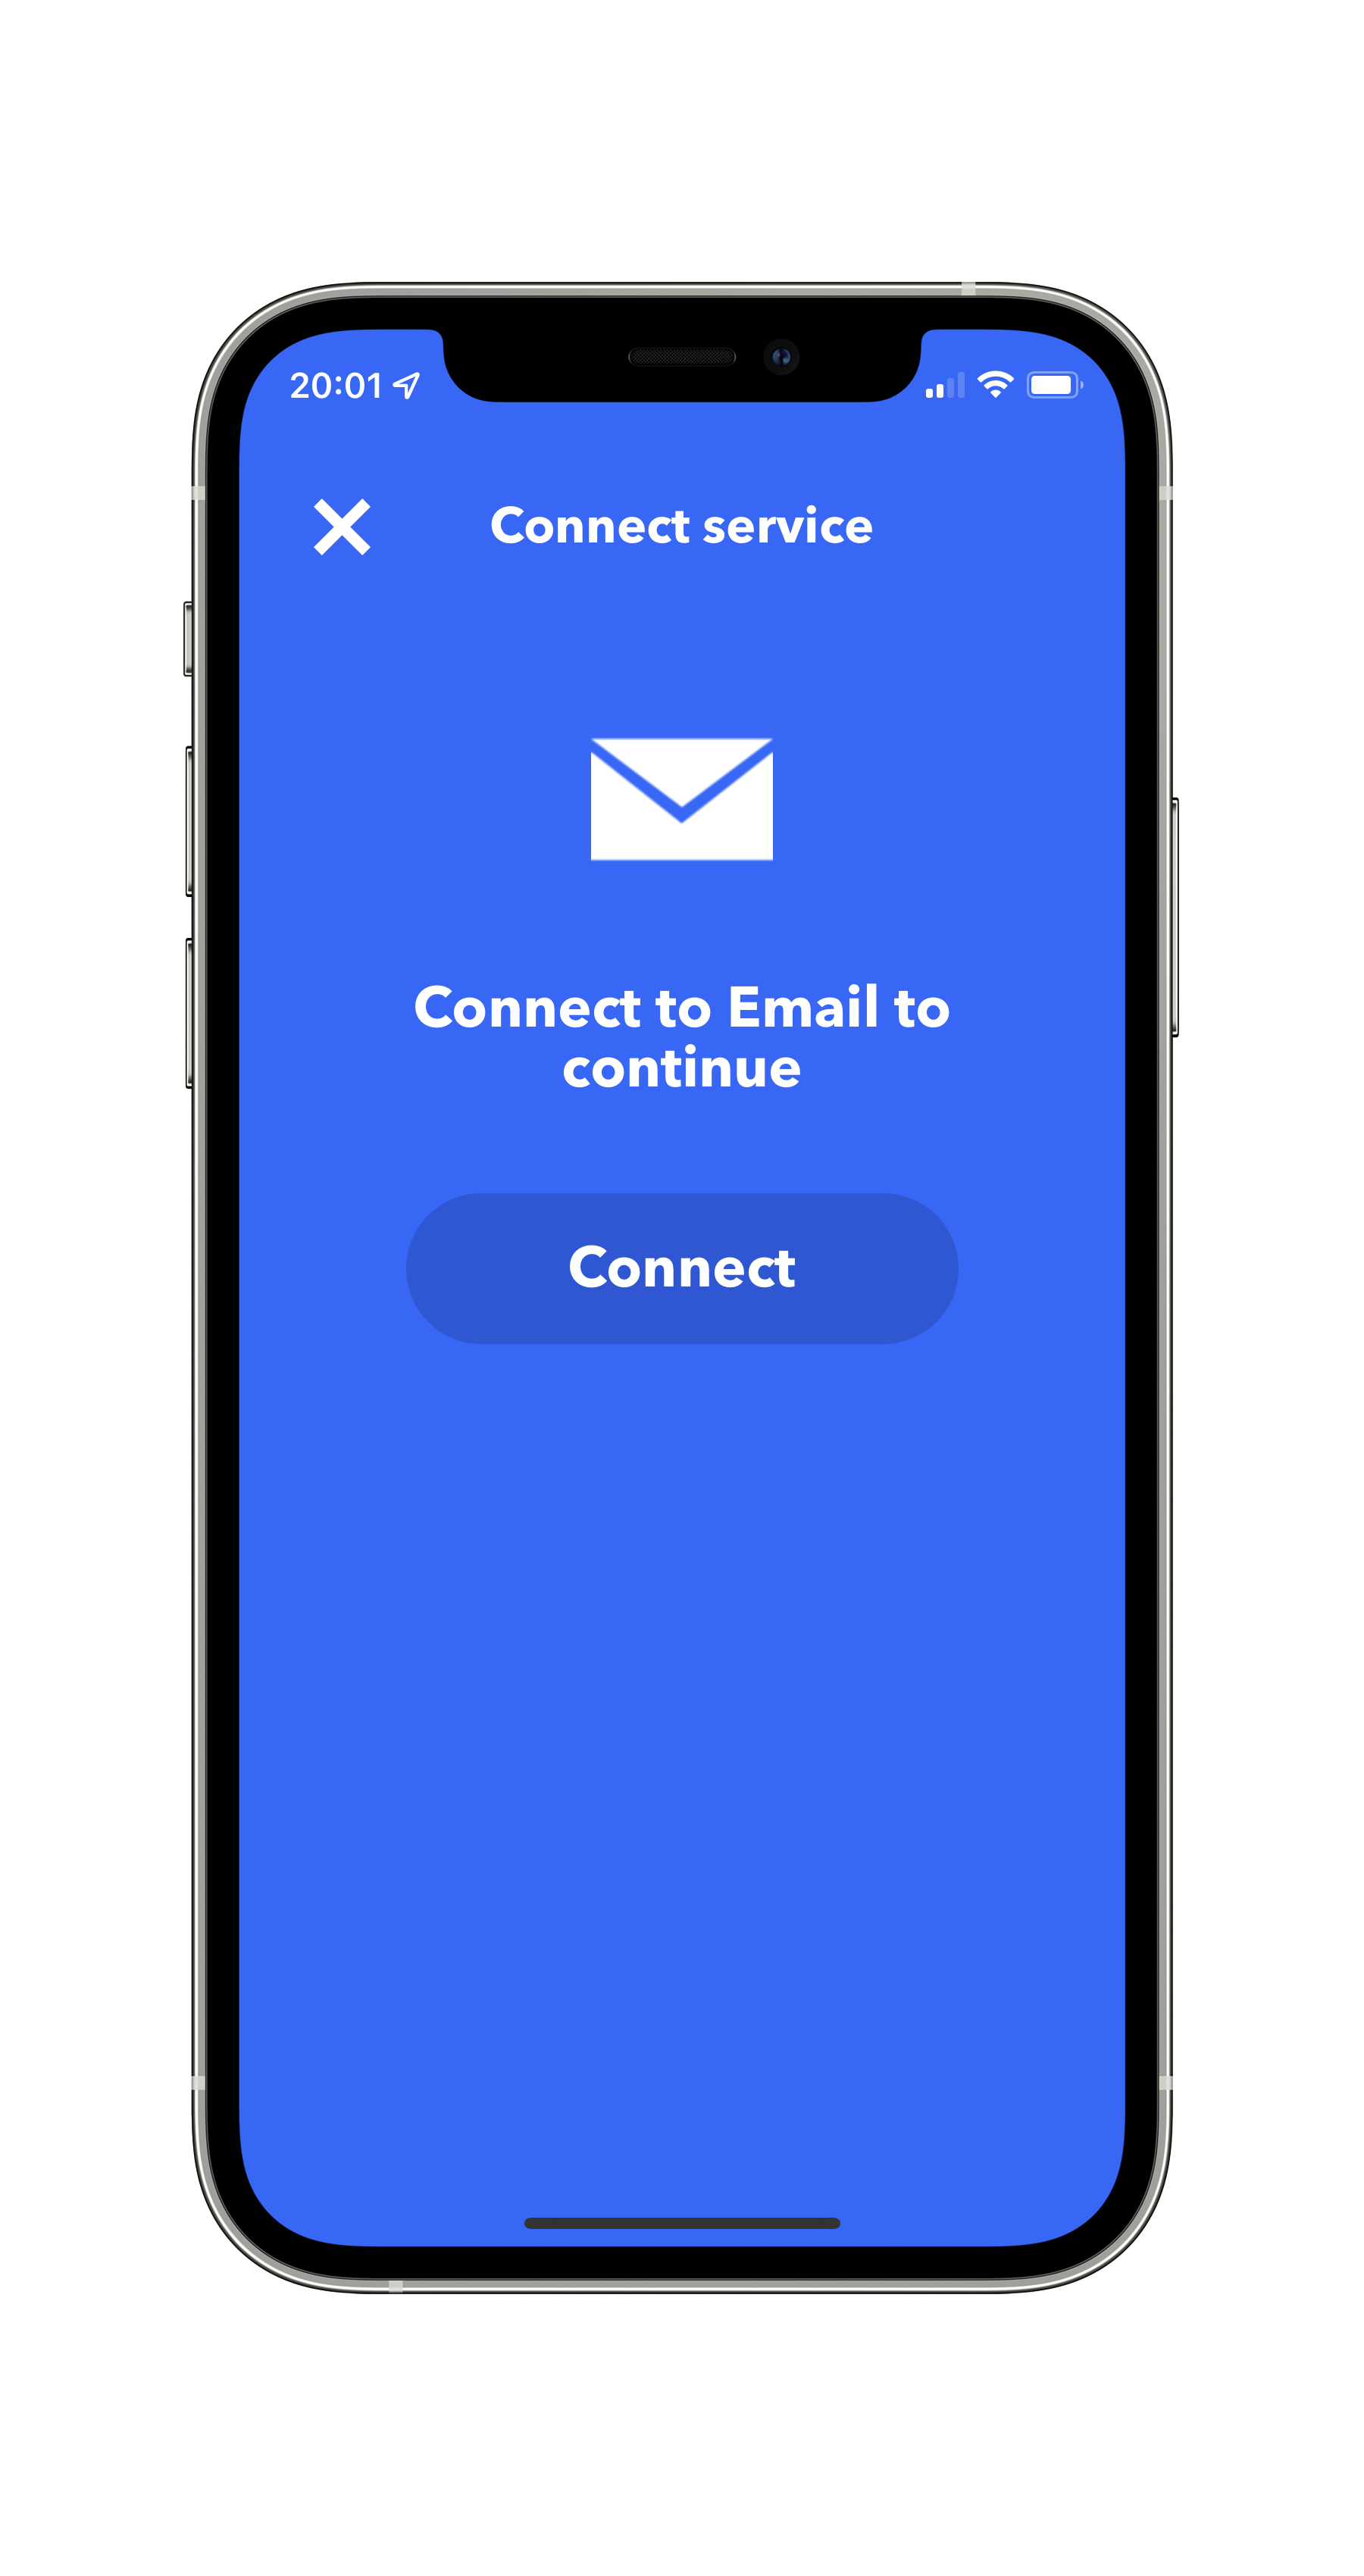
Step 14: Connect your email to IFTTT
Follow the onscreen steps to connect your email to IFTTT.
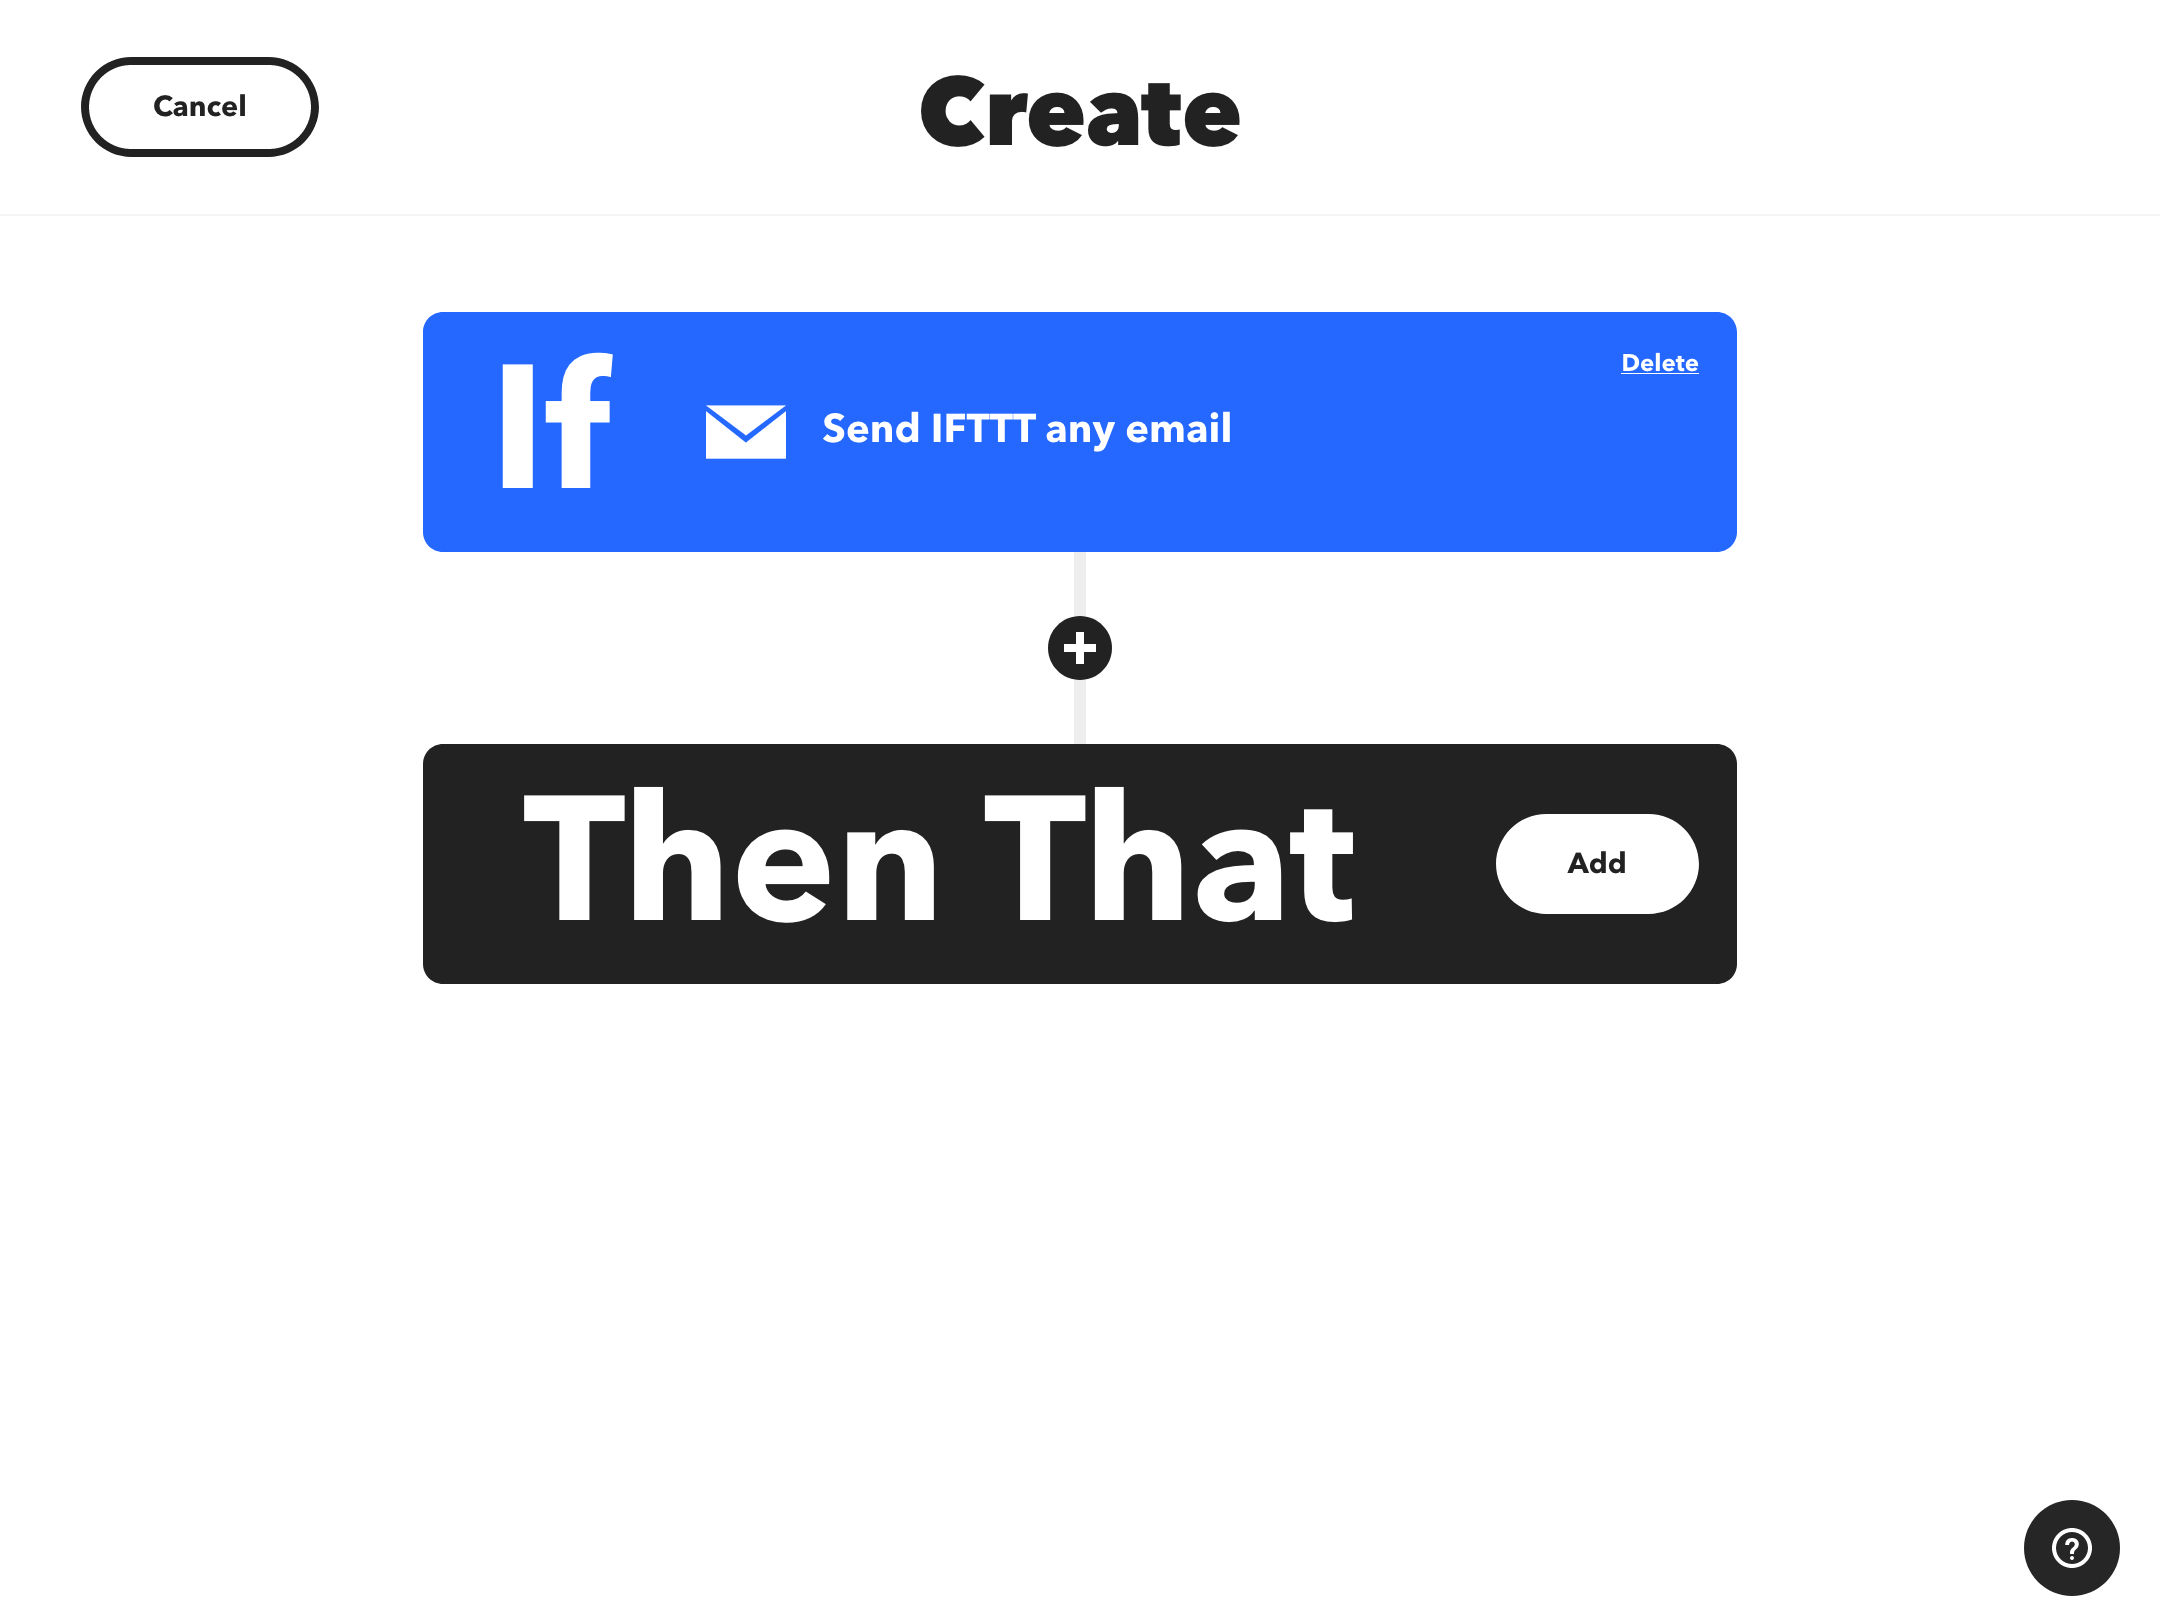
Step 15: Open the action selection screen
Tap in the Add button inside the "Then That" section.
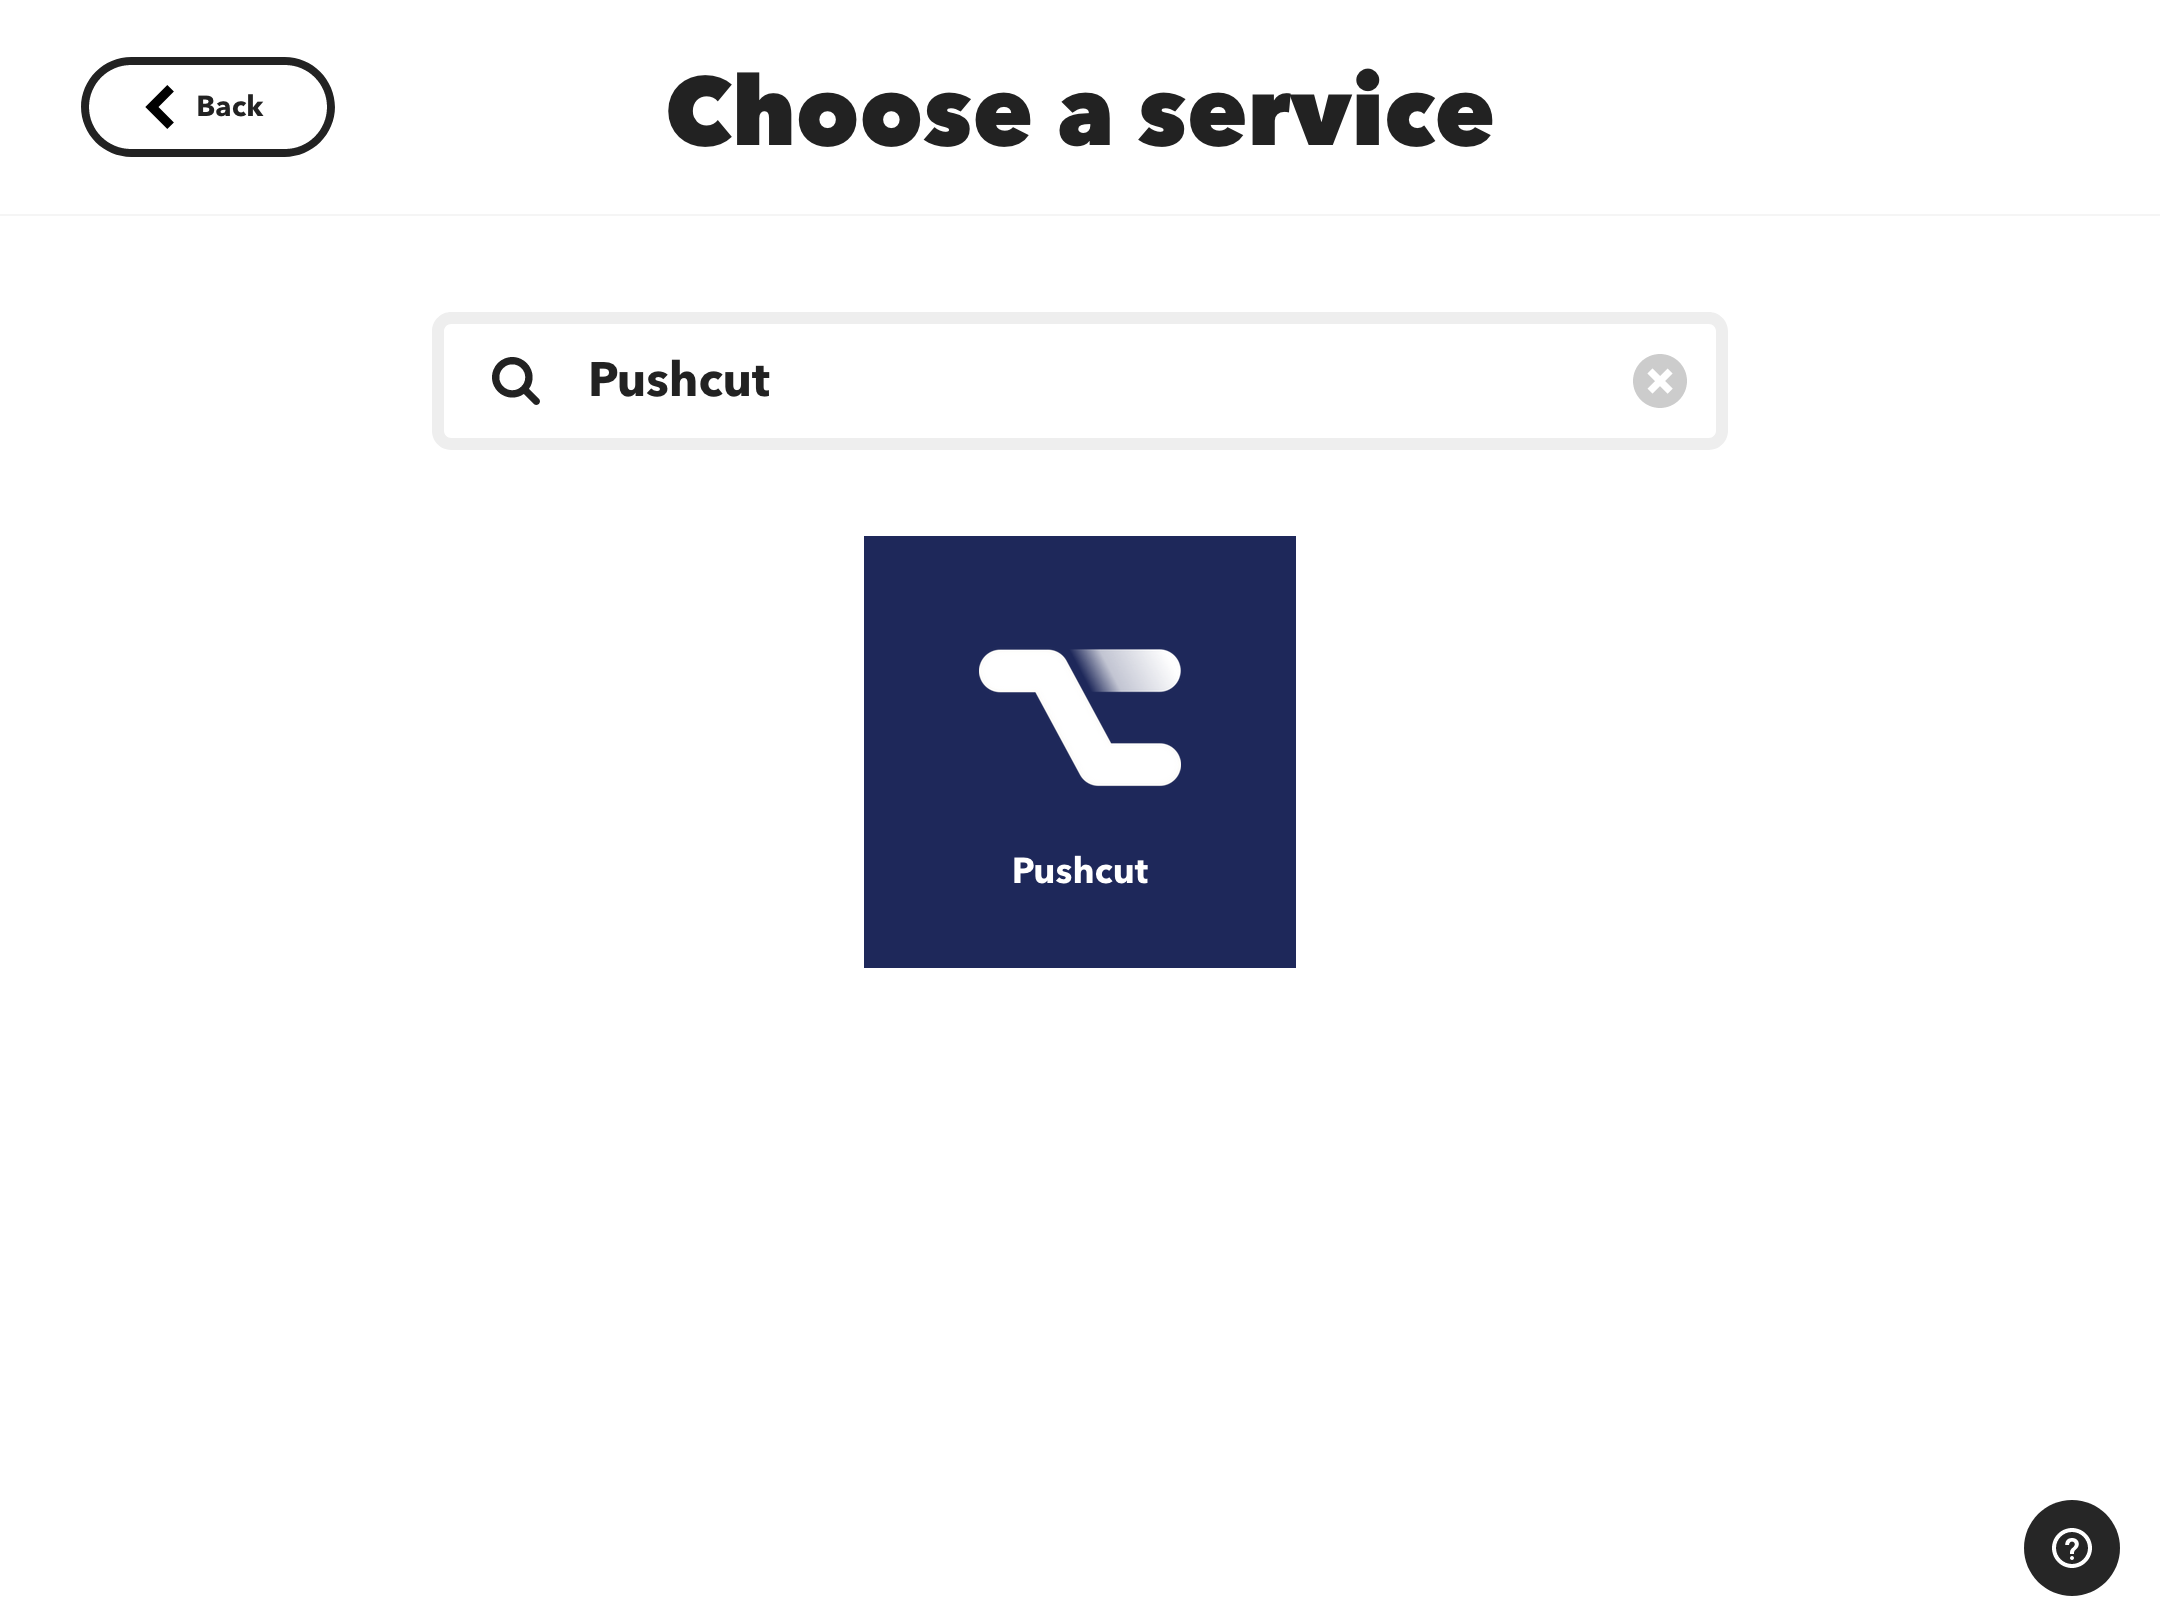
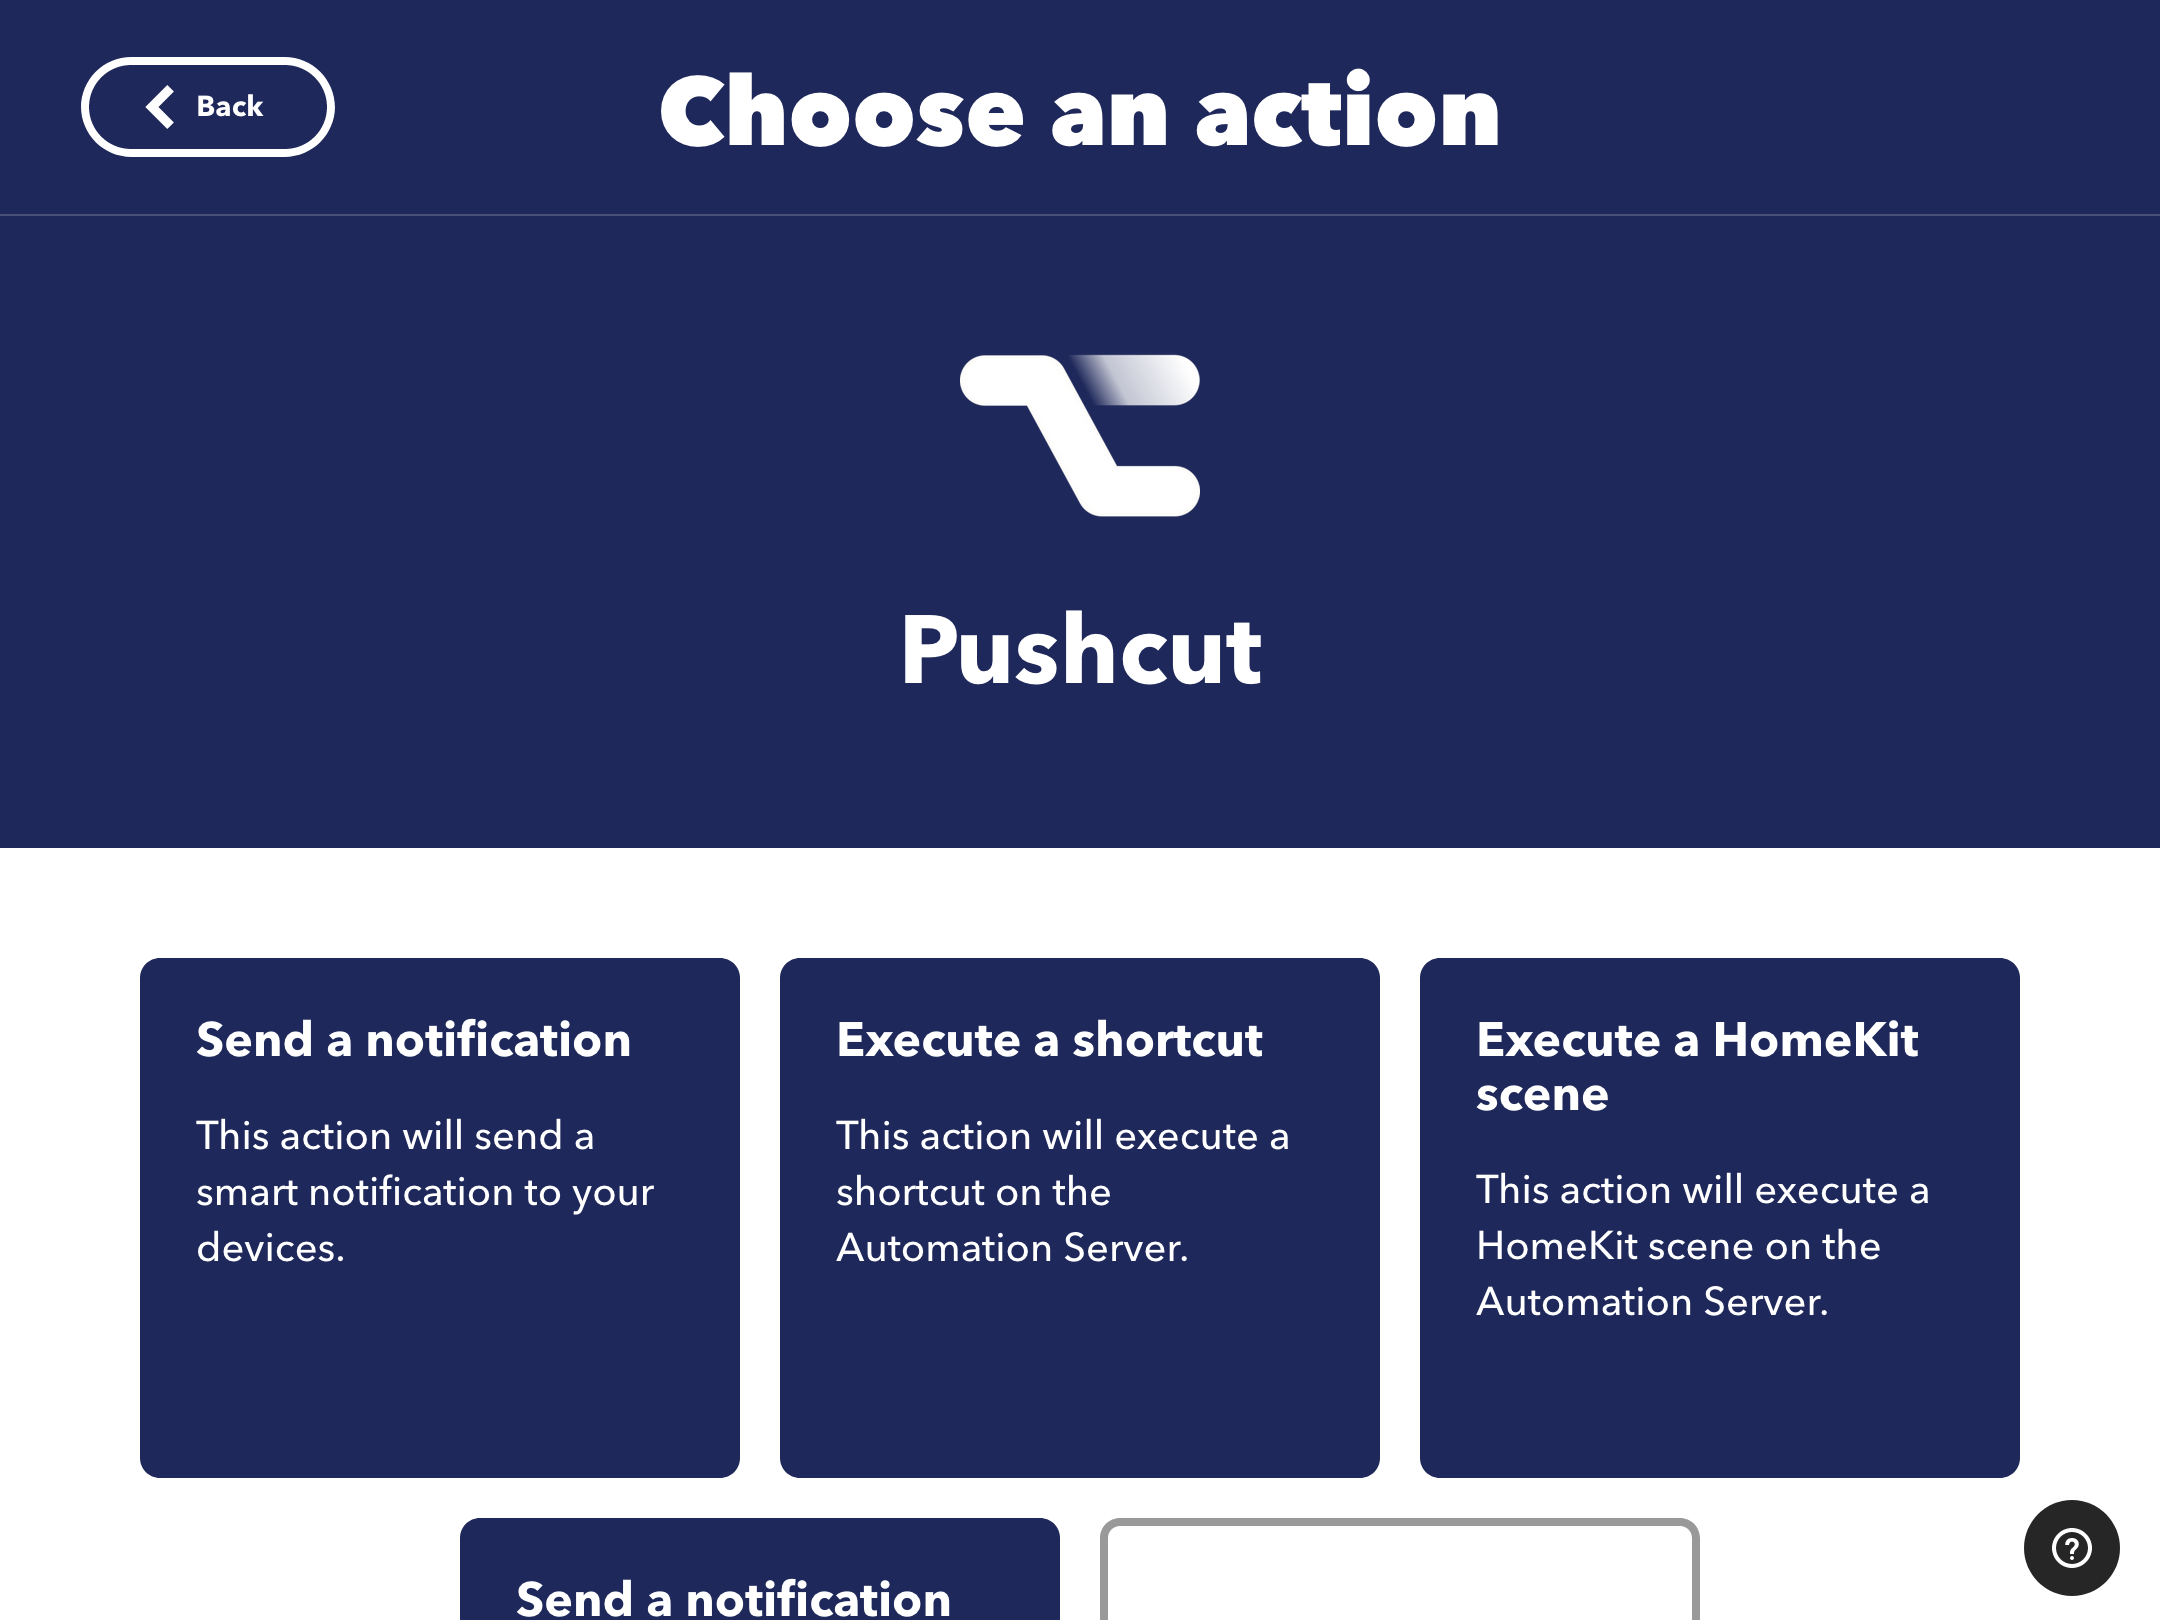
Step 16: Pick the Pushcut action
Search for Pushcut in the search bar then tap on it.
Step 17: Select Pushcut's action
Tap on the "Send a notification" action.
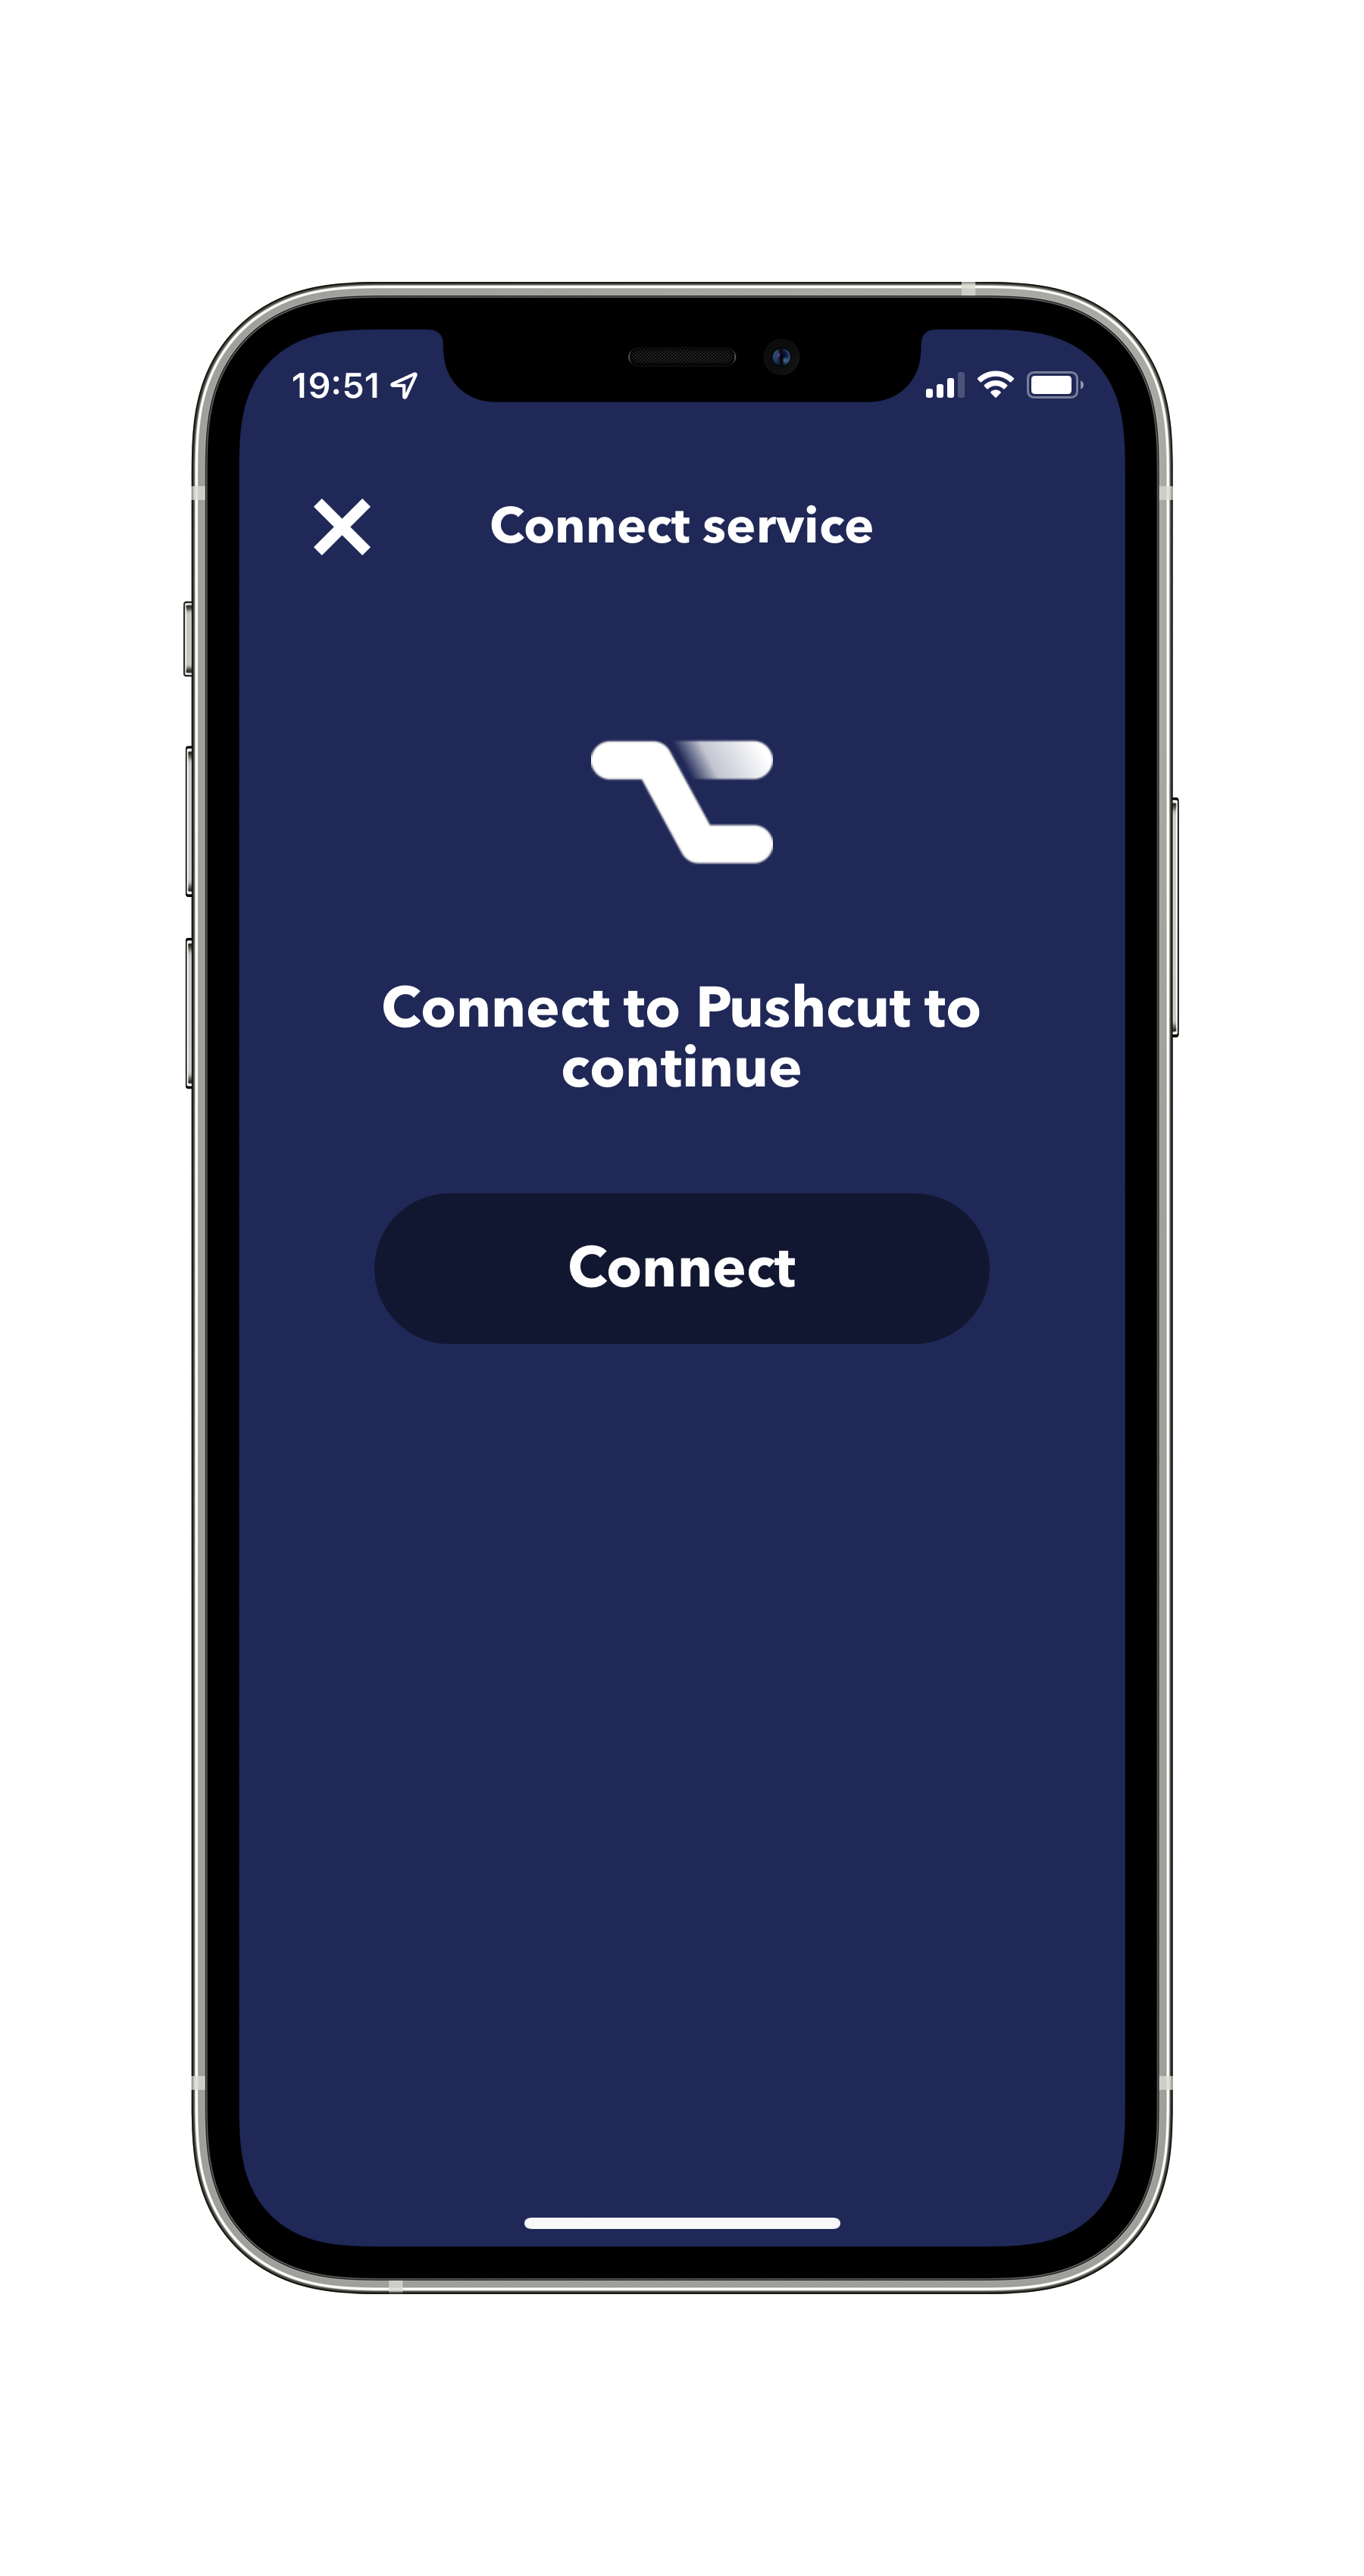
Step 18: Connect Pushcut to IFTTT
Follow the onscreen steps to connect Pushcut to your IFTTT account.
Step 19: Complete action fields (part 1/2)
Select the "Mail Drop" notification we've just created in the "Which notification" field.
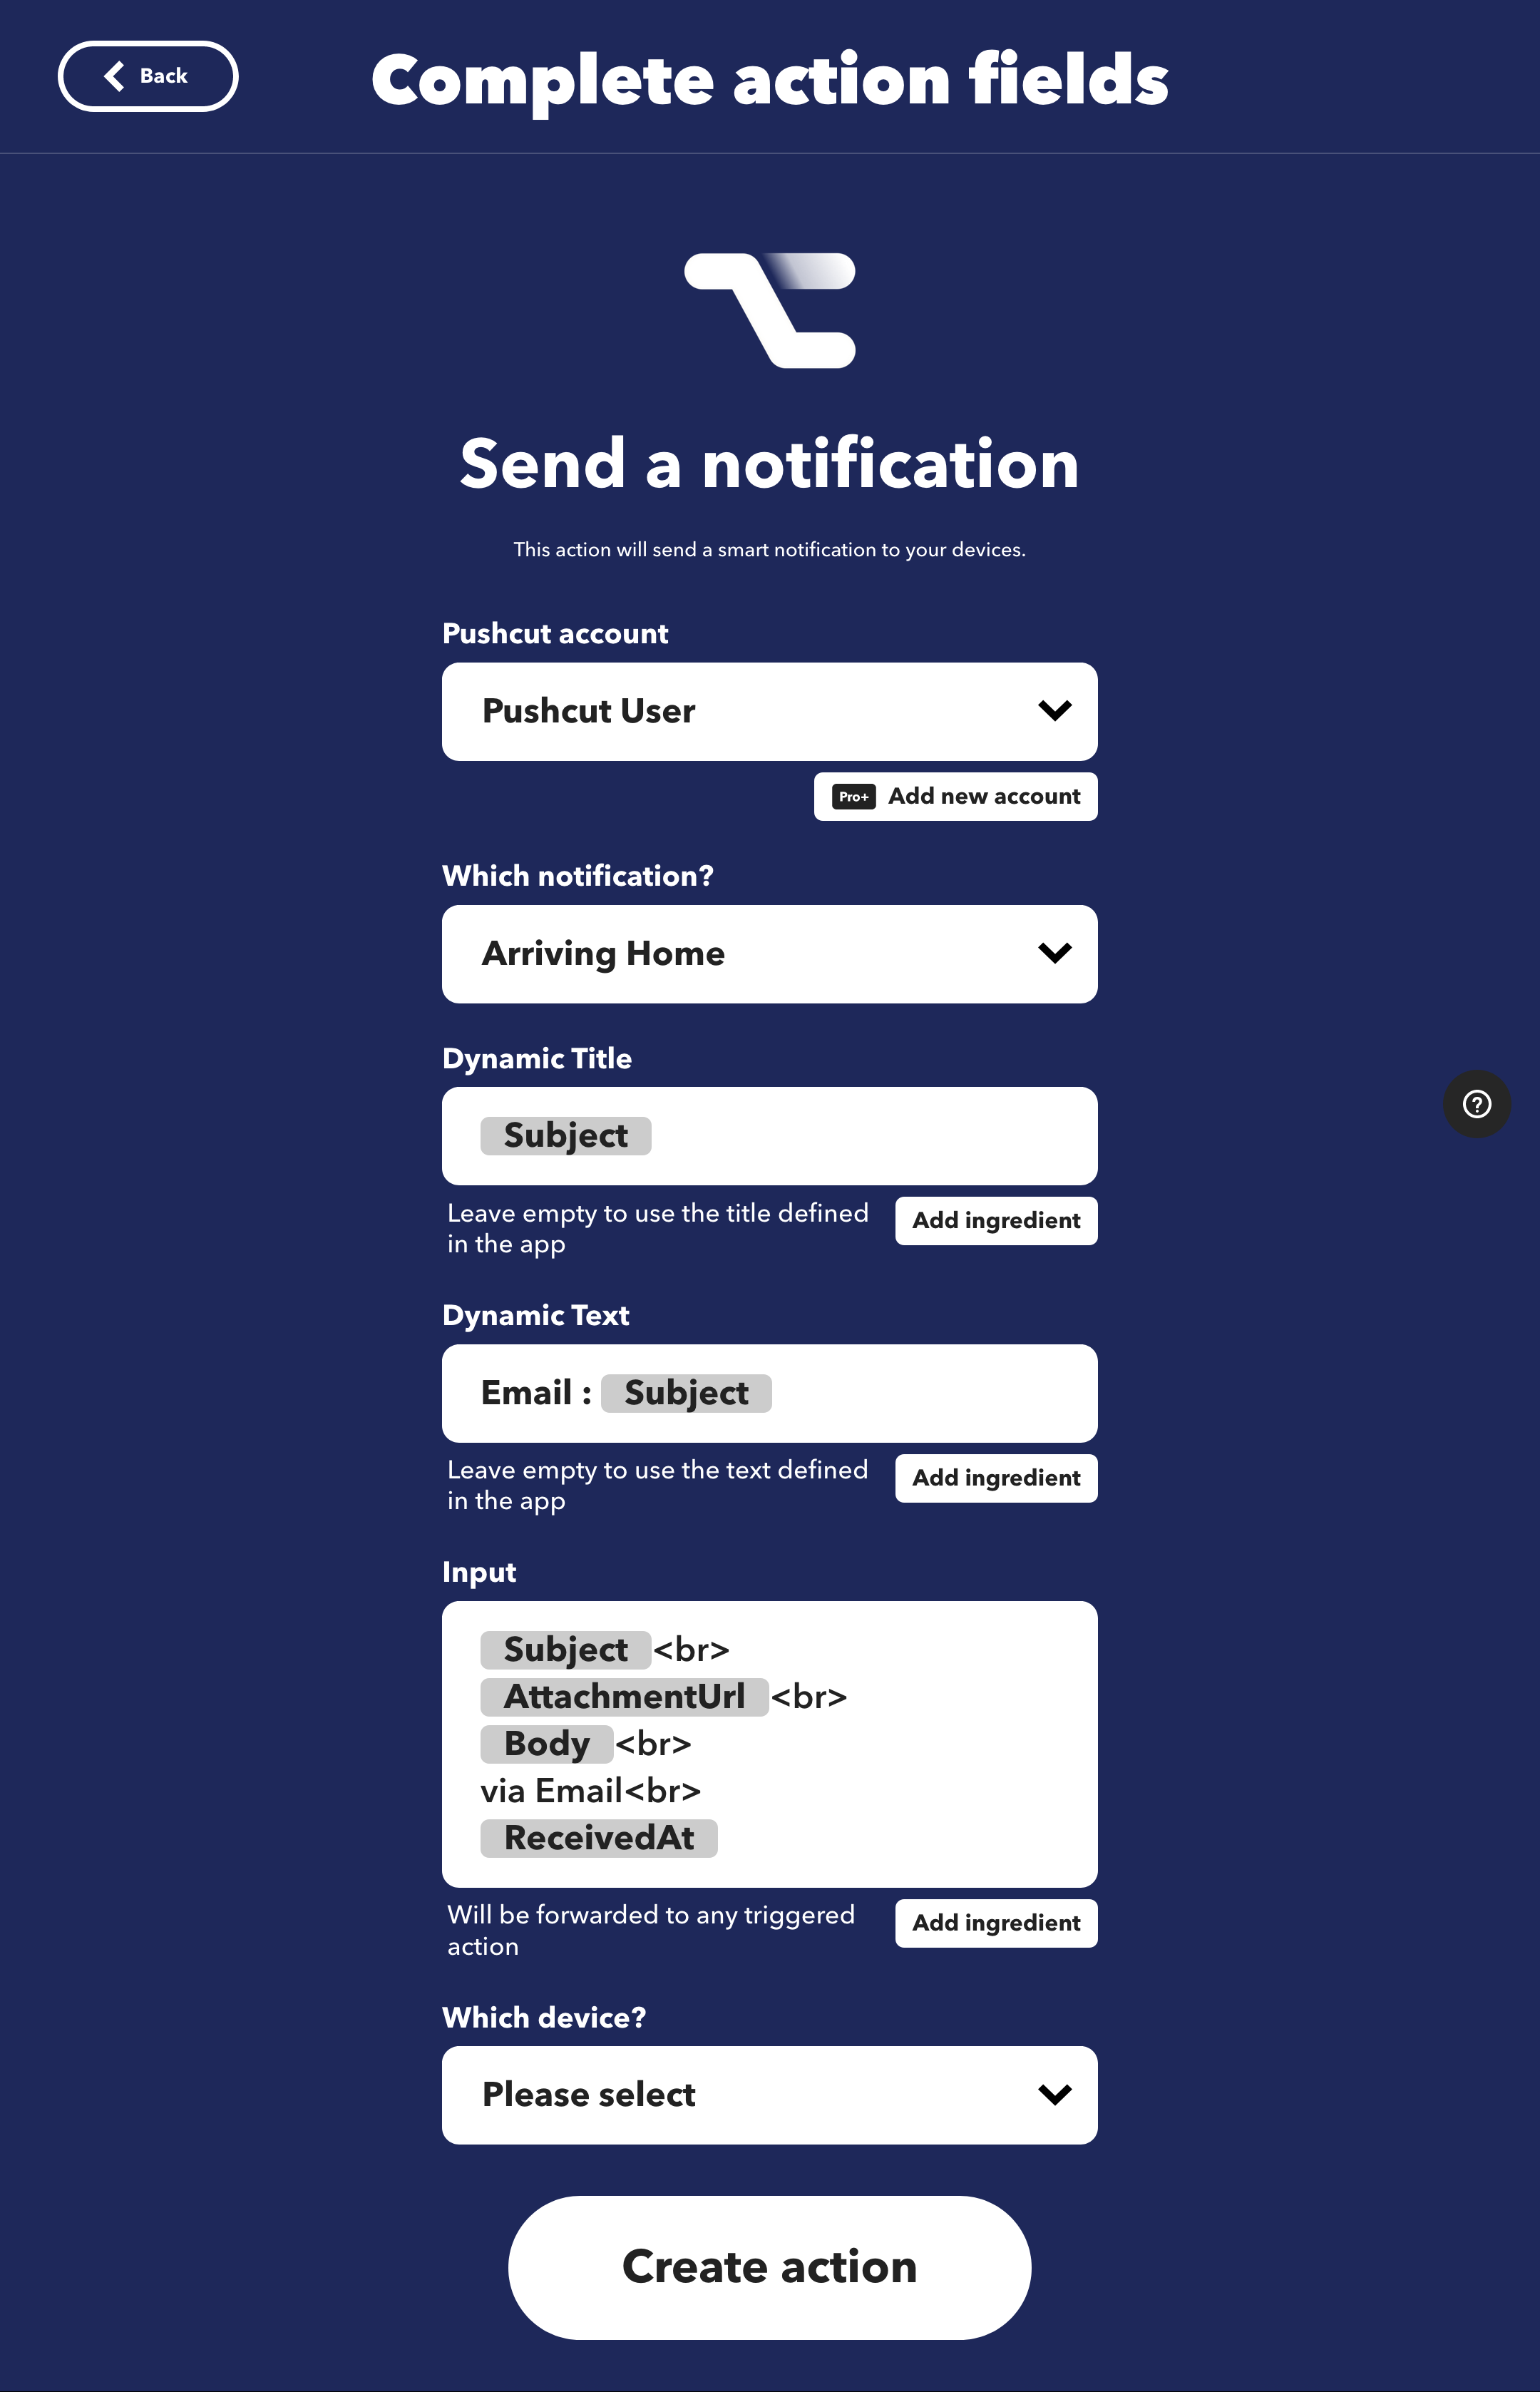
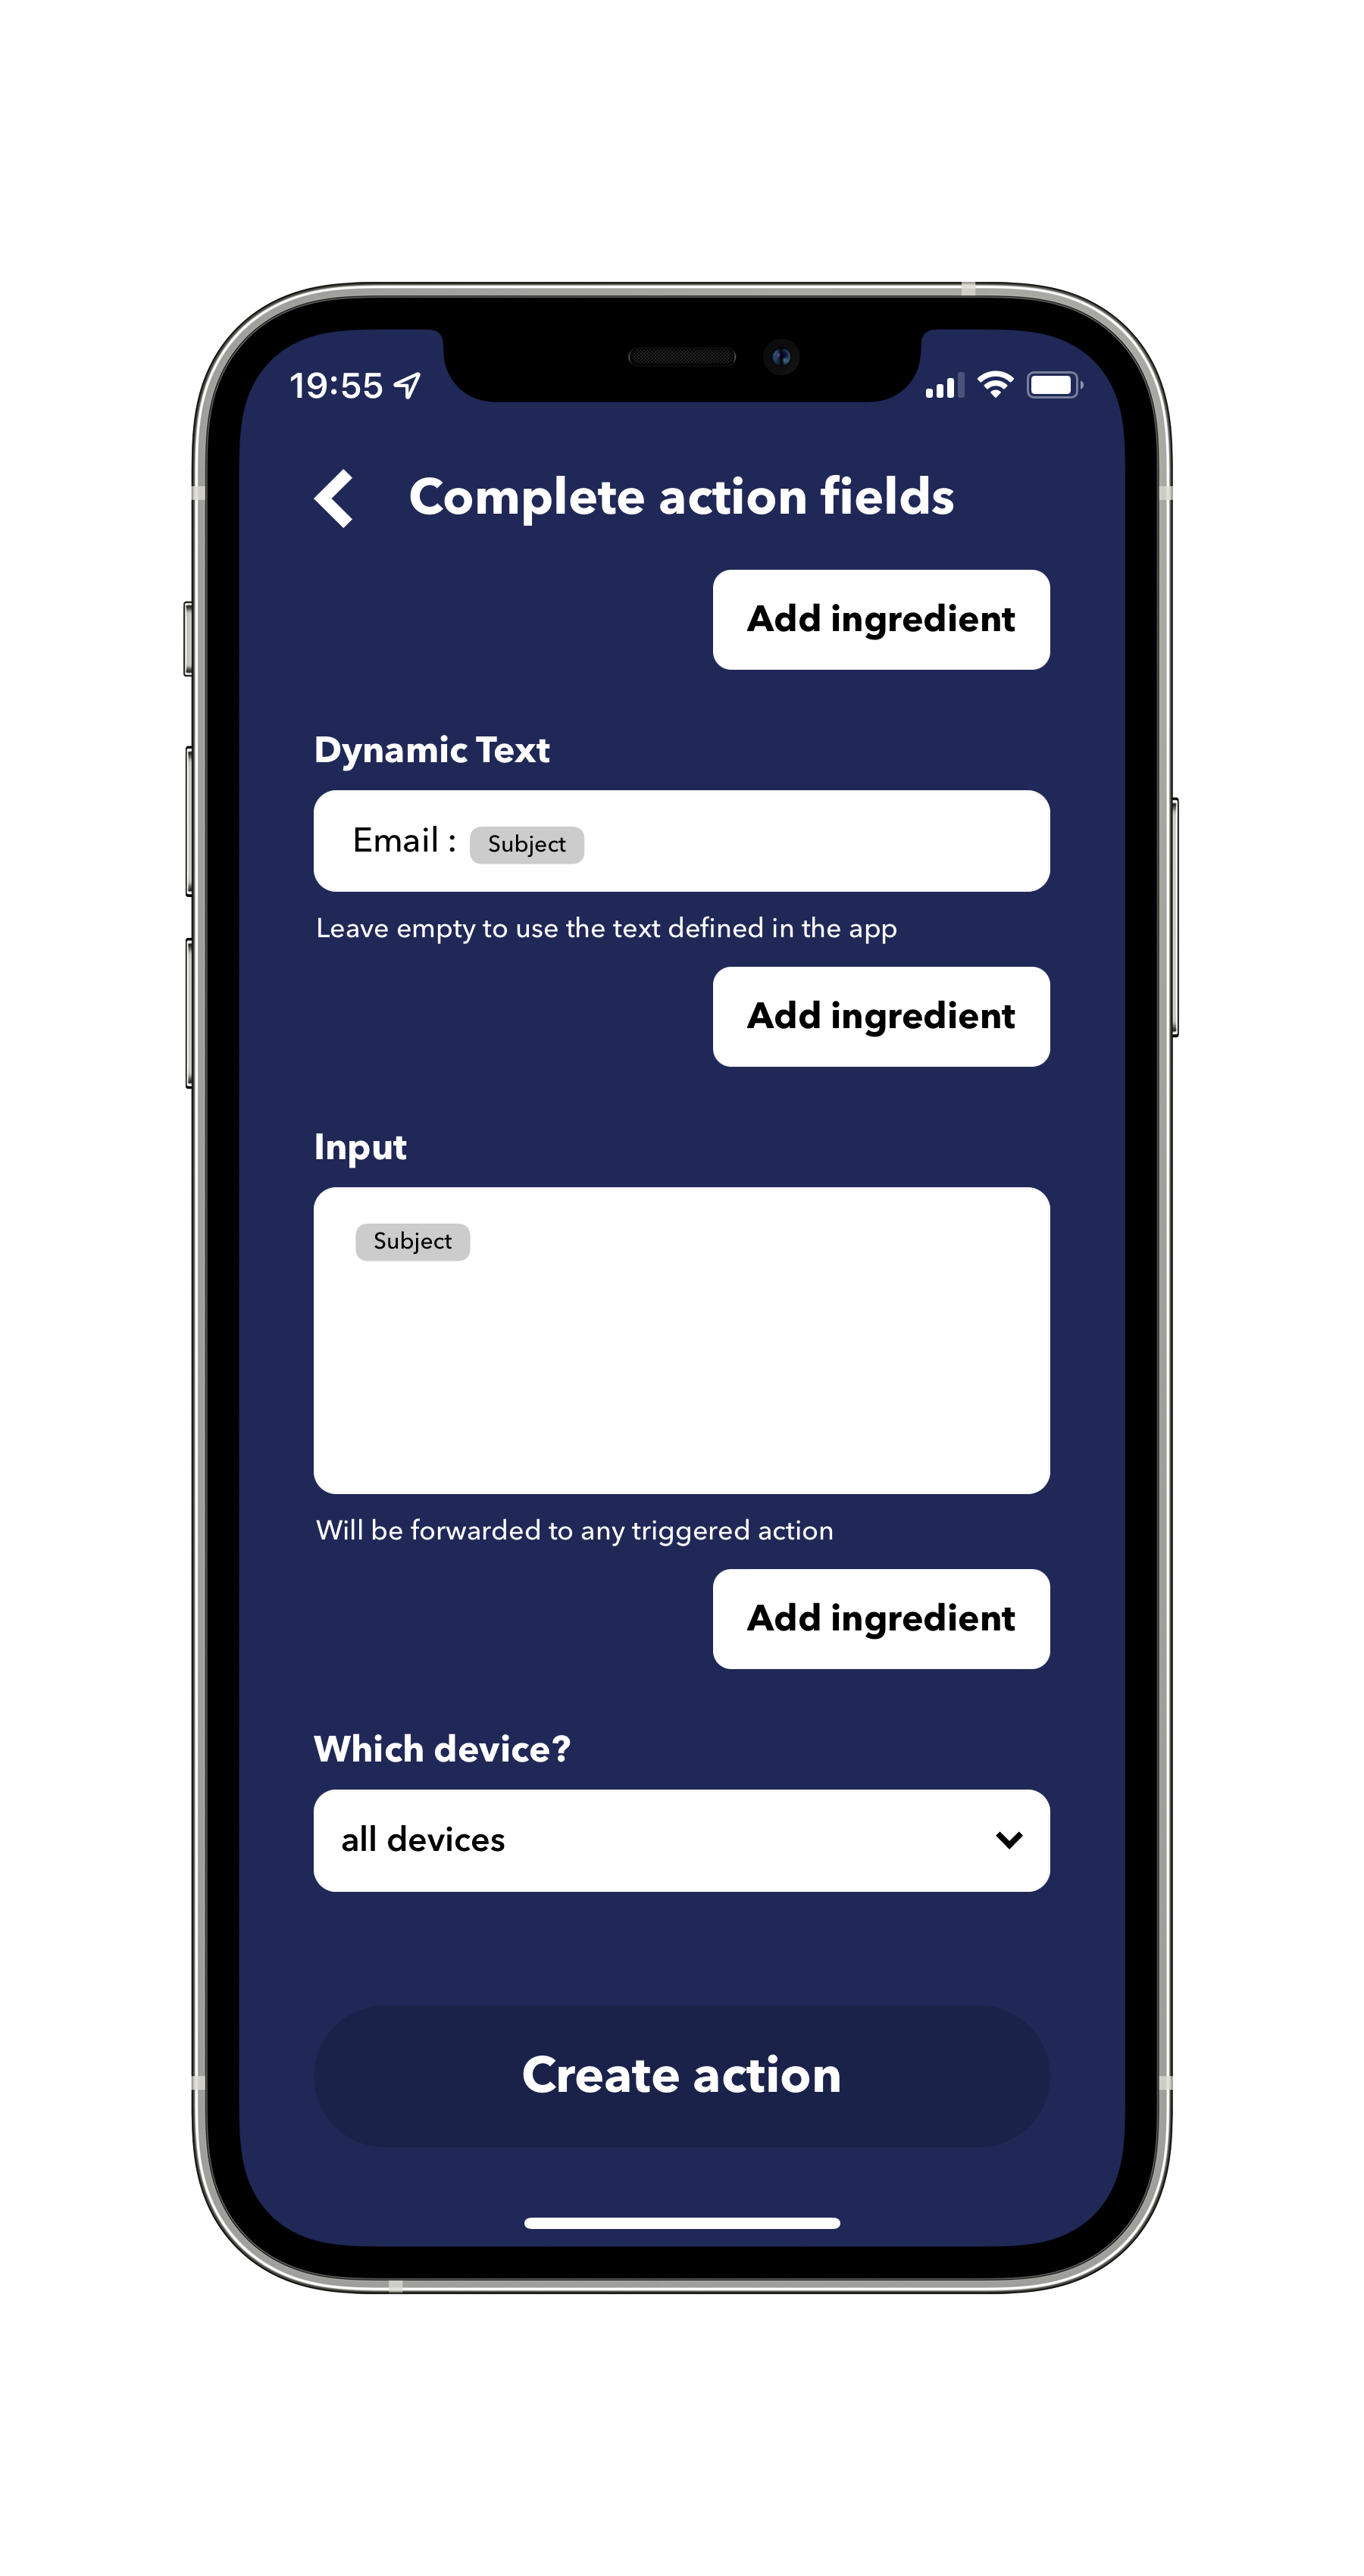
Step 20: Complete action fields (part 2/2)
Scroll down and remove all text from the Input field, except the Subject marker.
This input is going to be passed from IFTTT to Pushcut. Then, when we tap on our notification, this same input will be passed to the Mail Drop shortcut.
Tap on Create Action, then in Continue on the next screen.
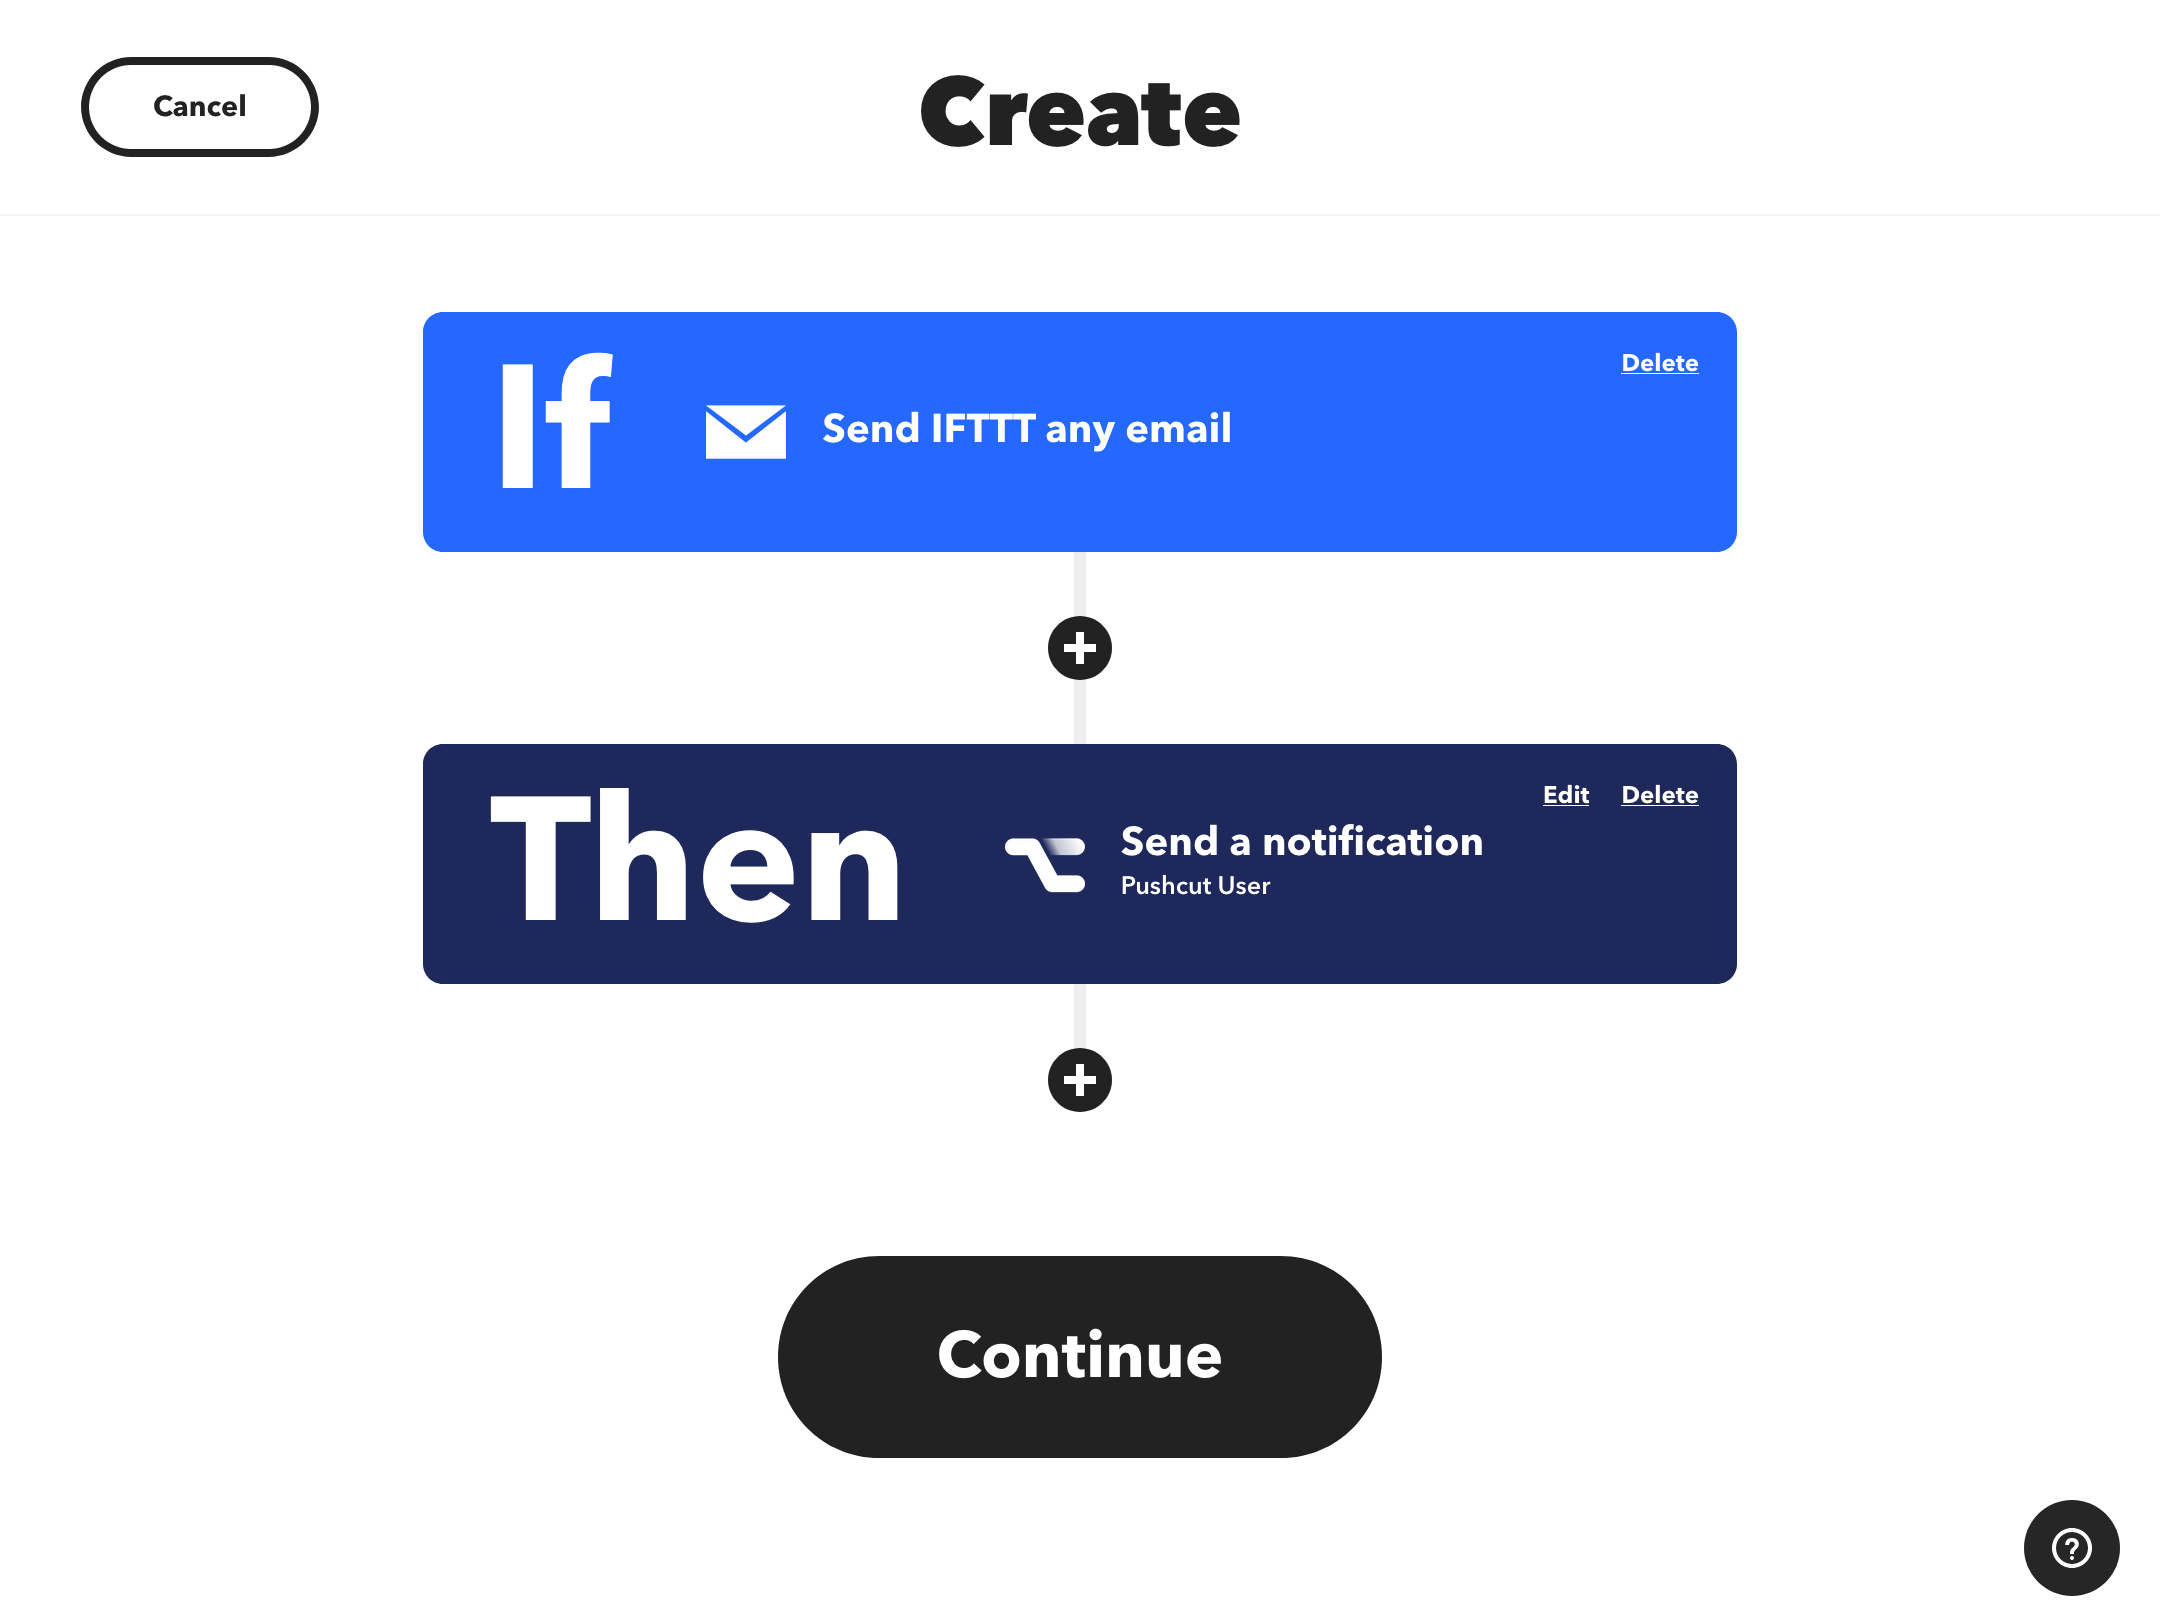
Step 21: Review the Applet
Check the description of your new applet, and notice it'll work when sending emails from your connected account to IFTTT's trigger email: trigger@applet.ifttt.com.
Tap on Finish to create your Applet.
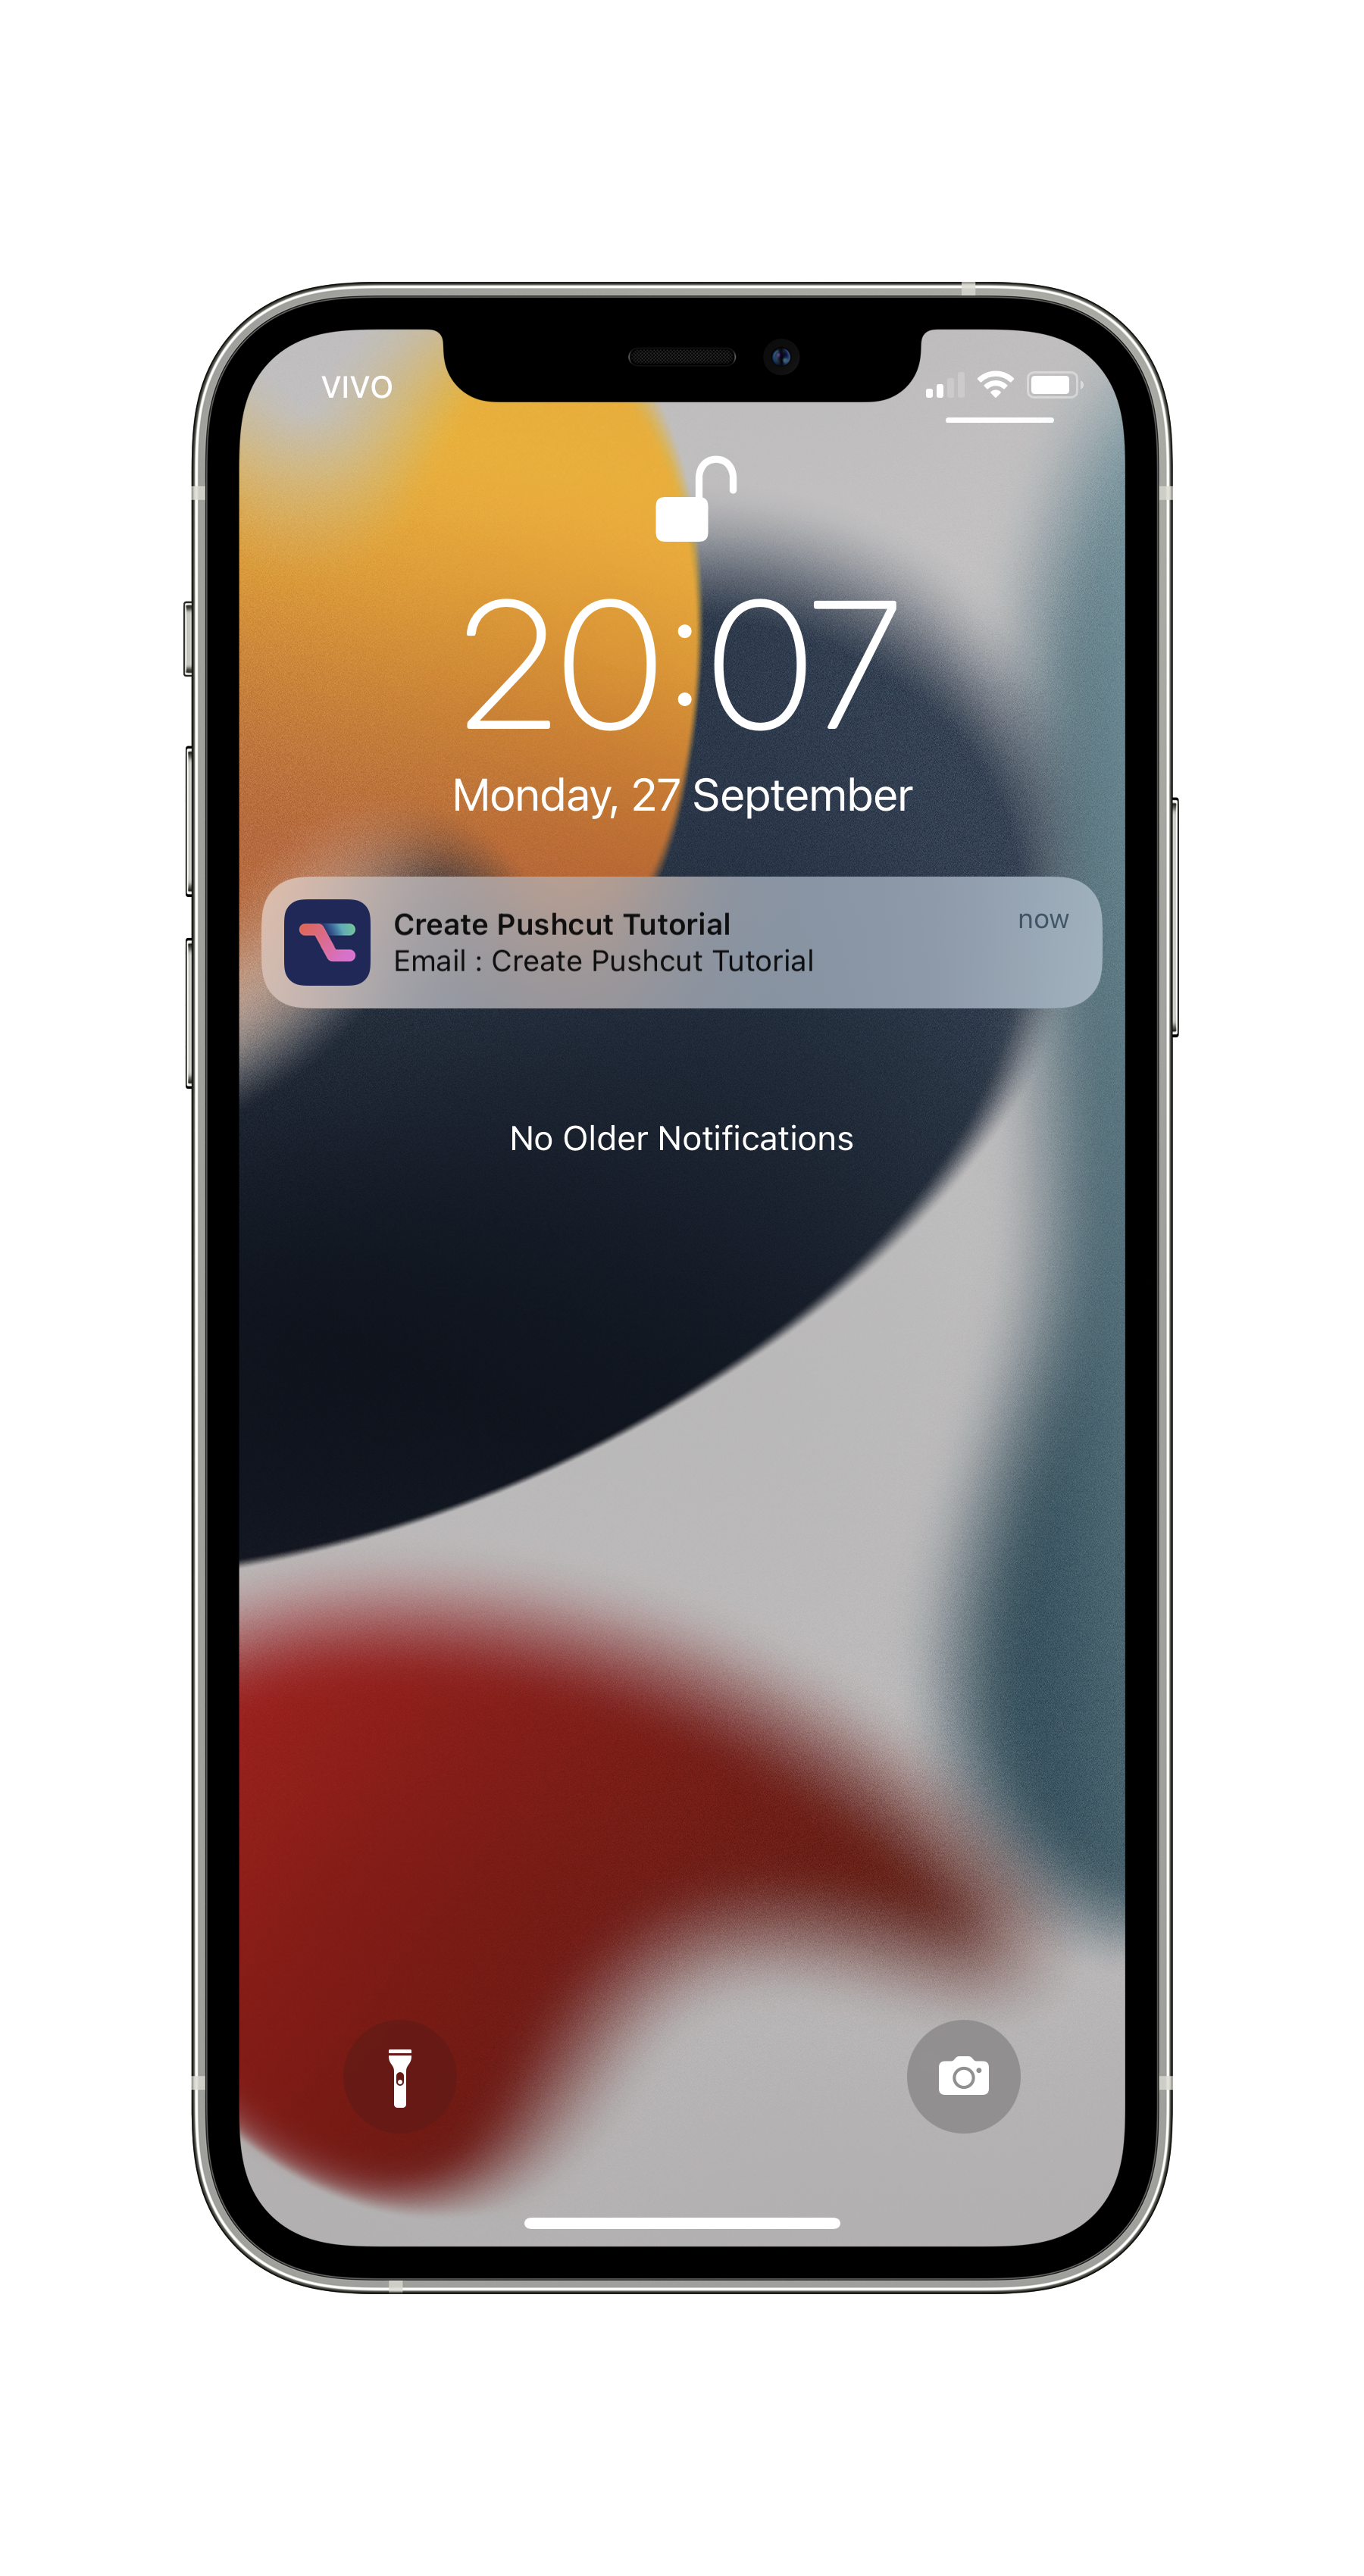
Step 22: Test this automation
Send an email from the address you've connected in step 14 and see the Pushcut notification pop up.
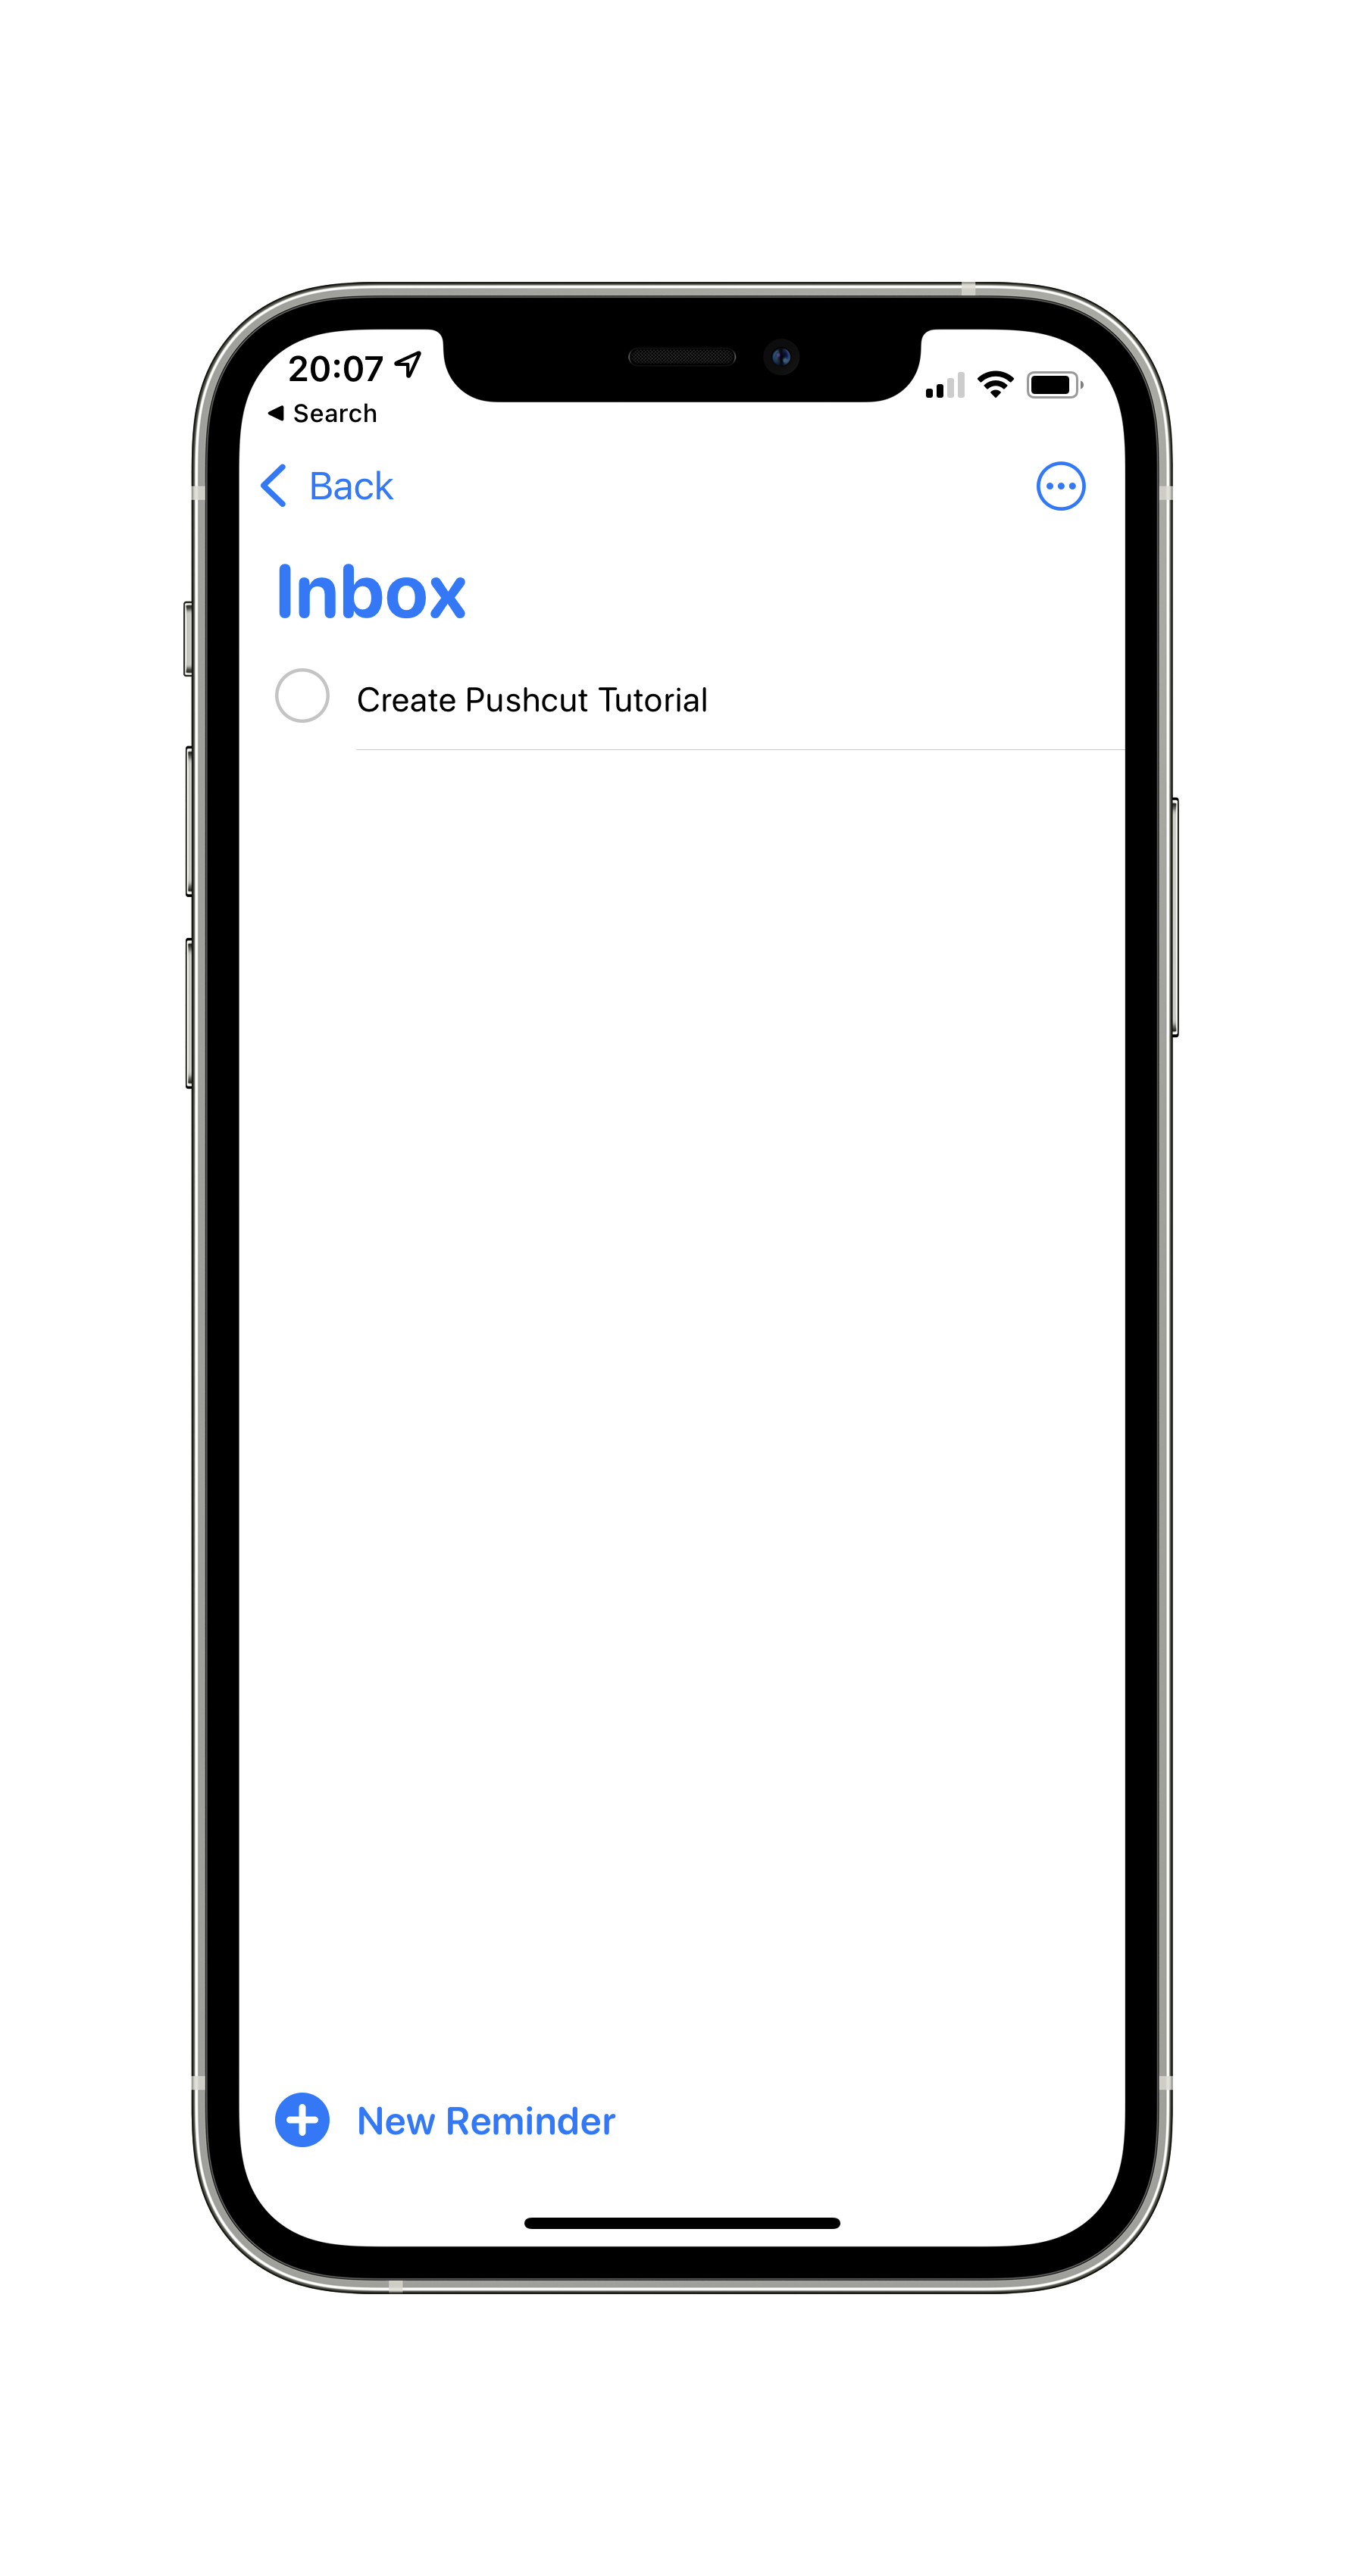
Step 23: Tap the notification
When you tap the notification, the default action will be activated. It'll call our new shortcut and add the email subject as a new reminder!