Project Status Widget

Learn how to use dynamic widget content.

Step 1: Create the Project Widget and its Content

Create your Project Status widget by importing the provided JSON. Learn more about how to do this on our support page.

Then, create a new Project Widget and set its default content to your new Project Content.

Step 2: Create a shortcut to update your widget

Using the Shortcuts app, create a shortcut with the steps outlined in this screenshot. You can also directly import this shortcut on your device using this link.

This example is using OmniFocus, but if you can get the tasks from a project or list in your task manager or productivity app of choice then the same principle applies.

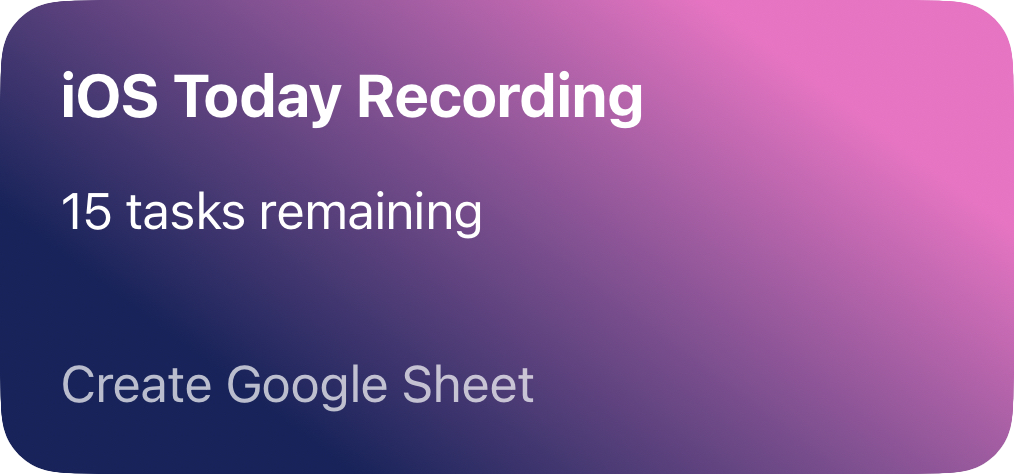
Make sure to set the inputs in your list (which is given to the widget) to the title of the project, the number of tasks remaining, and the next task.

Download Shortcut

Step 3: Configure the Update Widget action

This is the last but one action in the Shortcut above and important to configure correctly!

pushcut  Set Project Widget on Project Content
Input List variable List
On Tap Run Shortcut
Shortcut Name Update Big Project
Run Shortcut on Server
Shortcut Input variable Project Title

Make sure the Shortcut Input is the title of the project, and that it's running this same shortcut again, and you should be good to go!

Widget JSON

1
2
3
4
5
6
7
8
9
10
11
12
13
14
15
16
17
18
19
20
21
22
23
24
25
26
27
28
29
30
31
32
33
34
35
36
37
38
39
40
41
42
43
44
45
46
47
48
49
50
51
52
53
54
55
56
57
58
59
60
61
62
63
64
65
66
67
68
69
70
71
72
73
74
75
76
77
78
79
80
81
82
83
84
85
86
87
88
{
  "type": "column",
  "properties": {
    "background": {
      "type": "gradient",
      "value": {
        "colors": [
          "rgba(97.26%, 42.59%, 77.95%, 1.00)",
          "rgba(7.62%, 13.89%, 36.68%, 1.00)"
        ],
        "startPoint": {
          "x": 0.7,
          "y": 0
        },
        "type": "linear",
        "endPoint": {
          "x": 0.35,
          "y": 1
        }
      }
    },
    "horizontalAlignment": "leading",
    "padding": {
      "trailing": 20,
      "top": 20,
      "leading": 20,
      "bottom": 20
    },
    "foregroundColor": "rgba(100.00%, 100.00%, 100.00%, 1.00)",
    "spacing": 8
  },
  "children": [
    {
      "type": "text",
      "value": "[[input0]]",
      "properties": {
        "font": {
          "size": 20,
          "weight": "bold"
        }
      }
    },
    {
      "type": "spacer",
      "value": "horizontal"
    },
    {
      "type": "row",
      "properties": {
        "verticalAlignment": "top",
        "fillDirection": "none"
      },
      "children": [
        {
          "type": "text",
          "value": "[[input1]]",
          "properties": {
            "font": {
              "size": 17
            }
          }
        },
        {
          "type": "spacer",
          "value": "vertical"
        }
      ]
    },
    {
      "type": "column",
      "properties": {
        "fillDirection": "width",
        "foregroundColor": "rgba(100.00%, 100.00%, 100.00%, 0.70)",
        "horizontalAlignment": "leading"
      },
      "children": [
        {
          "type": "spacer",
          "value": "horizontal"
        },
        {
          "type": "text",
          "value": "[[input2]]"
        }
      ]
    }
  ]
}
Check the Widget documentation for more details.